Modellbahn Keks
Welcome!
Our cookies offer you a fast, relaxed and full-featured shopping experience. Some are necessary to operate the website and its functions. Others help us to improve our services. If you agree to this, simply consent to the use of cookies for preferences, statistics and marketing by clicking on "OK". Alternatively, you can deactivate individual cookies under "Customise cookies" or all cookies, except those required for the function of our website, under "Reject all".
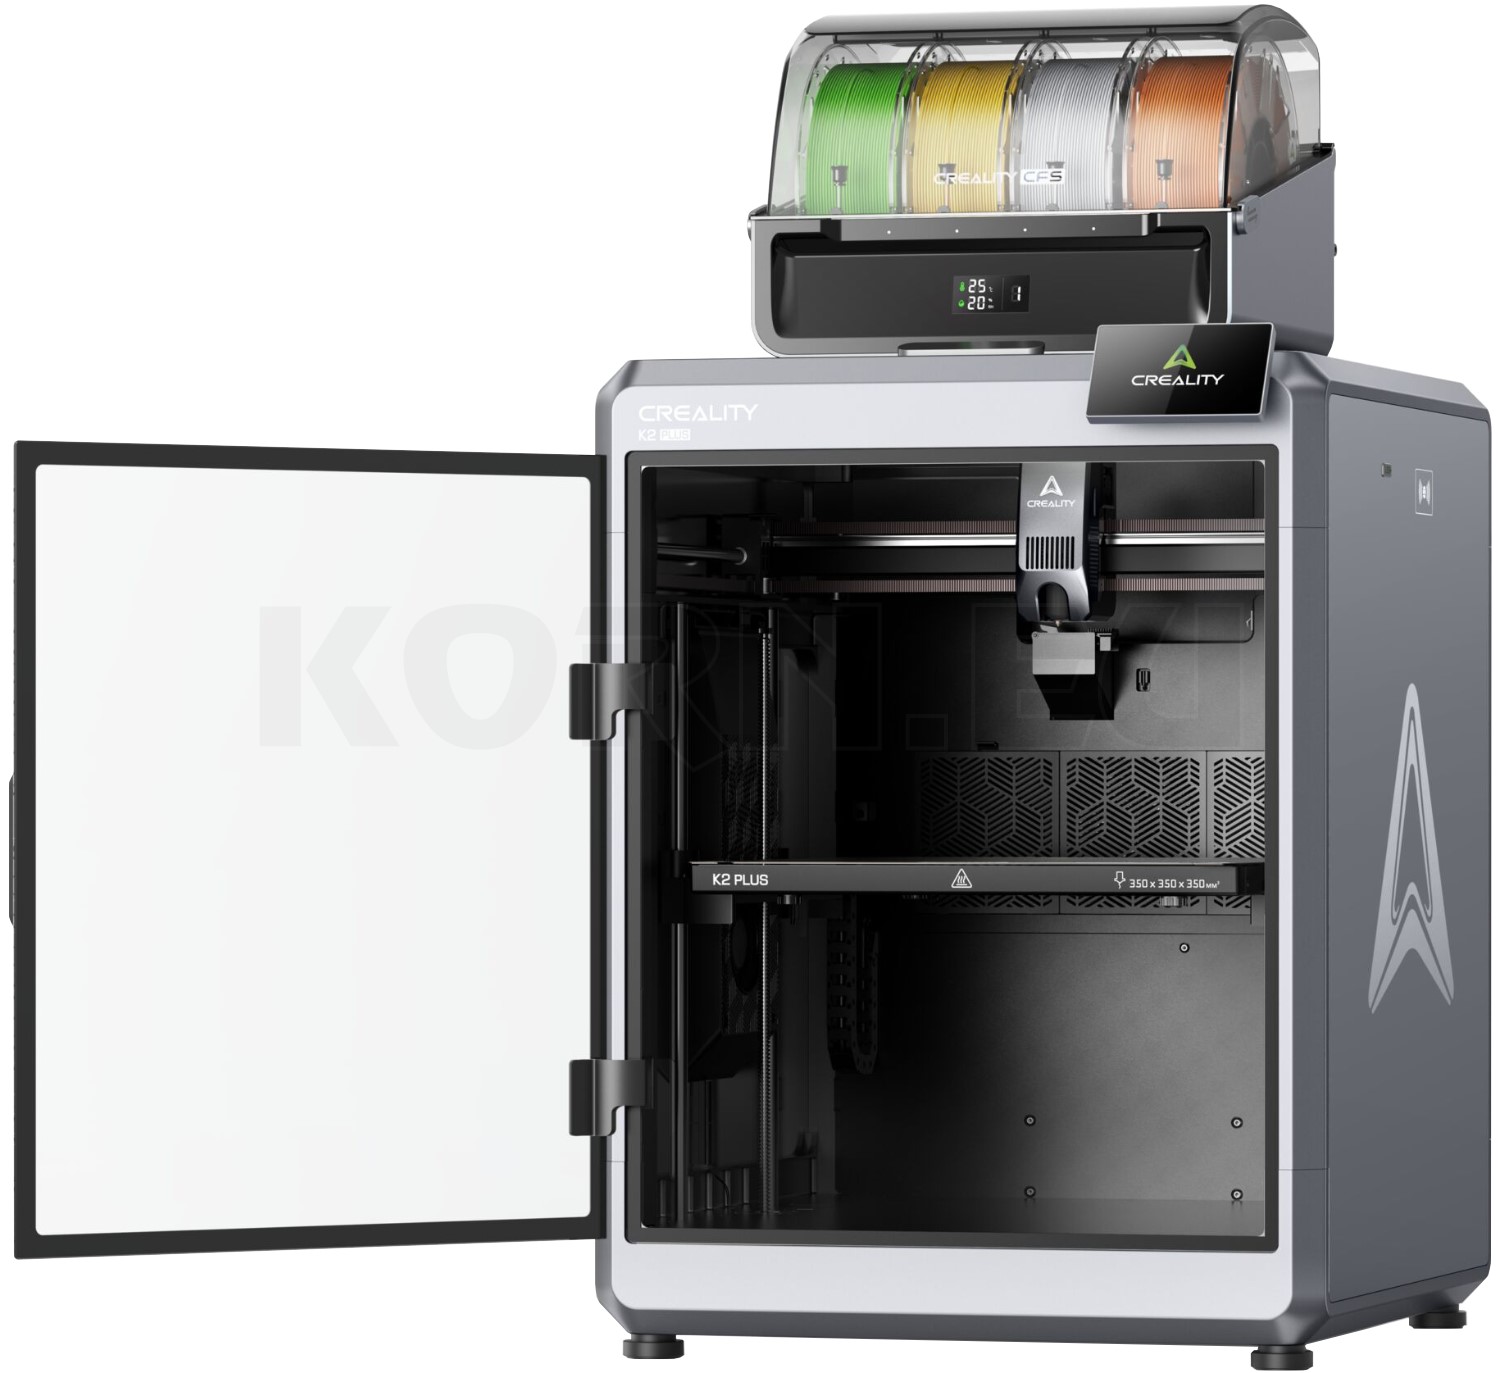
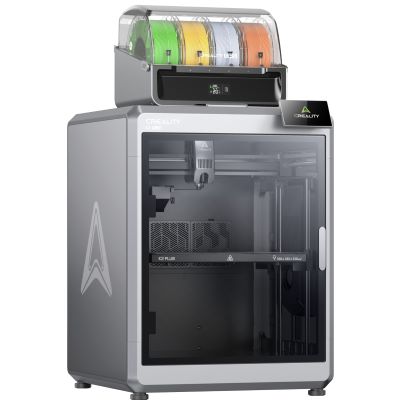
Creality K2 Plus Combo 3D Printer with filament system
Buying advice for your model railway workshop

Which 3D Printer Is Right for My Model Railway?

For buildings, wagon loads and workshop aids, an FDM printer is often a suitable starting point. For the finest figures and detailing parts, resin is often worth considering. The deciding factors are your specific component, the build volume required and the time and effort you want to devote to post-processing and setting up your workspace.

From project to decision

Your personal starting point for choosing a printer

Which 3D printer for model railways? Your first project provides a better answer than a general list of top-rated printers. Select what you mainly want to make. The buying advisor recommends a printing approach and can transfer the printing technology and printer budget to the product search. Then check whether a particular model meets your needs by comparing all component dimensions with the manufacturer's specifications.

What would you like to build?

Start with a representative component

A small building and a fine figure have different requirements. Your selections help put these differences into context.

The key decision

Filament or resin: which workflow suits you?

An FDM or FFF printer melts filament and deposits it through a nozzle in layers. This is practical for many building components and functional aids. A resin printer cures light-sensitive resin. Suitable systems can reproduce very small features cleanly, but require a complete cleaning and post-curing process.

Choose the printing technology to suit the component
Your main focus A sensible starting point Check before buying
Buildings, walls, wagon loads FDM with suitable filament Component dimensions, visible layer lines and achievable window details.
Small figures and fine detailing parts Resin or an external printing service Detail quality, material toughness, cleaning and a suitable workspace.
Assembly aids and brackets FDM with material suited to the loads involved Load direction, temperature, fixings and dimensional accuracy.
Large models and coloured components Large-format FDM and, where needed, a multicolour system Space requirements, material changes, waste and what is actually included.

The two processes can complement each other: print the building shell in filament and small ornaments in resin. If you mainly build large objects and only occasionally need fine custom parts, your own FDM printer combined with occasional printing services may be a suitable approach. The fundamentals are explained in the central 3D printing knowledge hub .

Scale is only the starting point

Make the right choice, from T scale to garden railways

N, Z and T

At smaller scales, railings, faces and fine façade textures become particularly demanding. Resin is often worth considering for these details. An FDM printer can still be useful for scenery support structures, simple building shells and workshop aids. The smallest visible feature matters, not just the overall model size.

TT and H0

The two processes can work well together here. Buildings, loading ramps and less intricate wagon loads often suit FDM; fine figures and vehicle details tend to favour resin. Give the printer a specific task: an H0 engine shed requires different qualities from an H0 engine driver.

OO, S, 0 and 1

Larger models require more build volume and material. FDM is worth considering for many substantial parts. Visible surfaces still matter: even a large locomotive front may include small rivets or mounting points for handrails. Large objects can often be divided sensibly into several subassemblies.

II, IIm and garden railways

Outdoors, sunlight, temperature changes and water also influence material selection. A sufficiently large printer is therefore only one consideration. Check support for suitable materials and their properties. For detail size, H0e, H0m, TTm, Nm, 0e and 0m follow the scale ratio of their parent scale.

The scale and gauge comparison helps you understand the scale ratios. When designing vehicle parts, also allow for loading-gauge clearances, couplings and freedom of movement. Scaling that looks right does not guarantee a working connection.

Distinguish size from quality

What build volume and resolution really tell you

All three dimensions matter

Check the component's length, width and height in its printing orientation. Supports, adhesion features and the required edge clearances need additional space. A 250 mm long building therefore does not automatically fit sensibly on every 250 mm build plate. Diagonal positioning must also be checked in the slicer.

A full-size building 20 metres long measures approximately 230 mm in H0 and 167 mm in TT. Whether it should be printed in one piece also depends on its roof, façades, assembly and surfaces. Splitting it at the building corners may make more sense than buying a larger printer. Find inspiration in the scratch-building guide .

A higher “K” rating on a resin display is not a reliable quality ranking without considering display size and pixel pitch. Similarly, a lower FDM layer height does not solve an excessively wide extrusion line in the horizontal plane. Where possible, compare samples with window bars, faces or lettering similar to those in your own projects.

Automatic bed levelling, cameras and material monitoring can make operation easier. They do not replace suitable profiles or checking the first layers. For delicate model railway parts, advertised maximum speed says less than a clean result achieved with reproducible settings.

Specific printers as a guide

Four printer examples for different tasks

This selection illustrates different printer concepts and is not a ranking. The suggested uses are an assessment based on manufacturer specifications, not our own hands-on testing. Check the exact variant and what is included on each product page.

Manufacturer specifications for nominal build volume
Printer Build volume Key point to check
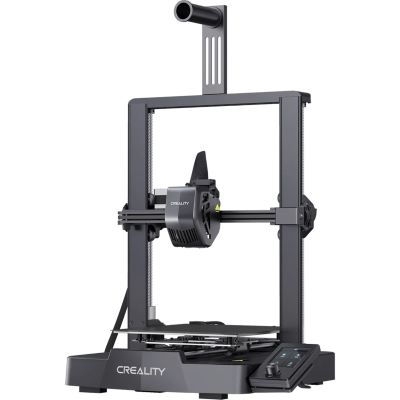
Creality Ender-3 V3 SE 220 × 220 × 250 mm Open-frame FDM system: consider material selection and clearance for the moving print bed.
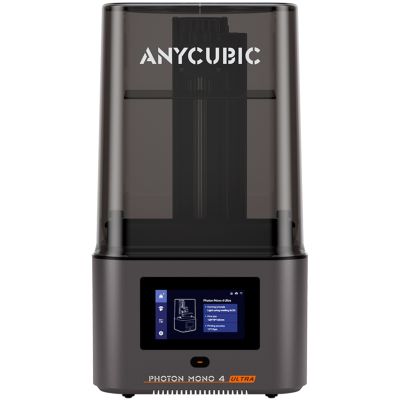
Anycubic Photon Mono 4 Ultra 153.4 × 87 × 165 mm Narrow build area; plan cleaning and post-curing as integral parts of the workspace.
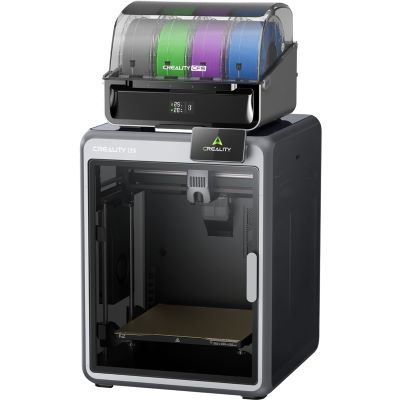
Creality K2 Combo 260 × 260 × 260 mm Check the compatibility of the multicolour system and the filaments you need.
Creality K2 Plus Combo 350 × 350 × 350 mm A large build volume requires suitable space and access for maintenance and material changes.

Multicolour printing does not replace fine painting

Multiple filament colours can make signs, façades and labelled assembly aids easier to produce. However, material changes can increase print time and consumption. For weathered brickwork, fine faces and signs of wear, painting often remains the better approach. Consider whether you will print in multiple colours regularly or would rather invest the budget in materials, tools and post-processing.

Budget for the complete workspace

What to budget for beyond the printer

Set separate budgets for the printer and the complete setup. An inexpensive printer may require additional purchases; a more expensive bundle does not automatically include everything. Compare offers with the same equipment. Our price filter uses the printer price retrieved from the shop, not the cost of a fully equipped workspace.

For filament printing

Budget for filament, measuring tools, suitable deburring tools and dry storage. Depending on the material, a filament dryer may be useful. Also allow for replacement nozzles, the print surface, failed prints and electricity. Painted models additionally require primer and model paints .

For resin printing

In addition to resin, you need a suitable cleaning and post-curing workflow, appropriate protective equipment and sealable containers. A wash-and-cure station can help organise the process. Cleaning fluid, consumables, ventilation and disposal also belong in the calculation. Allow space and time for these steps too.

Your workspace also influences the decision

Check the operating instructions and safety data sheets before buying. Liquid resin requires suitable protective gloves, eye protection and adequate ventilation. A printer's filter does not automatically replace a suitable room ventilation arrangement. Water-washable resin and contaminated wash water must not go down the drain either. For filaments requiring high printing temperatures, the printer, approved materials and ventilation must be compatible.

If you do not have a suitable workspace or only plan a few custom parts, compare a printing service. Ask about the material, dimensional checks, surface condition and post-curing. This helps you assess the finished result rather than just the purchase price of a machine.

Be specific before buying

A small sample makes choosing easier

Practical check: the wall of an H0 railway service building

Choose a wall with a window, a door and some brick or masonry texture. The sample should include typical details from your future models. To assess it, you need the file, dimensions, callipers and, where appropriate, primer, paint and fine sanding tools.

Define the component and target dimensions

Note the overall dimensions, window openings and intended wall thickness. Check whether a common nozzle can reproduce the design sensibly or whether particularly fine features suggest another process.

Choose the critical feature

A thin window bar or small lettering tells you more about this project than a large, smooth demonstration print. When requesting a sample, ask for details of the material, orientation and nozzle or resin profile used.

Assess fit and surface finish

Compare the dimensions, test-fit a window and assess the surface after applying a thin coat of primer as well. Then decide how much post-processing you find acceptable.

Consider software and everyday use too: are suitable slicer profiles, clear instructions and spare parts available? Does the file transfer method you want work? Can you easily access the build plate, nozzle or resin vat? A large printer under a low shelf can be impractical to use even if its footprint just fits.

Compare using a short shopping checklist

Before ordering, list three typical projects and add the dimensions, smallest details and intended quantity for each. Mark which parts you really want to print yourself. A one-off special requirement should not determine your entire workshop setup. Also check whether materials, spare parts and the necessary accessories are available for the printer variant you have chosen.

Consider the journey from design to finished model: you need a suitable file, a slicer and some time to set up the print profiles. Automatic calibration makes individual steps easier, but does not make every decision for you. Start with a manageable sample and record the settings, material and result. These notes will help when producing repeat components later.

Finally, compare the required space with your actual workspace. Allow room for removing models, cleaning and organising tools. With resin, the subsequent processing steps also need a suitable location. This turns a suitable printer into a workshop you enjoy using day to day.

For convincing surfaces, see the advice on weathering buildings . Combining printed parts with laser-cut kits can also simplify construction. Your goal is a convincing model, not necessarily an entirely printed one.

Manufacturer ranges at Modellbahnshop

Compare printers, materials and accessories within each system.

Explore the current range

Search printers, filaments, resins and accessories

The product lists are loaded from the linked categories. Filter printers by technology and printer budget, then check build volume, approved materials and multicolour equipment on the product page. Accessories and consumables are displayed separately by category.

The product list is being prepared. You can access the categories directly.

Explore all 3D Tools

Frequently asked questions before buying a printer

Is an inexpensive FDM printer enough for railway modelling?

It can be sufficient for many buildings, wagon loads and workshop aids. Suitable materials, good profiles and realistic expectations for fine detail are essential. Assess the quality using your own component and allow for post-processing.

Is resin always the better choice for N scale?

Resin is often worth considering for fine N scale figures or delicate detailing parts. For simple building shells, supporting structures or assembly aids, FDM may make more sense. The type of project remains more important than scale alone.

Do I need an enclosed printer?

That depends mainly on the material and workspace. An open system can work for many PLA projects. More demanding materials may require controlled temperatures and additional measures. An enclosure alone guarantees neither material suitability nor adequate protection from emissions.

Should I buy the largest possible printer straight away?

Only if your components actually need the build volume. Large printers take up more space and can lead to larger failed prints. First check whether a building or vehicle body can be divided sensibly into subassemblies.

Can I print fine details with a smaller nozzle instead of resin?

A suitable smaller FDM nozzle can produce finer contours, but needs appropriate profiles and usually more print time. Not every material or printer supports every nozzle. Compare the result with your actual requirements.

What should my first purchase include?

The right printer, suitable material and the basic equipment required for the process. Plan a small project first. Add specialist accessories once your workflow and specific needs are clear.

Technical sources: Creality Ender-3 V3 SE, Creality K2 series, Anycubic Photon Mono 4 Ultra and Prusa on layer height and resolution.

From the right printer to your first model

Expand your knowledge in the 3D printing knowledge hub and combine your own components with planning, scenery and layout building.

Explore the model railway guide