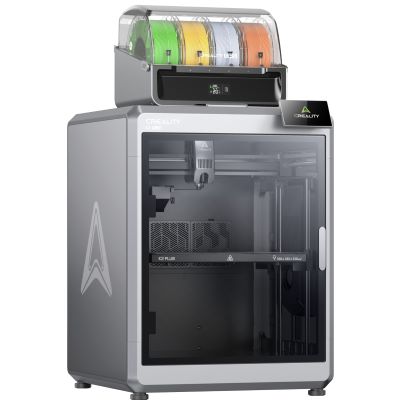
Be specific before buying
A small sample makes choosing easier
Practical check: the wall of an H0 railway service building
Choose a wall with a window, a door and some brick or masonry texture.
The sample should include typical details from your future models.
To assess it, you need the file, dimensions, callipers and, where
appropriate, primer, paint and fine sanding tools.
Define the component and target dimensions
Note the overall dimensions, window openings and intended wall
thickness. Check whether a common nozzle can reproduce the design
sensibly or whether particularly fine features suggest another process.
Choose the critical feature
A thin window bar or small lettering tells you more about this project
than a large, smooth demonstration print. When requesting a sample,
ask for details of the material, orientation and nozzle or resin
profile used.
Assess fit and surface finish
Compare the dimensions, test-fit a window and assess the surface after
applying a thin coat of primer as well. Then decide how much
post-processing you find acceptable.
Consider software and everyday use too: are suitable slicer profiles,
clear instructions and spare parts available? Does the file transfer
method you want work? Can you easily access the build plate, nozzle or
resin vat? A large printer under a low shelf can be impractical to use
even if its footprint just fits.
Compare using a short shopping checklist
Before ordering, list three typical projects and add the dimensions,
smallest details and intended quantity for each. Mark which parts you
really want to print yourself. A one-off special requirement should not
determine your entire workshop setup. Also check whether materials,
spare parts and the necessary accessories are available for the printer
variant you have chosen.
Consider the journey from design to finished model: you need a suitable
file, a slicer and some time to set up the print profiles. Automatic
calibration makes individual steps easier, but does not make every
decision for you. Start with a manageable sample and record the settings,
material and result. These notes will help when producing repeat
components later.
Finally, compare the required space with your actual workspace. Allow
room for removing models, cleaning and organising tools. With resin,
the subsequent processing steps also need a suitable location.
This turns a suitable printer into a workshop you enjoy using day to day.
For convincing surfaces, see the advice on
weathering buildings
.
Combining printed parts with
laser-cut kits
can also simplify construction. Your goal is a convincing model,
not necessarily an entirely printed one.