Modellbahn Keks
Welcome!
Our cookies offer you a fast, relaxed and full-featured shopping experience. Some are necessary to operate the website and its functions. Others help us to improve our services. If you agree to this, simply consent to the use of cookies for preferences, statistics and marketing by clicking on "OK". Alternatively, you can deactivate individual cookies under "Customise cookies" or all cookies, except those required for the function of our website, under "Reject all".
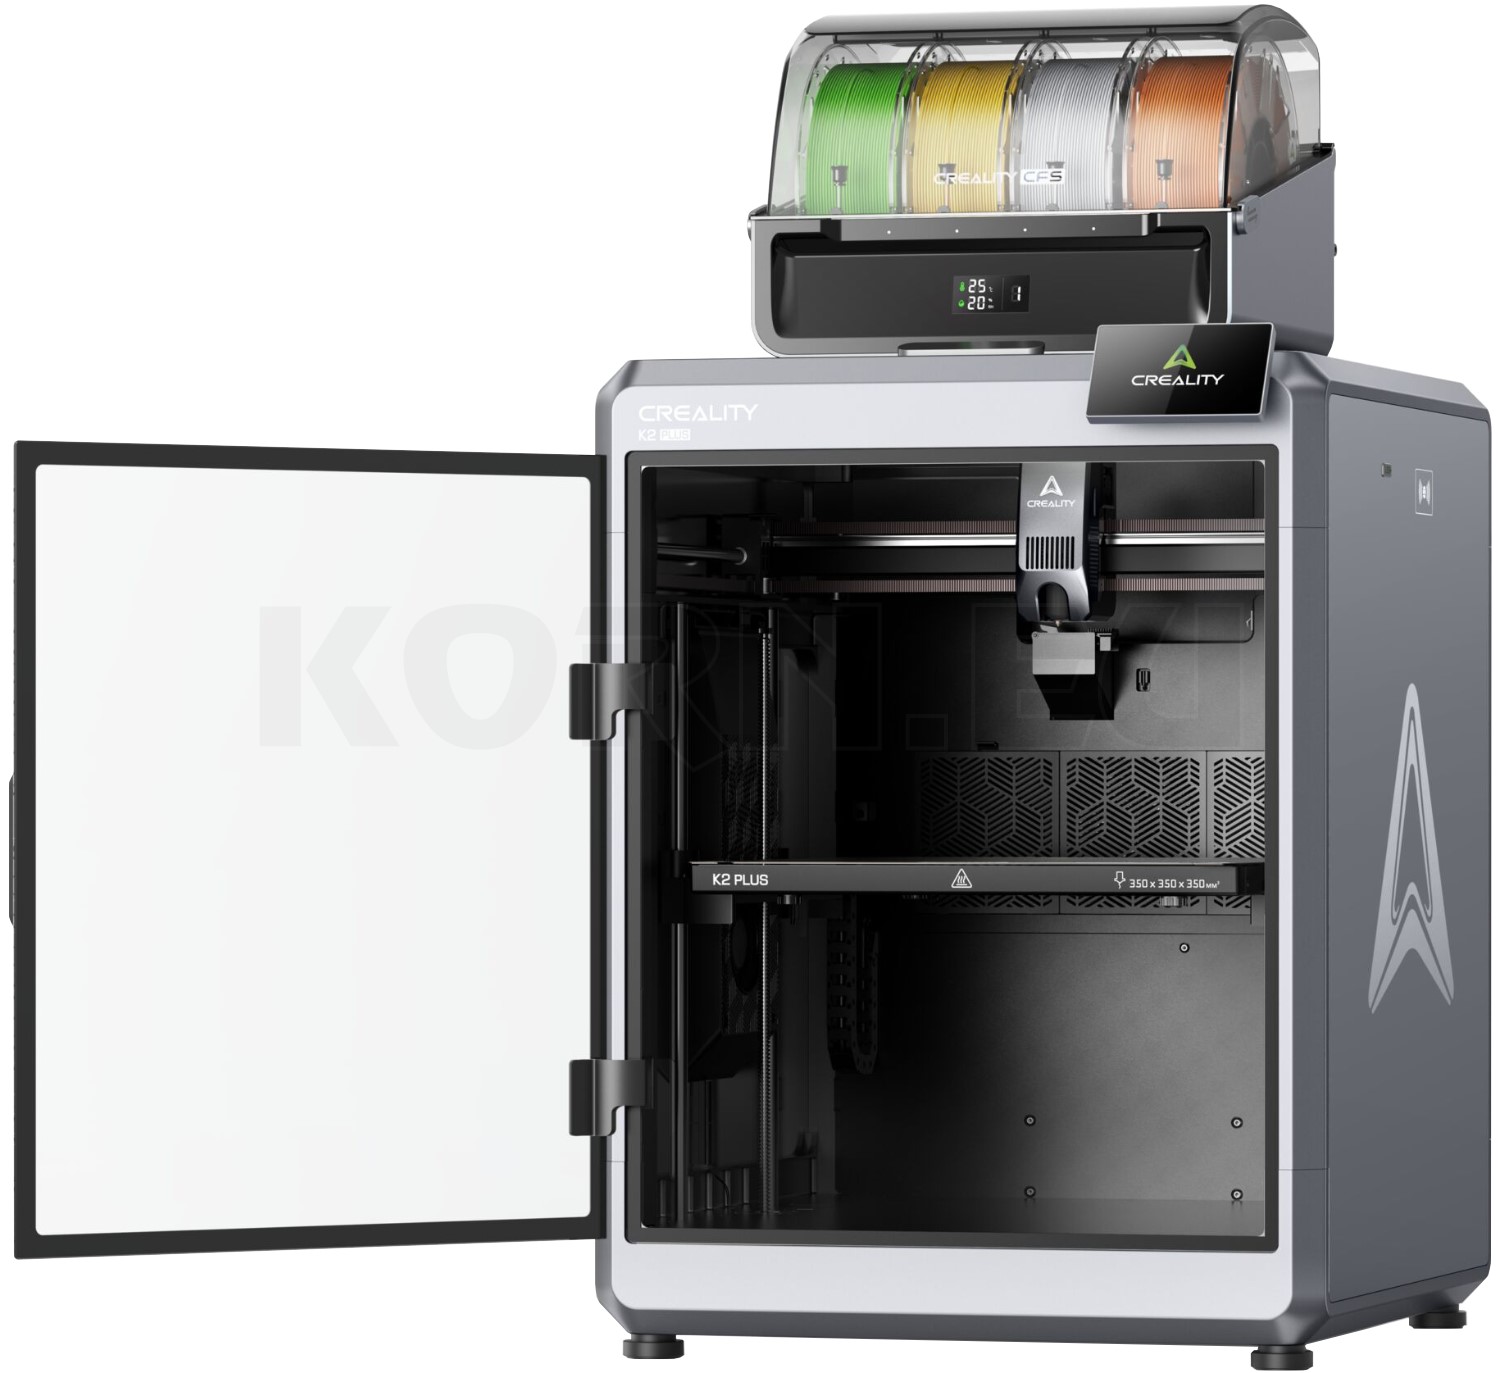
Creality K2 Plus Combo 3D Printer – product view
From idea to layout

3D Printing for Model Railways – Your Complete Knowledge Hub

3D printing lets you create bespoke buildings, vehicle details, wagon loads and workshop aids. FDM uses plastic filament, while resin printing cures liquid resin with light. The best process depends mainly on the level of detail, mechanical demands and post-processing required.

Choosing your approach

Which printing process suits your project?

3D Printing for Model Railways | Knowledge & Practice connects technical choices with practical layout building. Start with the component: a large engine shed has different requirements from a delicate N scale figure. Scale alone does not determine which printer to choose.

With FDM or FFF printing, a heated nozzle deposits molten filament in lines. This is often suitable for building shells, supporting structures and brackets. With resin printing, layers are formed from light-sensitive resin. LCD/MSLA, DLP and laser SLA belong to this family of processes, but use different exposure methods.

Suitable resin systems often reproduce very fine surface details more convincingly. However, they also require washing, drying and post-curing. A well-tuned FDM printer can produce fine components too. The key is the smallest feature that must remain recognisable on the finished model.

FDM and resin in everyday railway modelling
Criterion FDM / filament Resin
Typical projects Walls, roofs, wagon loads, assembly aids Figures, fittings, fine housings and ornaments
Key limitations Nozzle width, layer lines, overhangs Exposure, supports, shrinkage, material properties
Work involved Remove supports and finish surfaces Clean, dry, post-cure and collect residues
Buying considerations Build volume, approved materials, nozzle and ease of maintenance Detail quality, approved resins, cleaning and ventilation

When comparing 3D printers, look beyond advertised speed or display resolution. Print quality depends on mechanics, material, profile and design. Multicolour printing makes coloured base areas easier, but does not automatically replace detailed miniature painting.

Match the material to the task

Choose filament and resin with care

PLA and PLA+

PLA is often suitable for your first building components and decorative indoor layouts. It is comparatively straightforward to print, but has limited suitability for exposure to heat. PLA+ describes manufacturer-specific variants: a plus sign in the name does not guarantee consistent impact strength or heat resistance. Compare the relevant data sheets.

PETG and outdoor applications

PETG is worth considering for many brackets and more robust components. Stringing and fine overhangs require adjusted settings. Suitable ASA grades are also an option for outdoor models, provided the printer and workspace are designed for them. Check that the specific material offers the required UV resistance, heat resistance and resistance to water exposure.

Resin for fine miniatures

When choosing resin, detail reproduction, toughness and suitable print profiles matter. Standard resin can be brittle in thin handrails. “ABS-like” describes a material family; it does not mean identical behaviour to injection-moulded ABS. Water-washable resins change the cleaning process, but do not make liquid residues harmless.

Good storage supports good print quality

Store filament dry in a sealed container. Drying temperature and duration must suit both the material and the spool. A filament dryer allows more controlled moisture removal. Store resin away from light and according to the manufacturer's instructions. Record the material and profile used so that good results can be reproduced.

From T scale to garden railways

Change the scale, preserve printability

In principle, 3D printing can be used for any model railway scale. That does not make a file automatically printable at every scale. Reducing its size also reduces wall thicknesses, holes and railings. These details often need design adjustments. Our scale and gauge comparison helps put the options in context.

Common scales and typical considerations
Scale designation Scale ratio Printing considerations
T / Z / N 1:450 / 1:220 / 1:160 Simplify the smallest features; check supports and minimum wall thicknesses.
TT / H0 1:120 / 1:87 Print building shells and fine detailing parts separately where appropriate.
OO / S 1:76.2 / 1:64 Check the file's scale explicitly; similar track gauges do not mean identical dimensions.
0 / 1 Commonly 1:45 / 1:32 Split large bodies into sections; note that 0 scale ratios also vary between countries.
II / IIm / garden railways II and IIm: 1:22.5; G also uses other ratios Confirm the model-to-prototype scale, weather resistance and mechanical joints.

Narrow-gauge variants such as H0e, H0m, TTm, Nm, 0e and 0m retain the scale ratio of their parent scale. The suffix describes the track gauge. Vehicle parts also need compatible couplings, wheelsets, loading-gauge clearances and freedom of movement.

Scale calculator for prototypes and print files

Calculate a model length from its full-size prototype or rescale an existing file. Enter all lengths in millimetres; a full-size length of one metre equals 1,000 mm.

1,000 mm at full size corresponds to approximately 11.494 mm in H0.

Formula: original length × original scale denominator ÷ target scale denominator. To convert an H0 file to TT, use 87 ÷ 120 × 100 = 72.5 per cent. Scale all three axes uniformly, then check design clearances separately.

The digital workflow

From model to print-ready file

CAD software creates geometry; a slicer prepares it for the printer. For your first shapes made from cuboids and cylinders, Tinkercad is one possible starting point. Parametric CAD such as FreeCAD helps when dimensions need changing later. Organic figures call for different modelling tools from a precisely dimensioned electrical cabinet.

STL stores a triangulated surface; check the unit of measurement when importing. 3MF can also contain project information, with support depending on the software. STEP is useful for exchanging editable CAD geometry. Always keep the original design file as well.

Use a slicer suited to your printer and an approved starting profile. After scaling, inspect every layer in the preview: are thin walls preserved? Do any parts begin without a supporting connection? Are supports touching visible surfaces? Do not use someone else's print project and machine profile without checking them.

Six steps to a controlled result

  1. Define the prototype: measure the object you want to reproduce and photograph important views. Note which dimensions must fit precisely and which details mainly affect its appearance.
  2. Prepare the model: create your own design or check an existing file. Split large parts where they can later be glued securely and filled discreetly.
  3. Check the scale: compare the overall dimensions with your layout. Allow for windows, lighting, neighbouring buildings and the clearance needed by vehicles.
  4. Plan the print: choose the material and profile. Orient the part, add any necessary supports and inspect the complete layer preview.
  5. Assess a test print: for large models, print a critical section first. A single corner with a window often shows whether the details, fit and surface finish work.
  6. Document the result: save the design, print project and material specification together. Record successful changes before printing a batch or further building components.

Platforms such as Printables offer models and inspiration. Search by object, scale and prototype. Before downloading, modifying or sharing a file, check its licence; a free download does not automatically permit the sale of printed copies.

Start small and expand with a purpose

Project ideas for your model railway

Good beginner projects include electrical cabinets, cargo crates, tool trays and simple wall copings. Next come window frames, platform furniture, tunnel portals and building façades. Vehicle bodies, moving coupling components and delicate figures require more experience. Feel free to combine printed parts with building components, profiles and ready-made accessories.

Practical example: a simple H0 electrical cabinet

For this exercise, we will use a full-size cabinet measuring 1,200 × 800 × 400 mm. In H0, this gives approximately 13.79 × 9.20 × 4.60 mm. These dimensions are a design example, not a specification for a particular prototype.

Preparation and design

You will need CAD software and a slicer, suitable PLA or resin, callipers, a deburring tool, primer and model paint. Draw the main body first. Add a small plinth and an indicated door seam. Fine handles can be made from wire later.

Check walls and details

Do not copy wall thicknesses directly from the prototype without checking them. Choose printable dimensions suited to the nozzle or resin profile. For this small body, a simple solid design may be more practical than a complex hollow version.

Check before batch printing

Print one example first. Measure its height, width and plinth, and assess how it looks beside an H0 figure. Only then duplicate the model on the build plate.

1. Orient and prepare

Keep support contact points off the visible front face wherever possible. Check the contact area and overhangs in the layer preview. A small test saves material and time.

2. Print and post-process

Remove supports carefully. Clean, dry and post-cure resin according to the material instructions. Inspect the component before priming and painting.

3. Add it to the scene

Place the cabinet beside a railway service building or a platform. Keep sufficient clearance from the vehicle envelope and add subtle signs of wear.

For larger projects, our guide to scratch-building buildings is a useful next step. Plan walls, roofs and interiors as parts that can be assembled sensibly. Keep connections accessible so that lighting can be fitted and maintenance carried out later.

Surfaces, assembly and safety

Turn a print into a convincing model

A thick coat of paint will not make layer lines disappear. Remove unwanted protrusions first, sand selectively and apply filler only where details can be preserved. A thin coat of primer reveals flaws early. Test adhesives and paints on a spare piece; conventional plastic cement does not solvent-weld every printing material.

Files, tweezers and drill bits help with fitting. Holes and push-fit joints need clearances suited to the material. When weathering buildings, washes, dust effects and subtle colour variations help the print blend into the layout. Our guide to scenery building takes you through to a finished scene.

Plan the workspace from the outset

Follow the operating instructions and safety data sheet. Suitable protective gloves, eye protection and adequate ventilation are required when handling liquid resin. Water-washable resin and contaminated wash water must not go down the drain either. Collect residues and arrange disposal according to the manufacturer's instructions and local requirements. Solvents, hot components, sanding dust and UV post-curing also require appropriate protective measures.

Scanning and lasers as complementary tools

A 3D scanner can capture existing shapes, but does not automatically produce a print-ready file. Hidden areas, mesh errors and dimensional checks remain important steps. For flat walls or signs, laser engravers can provide additional options. Use only materials explicitly suitable for the process, together with the required enclosure and extraction. Ready-made laser-cut kits can also be combined with printed parts.

Improve systematically

Pinpoint common printing problems

Where possible, change only one parameter per test. Keep test pieces and notes. This helps you identify whether material preparation, orientation or a profile setting made the decisive improvement.

A useful sequence of initial checks
Symptom Possible cause Check first
FDM corners lift Adhesion or uneven cooling Clean the print surface, inspect the first layer, and check the material profile and draughts.
Strings between details Damp filament or unsuitable settings Test material condition, temperature and retraction one at a time.
Resin parts detach Insufficient adhesion, supports or exposure Check the build plate, resin temperature, calibration and support connections.
Missing details Geometry too small or an unsuitable profile Compare the file with the layer preview; revise feature thickness and orientation.

Manufacturers and compatible systems

Explore printers, materials and system accessories. Check equipment and material compatibility before buying.

From knowledge to tools

Find printers, materials and accessories

Search the linked 3D product categories by product name, material or item number. The selection is loaded from the shop when opened. Printers and materials are not inherently tied to a single model railway scale; your project determines the requirements.

The product list is being prepared. Use the category links to browse the range directly.

Explore the complete 3D Tools range

Frequently asked questions from the model railway workshop

Which 3D printer is suitable for H0 and TT?

FDM is often suitable for buildings and assembly aids. Resin is worth considering for fine figures or detailing parts. Compare the smallest details required, the build volume and the complete workflow; there is no single best printer for a particular scale.

What is the right layer height for model railways?

There is no universally correct value. The material, nozzle or exposure system, and component geometry determine the result. Start with a suitable manufacturer profile and a small test. Thinner layers do not automatically improve every detail.

Can I print my own spare parts for locomotives?

Body details or covers can be suitable projects. Gears, bearing seats, couplings and electrical insulating parts have additional requirements. Compare dimensions, loads, temperature and safety. First, also check for suitable original spare parts .

What does a home-printed model really cost?

Material is only part of the total. Include supports, failed prints, electricity, wear, cleaning, paint and working time. A printing service can make sense for a one-off item; repeated prints of your own designs change the calculation.

Do I always need a wash-and-cure station for resin?

Cleaning and post-curing must suit the resin. A combined station makes these steps convenient, but is not necessarily the only solution. What matters is a suitable process, thorough cleaning and the specified post-curing conditions.

Can 3D printing replace traditional kits?

It expands their possibilities. It is particularly useful for bespoke components, while mass-produced windows, profiles, figures and kits can save time. Good layouts often combine different materials and manufacturing techniques.

Further fundamentals: Prusa material guide, designing for 3D printing, MOROP NEM 010 (German PDF) and the safety and processing instructions provided by the relevant material manufacturer.

Make your idea part of the layout

Combine 3D printing with planning, technology and scenery building. Further guides take you from the first component to a finished model railway.

Explore the model railway guide