
From material prices to model costs
3D Printing Cost Calculator for Modellers
How much does a printed building, a batch of platform benches or a small figure cost? Calculate material, electricity, machine costs, consumables and working time. The calculator distinguishes between FDM and resin and shows estimated costs for the whole print job and per usable model.
Your figures instead of a flat price per gram
What will your next print job cost?
The 3D printing cost calculator for modellers uses the quantities and times from your prepared print job. Always enter consumption for the entire build plate or the whole print job. The quantity then divides the total costs between the models; it does not multiply material use or print time.
All initial values and project presets are illustrative examples. They are not shop prices, measured values or printing recommendations. “Load example” replaces the calculator values. Then adjust the material price, slicer figures and electricity tariff to suit your situation.
The initial example costs around €4.14 per print job and per model, excluding the value of working time.
Per usable model
€4.1360Excluding the value of working time
€4.140.6 kWh before the cost allowance
| Cost item | Amount per print job |
|---|---|
| Material | €2.00 |
| Electricity including additional equipment | €0.21 |
| Machine costs | €1.25 |
| Consumables | €0.30 |
| Failed print allowance (10%) | €0.38 |
| Value of working time | €0.00 |
A planning aid, not a binding quote. Calculations use unrounded values; displayed amounts may show rounding differences. Enter all prices consistently including or excluding VAT. VAT, profit margins and shipping are not added separately. Calculations run in your browser; no file upload is required.
Estimates based on suitable starting values
Where do material quantities and print times come from?
Prepare the model in your slicer first. Choose the printer, material profile, orientation, layer height, wall settings and supports. Only then do estimated consumption and print time become meaningful for that configuration. If you change settings or the number of parts, slice again and update the calculator values.
FDM: grams including all auxiliary structures
Use the total filament consumption for the print job. For example, a 500-gram spool costing €12 works out at €24 per kilogram. The empty spool is not part of the usable material quantity. For multiple materials, you can calculate their costs separately and use a weighted price per kilogram that matches the total weight.
Resin: distinguish millilitres from kilograms
A slicer may state resin consumption as a volume, while the bottle is sold by mass. The calculator therefore needs the density of the liquid material. One kilogram is not automatically one litre. The preset density is only an assumption, not a universal property of all resins.
Include resin consumed by the job, including supports and planned unavoidable losses. Reusable resin left in the vat should not all be charged to a single print. Cleaning supplies, filters and other consumables are entered separately. Find suitable materials in our ranges of filaments and resin.
A transparent calculation
How the result is calculated
- FDM material: grams ÷ 1,000 × euros per kilogram.
- Resin priced per kilogram: millilitres × density in g/ml ÷ 1,000 × euros per kilogram.
- Resin priced per litre: millilitres ÷ 1,000 × euros per litre.
- Electricity: (print hours × average watts ÷ 1,000 + additional energy in kWh) × electricity price.
- Machine: print hours × allocated machine cost per hour.
- Allowance: total material, electricity, machine and consumable costs × allowance percentage ÷ 100.
- Labour: active minutes ÷ 60 × hourly value.
- Unit cost: total costs including the allowance and labour ÷ usable quantity.
Average power consumption should come from a measurement over a representative print. The maximum rating on the power supply is not an equivalent substitute. Include heating up and additional equipment used for the print. If their energy consumption was already measured together, do not add it again as additional energy.
Allocate machine costs transparently
For a simple estimate, spread the purchase price and expected maintenance costs over a realistic number of operating hours. For example, an assumed €500 spread over 2,000 printing hours gives €0.25 per hour, before any additional repairs. This is a costing assumption, not a guaranteed service life or tax depreciation figure.
Enter zero if you deliberately want to exclude machine costs. The result will then be incomplete to that extent. Accessories already included in machine costs must not be charged again in full under consumables. You can also value your spare time at zero without making the actual time involved disappear.
Four presets to try
Buildings, tunnel portals, benches and figures
The presets illustrate different cost drivers. They are not verified print files and do not prescribe required material quantities. Load a preset, replace its values with your project data and observe which cost item changes the result.
H0 platform shelter in filament
The initial example assumes 80 grams and five printing hours. At €25 per kilogram, the material costs €2. Electricity, machine costs, consumables and the allowance increase the total to around €4.14. If you value the assumed 30 minutes of work at €20 per hour, the total rises to around €14.14.
Two tunnel portals on one build plate
This preset uses a total of 160 grams and eight hours. The two portals share the print job costs. If you only need one portal, enter its actual slicer requirements; changing the quantity from two to one alone does not halve the print job.
Twenty platform benches in resin
Here, 40 millilitres covers the entire batch, with cleaning, additional energy and your working time added. Small individual parts may have a low material cost. Removing numerous supports and checking thin legs are still tasks you should not overlook.
Ten figures with fine features
The figures preset changes the quantity, print duration and post-processing time. Use it to explore how active working time affects unit costs. Achievable detail depends on the specific process and model; the FDM and resin comparison helps put this into context.
Separate machine running time from your own time
Five hours of printing does not automatically mean five hours of active work. For labour costs, include tasks such as file preparation, setup, removal, cleaning, support removal and inspection. If you want to include design work, add the relevant share of that time. Waiting time and unattended printer operation should not also be entered as active working hours in the same calculation.
For batches, shared preparation can be spread across several parts. However, finishing each individual bench is still necessary. Do not simply estimate the time for one part and divide it by twenty. Instead, record one-off preparation plus the repeated tasks for the batch you actually plan to make.
Allow for failed prints deliberately
What does a ten per cent allowance mean?
The calculator adds ten per cent to material, electricity, machine and consumable costs. A €10 base cost therefore becomes €11 before working time is added. The input is a cost uplift, not a statistical failure rate. It guarantees neither a successful print nor full coverage of all failed attempts.
If every failed attempt cost as much as a successful one, a ten per cent failure rate would correspond to an uplift of about 11.11 per cent over time. In practice, a failure may happen early or only at the end. Use your actual experience and deliberately increase the allowance for new, untested projects.
Include additional cleaning up, checking or repeat work in the active minutes. The calculator does not automatically increase working time. Avoid unintentionally counting losses already included in the material quantity a second time through a flat percentage uplift.
From estimates to your own experience
Use a small model to check your costs
Prepare a platform shelter
Choose a suitable file for your gauge and prepare it with the appropriate material profile. You need a printer, material, a slicer, suitable scales, an electricity usage meter if required, and tools for deburring and assembly. For resin, you also need the full protective and post-processing equipment appropriate to the material.
Record the details before printing
Note the file version, orientation, slicer values and assumed prices. Enter the whole job into the calculator. This procedure is a planning example, not a report of our own test prints.
Compare after printing
Record actual running time, energy use and active working minutes. With FDM, removed supports also count towards consumption. Check discrepancies in the input data before attributing them to supposed differences between printer models.
Improve the next estimate
Keep records for recurring parts. Separate successful results from rejects and document profile changes. This makes your next estimate more reliable without having to start every trial from scratch.
For resin, washing, complete drying and the manufacturer's specified post-curing are part of the workflow. Allow for the consumables and additional energy involved. Protective measures and proper disposal are not sensible places to cut costs. Your wash and cure equipment must be suitable for the process and material.
Optimise where it matters
Reduce costs without compromising the model
Start with the largest cost item. Preparing several suitable parts together can spread active working time. Avoiding unnecessary supports and choosing a suitable part orientation can reduce material use and finishing work. However, walls and supports must not become so thin that breakage and print failures become more likely.
A low price per kilogram alone does not determine the cheaper result. Material, surface finish and ease of processing must suit the model. Compare PLA, PLA+, PETG and resins according to the intended use. For building components, combining printing with traditional scratch-building can also make sense.
The calculator works for T, Z, N, TT, H0, OO, S, 0 and 1, as well as II, IIm and garden railways. You can also use it for H0e, H0m, TTm, Nm, 0e and 0m. Use freshly sliced values in each case. Halving the external dimensions does not automatically reduce costs to one eighth when hollow bodies, minimum wall thicknesses and supports are involved. The gauge comparison helps you identify the right scale.
Check implausible results in a sensible order
If the amount is surprisingly high or low, first check grams versus kilograms, millilitres versus litres and minutes versus hours. Then check whether you entered a single part or the entire build plate. Only then adjust material prices or the allowance. This corrects the cause instead of compensating for a wrong unit with an apparently suitable price.
For parts of different sizes on the same plate, the displayed unit cost is only an average. A large façade and four small signs are not assigned individual costs this way. For separate project budgets, calculate such parts separately or allocate shared costs using a deliberately chosen method. Keep the same calculation method for comparisons and document any differing assumptions.
A purchase decision also needs to account for initial setup, learning time and your actual future requirements. This print job calculation does not replace a full assessment of whether the investment is worthwhile. The printer buying guide helps you assess build volume, technology and workspace together.
Explore equipment and workflows


Materials and equipment for your calculation
Compare current material offers and enter your actual purchase price in the calculator. Check the exact printer version, supported materials, build volume and included items on each product page.
Anycubic · Filament printing
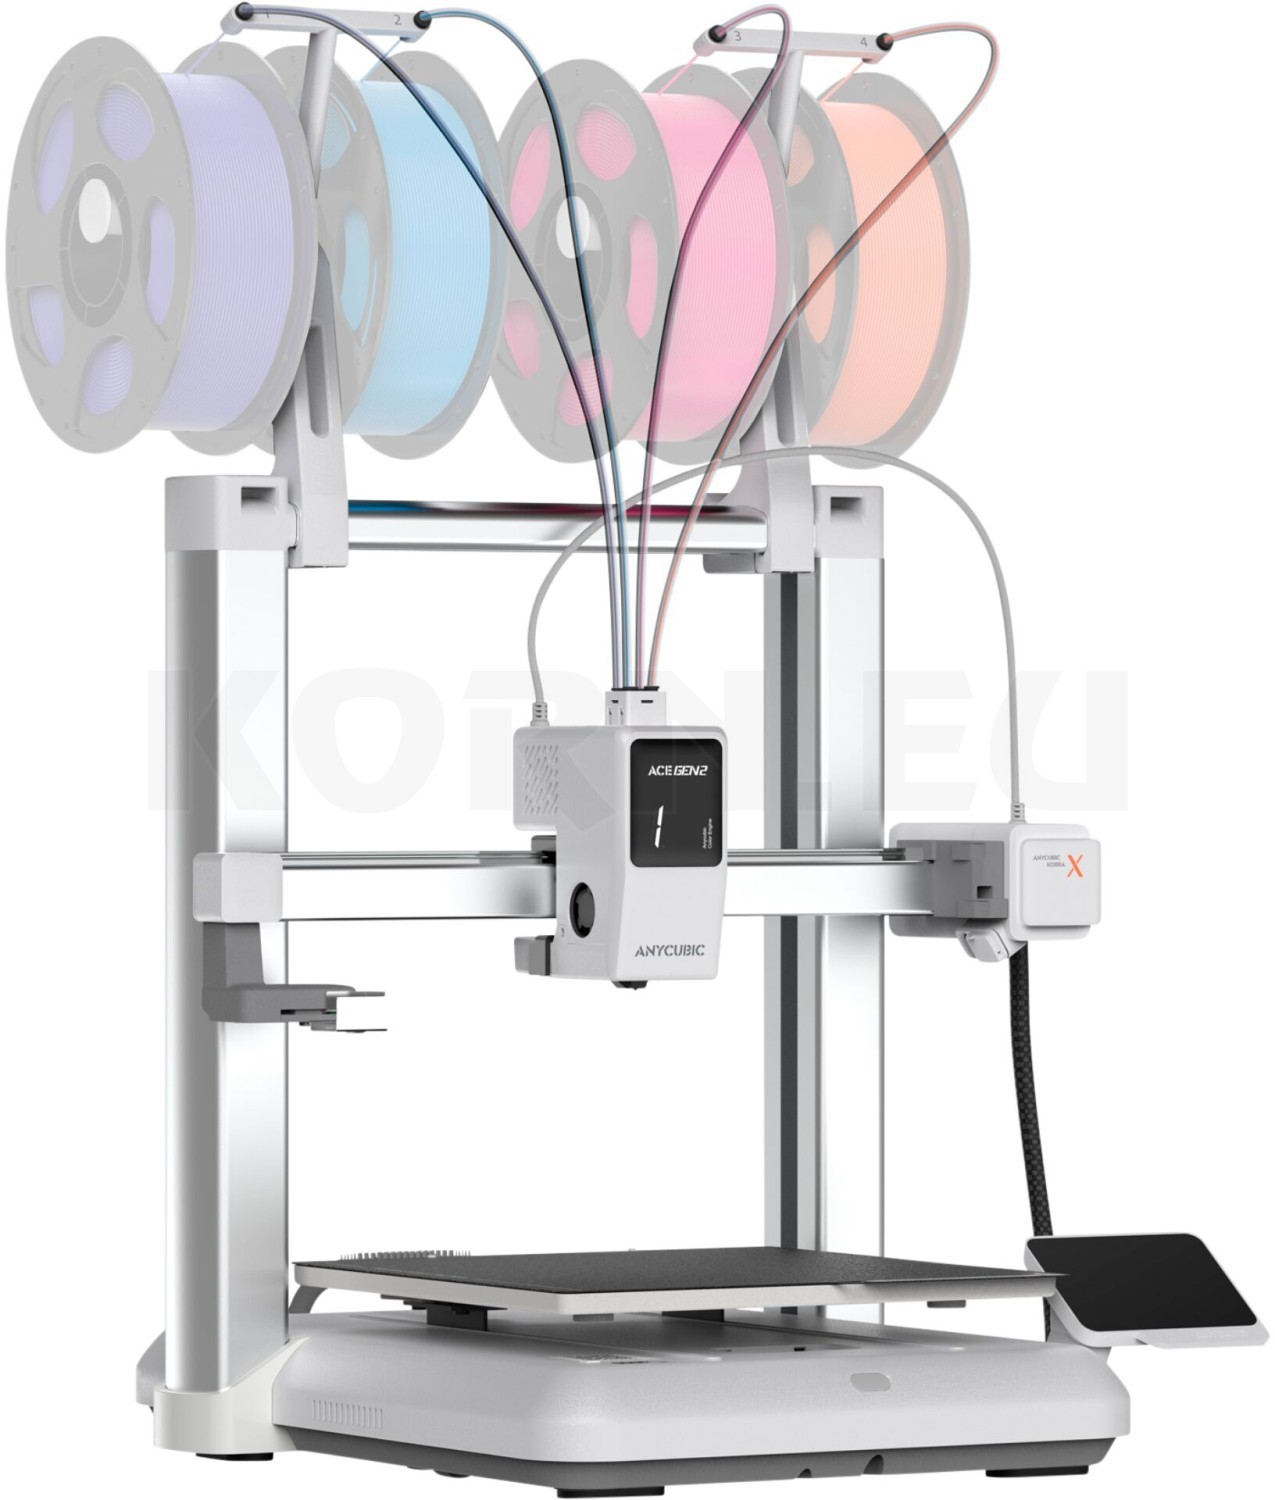
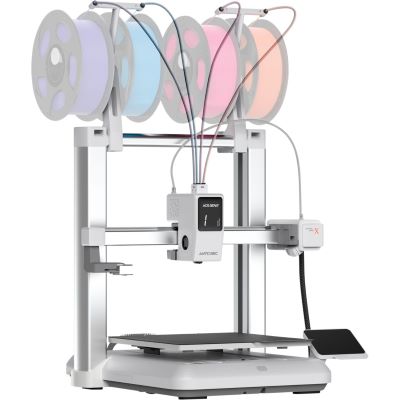
Kobra X
An FDM printer to consider for your filament projects.
View printer →
Creality · Filament
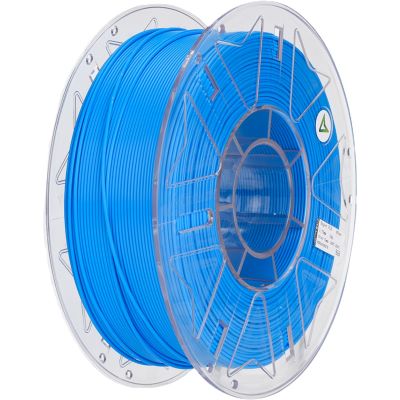
Hyper PLA RFID Blue
A filament option for comparing your material costs.
View filament →
Anycubic · Material
Water Washable Resin 2.0 Grey
Water-washable resin; protection and proper disposal are still required.
View material →
Anycubic · Post-processing
Wash & Cure 3 Max
A washing and post-curing workflow for suitable resin projects.
View accessories →Explore the manufacturers' ranges
Compare printers, materials and accessories within each system.


From comparison to the right material
Browse the current FDM and resin range
The product list loads items from the linked categories. Search by name, colour or item number and combine process, category and manufacturer filters. Check specific printer and material compatibility on the product page.
3D printers
Filament and resin
PLA
Buildings and scenery
PLA+
Manufacturer-specific formulations
PETG
Functional parts
Resin
Resins for small details
3D accessories
Washing, post-curing and material care
The product list is being prepared. You can open the categories directly.
Frequently asked questions about calculating printing costs
Does the quantity multiply my material consumption?
No. Material, time and consumables apply to the whole print job entered. The quantity divides its costs between the models. For more parts on the build plate, first use the newly calculated slicer values.
Why does resin sometimes need a density value?
To convert millilitres to kilograms. No density is needed for a price per litre. Check the packaging information and data sheet; do not assume that a bottle's mass equals the same numerical volume.
Does a ten per cent allowance mean ten per cent failed prints?
No. The allowance is a simple cost uplift on the listed base costs. A failure rate describes the proportion of unsuccessful attempts. The two figures are not mathematically equivalent.
Do I have to value my spare time at an hourly rate?
No. Entering zero euros leaves it unvalued. Still enter the minutes and also compare the result with an hourly value of your choice. This shows the difference between material costs and your active work.
Can I use the result as a selling price?
The calculator estimates costs based on your assumptions. It does not calculate a selling price including profit, sales costs, shipping or additional charges. Design and other overheads may also need to be considered separately.
Why does the calculation differ from the slicer's price?
A slicer's displayed price may cover material only and use saved default prices. This calculator adds other selected cost items. First compare material quantity, units and price, then electricity, machine costs and labour.
Technical background: Prusa on cost calculation, Boston University on slicer consumption estimates, Anycubic's material-specific density data and Formlabs on resin post-processing. The modelling presets and calculation assumptions on this page are independently created examples.
The right materials for your next model
Develop your plans with the 3D printing knowledge hub and combine printing technology with traditional model making.