
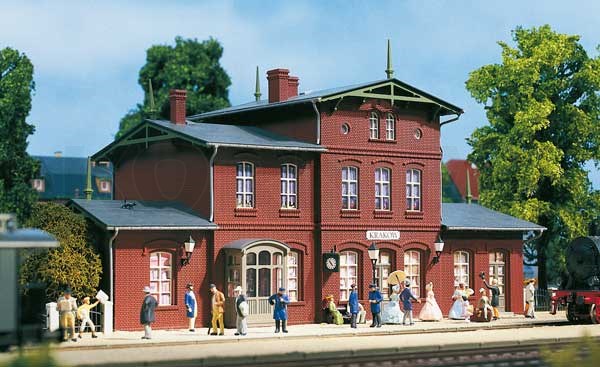
Building Models · Tools · Painting & Detailing
Build Plastic Model Kits: Gluing, Painting & Detailing
From the sprue to the finished building: remove parts cleanly, prepare mating surfaces, choose the right plastic cement, fit windows, paint surfaces, add interior lighting and weather the completed model realistically.
From Standard Kit to Individual Model
What Is a Plastic Model Railway Kit?
In a typical plastic building kit, walls, roofs, window frames, doors and many smaller parts are made from industrially moulded plastic components. The individual parts are usually attached to sprues and are removed only during assembly. This production method allows fine brickwork, timber framing, roof tiles, windows, gutters and technical details to be reproduced.
Building plastic model kits by gluing, painting and detailing them therefore involves considerably more than simply joining numbered parts. Clean removal and careful test-fitting already determine whether building corners remain square, roof sections sit flush and adhesive joints stay unobtrusive.
Paint, interior lighting, curtains, figures and restrained weathering can then transform a standard kit into a highly individual model for the layout. The finished building can be adapted to a specific railway era, region or operating purpose.
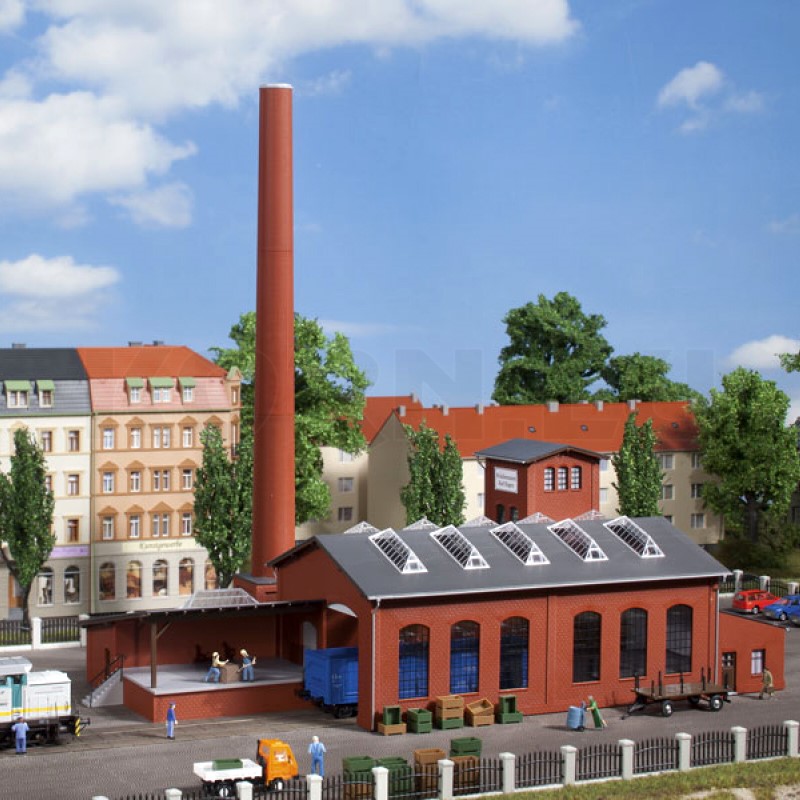
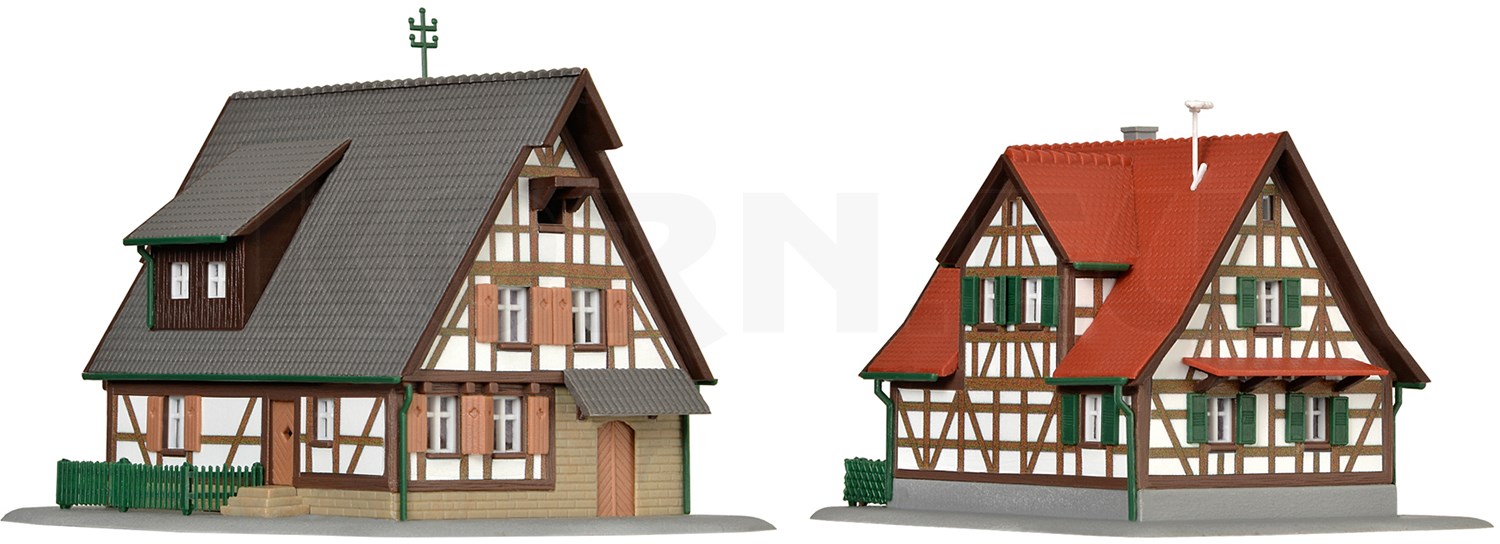
Typical plastic kits include station buildings, signal boxes, engine sheds, goods sheds, residential buildings, town houses, factories, workshops, agricultural buildings and small ancillary structures. Vehicle kits, cranes and industrial equipment can also use similar construction principles.
Always check the exact material specification for the individual product. Modern kits can combine moulded plastic with clear glazing, cardboard, laser-cut parts, metal components or other materials, so one adhesive is not necessarily suitable for every part in the box.
A Few Good Tools Produce Much Cleaner Results
What Basic Tools Do You Need for Plastic Model Kits?
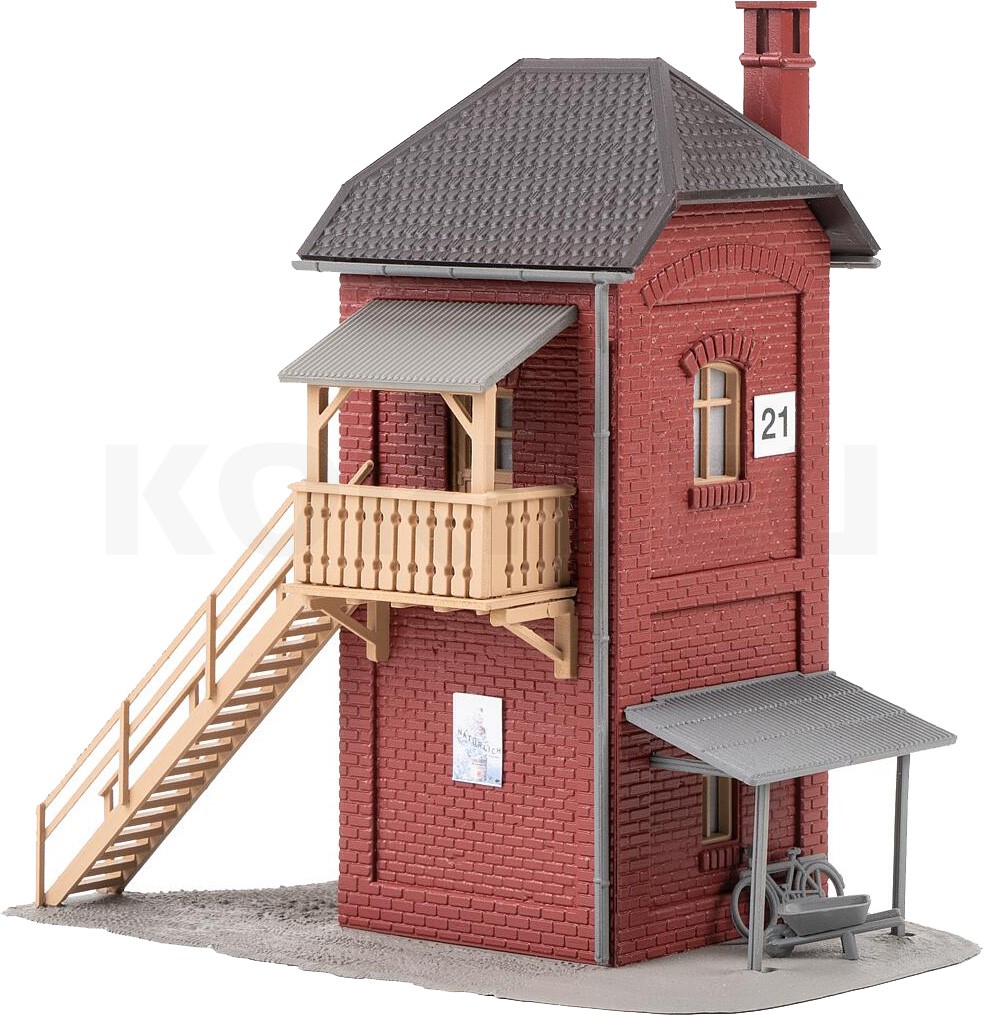
Beginners do not need a large workshop. A stable cutting mat, fine side cutters, a sharp modelling knife, small files, tweezers and a suitable plastic adhesive cover many common jobs. Fine brushes, paints and optionally an airbrush can be added for painting and weathering.
Cutting & Deburring
Side cutters, modelling knives, files and cutting mats for preparing clean components.
Plastic Adhesives
Choose precisely dosed adhesives to suit the material and the joint being assembled.
Paints & Weathering
Base colours, washes and pigments add depth to plastic surfaces.
Building Kits
Railway, residential, commercial and industrial buildings in different model railway scales.
A Reliable Route to a Square and Clean Building
1
2
3
4
5
6
7
8
Assemble a Plastic Model Kit Step by Step
Care at the beginning avoids repairs later. Large wall sections, delicate window frames and multi-part roofs should always be checked without adhesive before each construction stage is fixed permanently.
Check the Instructions and Sprues
Preparation
Understand the Part Numbers Before Cutting
Lay out all sprues clearly and compare their numbering with the instructions. Identify wall sections, roofs, windows and similar-looking parts before removing them. Some sprues contain optional components for different versions, so unused parts do not automatically indicate an assembly error.
Remove Parts Cleanly from the Sprue
Cutting
Do Not Simply Break Delicate Parts Away
Make the first cut slightly away from the component and remove the remaining gate carefully afterwards. This reduces the risk of stress whitening, deformation and broken details on thin window frames, gutters and railings.
Smooth Gates and Moulding Burrs
Mating Surfaces
Small Irregularities Can Become Visible Gaps
Remove remaining gates with a modelling knife or fine file. Building corners and roof edges should be flat and clean. Take care not to damage visible surface textures such as brickwork, timber boarding or roof tiles.
Dry-Fit the Walls
Test Assembly
Square Walls Determine Whether the Roof Fits
Place side walls and gables together on a flat surface without adhesive first. Once the corners and floor plan line up, the parts can be fixed. A small engineer's square or right-angle guide is especially useful for large station and factory kits.
Prepare Windows and Doors
Facade
Work from the Rear Wherever Possible
Test window frames in their openings before applying adhesive. Fix them with only a few small adhesive points. If windows or doors are to be shown open, make those modifications now while the wall still lies flat on the work surface.
Plan the Interior and Lighting
Before Final Assembly
Retrofitting Wires Later Is Unnecessarily Difficult
Decide which rooms will remain visible and where the light sources will be positioned. Interior partitions or opaque shielding help prevent the complete plastic shell from glowing. Wires can be routed down through the baseboard or layout surface.
Install the Roof Only After a Final Check
Closing the Building
A Removable Roof Can Make Maintenance Easier
Check glazing, lighting and the interior before fitting the roof. On illuminated or highly detailed buildings, a removable roof may be useful. Gutters, downpipes, antennas and other delicate details are best fitted as late as practical.
Integrate the Building into the Layout
Scenery
A Clean Base Prevents the Model from Looking Placed on Top
Bring pavements, platforms, vegetation and roads directly up to the building where appropriate. A light colour treatment around the base, restrained dust and a few suitable figures connect the completed model visually with its surroundings.
The Right Adhesive for the Right Material
Glue Plastic Model Kits Without Creating Visible Marks
Many traditional building kits are made predominantly from polystyrene. A suitable plastic cement can create a strong bond between these parts. The most important rule is controlled application: adhesive belongs on the mating surfaces rather than on brick textures, glazing or already painted visible surfaces. Mixed-material kits may require different adhesives for cardboard, wood, metal or other components.
| Task | Suitable Method | Important Point |
|---|---|---|
| Polystyrene Walls | Apply finely dosed plastic cement to the actual joint. | Align the parts first and keep them square while the bond develops. |
| Delicate Small Parts | Use a very small amount of adhesive with a fine needle or applicator. | Excess adhesive can damage fine moulded surface details. |
| Window Glazing | Fix the glazing sparingly only around concealed edges. | Avoid adhesive marks on the visible transparent surface. |
| Mixed Materials | Check the material specification and assembly instructions. | Plastic cement is not automatically suitable for cardboard, wood, metal or resin. |
Work Safely with Adhesives
Follow the safety instructions supplied with the adhesive, ventilate the work area appropriately and keep ignition sources away where required by the product instructions. Adhesives and sharp tools should be stored securely and used with appropriate supervision around children.
Add Depth Behind the Facade
Install Windows, Doors, Interiors and Building Lighting Correctly
Windows are especially noticeable on plastic buildings, so clean installation is worthwhile. Fit the frames into the wall first, then align the clear glazing from behind and secure it only where the adhesive joint will remain hidden.
Curtains, blinds and interior walls prevent a direct view into an otherwise completely empty shell. Open doors and windows change the character of a building significantly and benefit from at least a floor, dark interior partition or small scene behind them.
Workshops can contain tools, figures or machinery. Station buildings can include a waiting room, ticket office or passengers. These details are much easier to install while the building is still open.
Test the lighting before final assembly. Opaque interior surfaces help prevent thin plastic walls from shining through. Individually illuminated rooms normally look more convincing than a building that glows equally brightly through every window.
Less Plastic Shine, More Model Character
A
B
C
D
Paint and Weather Plastic Model Kits Realistically
Coloured plastic can already produce an attractive model without complete repainting, but carefully applied colour often improves the appearance considerably. Downpipes, window frames, doors, roofs, building bases and individual masonry details particularly benefit from differentiated tones.
Vary the Base Colours
Avoid making large areas unnecessarily colourful. Small tonal differences between individual bricks, roof tiles or timber details are often enough to break up the uniform appearance of moulded plastic.
Emphasise Joints and Recesses
Thin paint applications or washes can settle into recessed areas and make masonry, doors and timber structures appear more three-dimensional.
Place Operating Wear Logically
Dirt tends to collect around building bases, beneath gutters, around frequently used doors, near chimneys and on heavily used traffic surfaces.
Build Effects Gradually
Several light applications are usually easier to control than one heavy weathering pass. This keeps fine moulded surface detail visible and prevents the building from looking overloaded.
Scale Is the Key Factor for Buildings
Compare Model Railway Gauges
Plastic Building Kits for H0, TT, N, Z, 0, 1 and G Gauge
With building kits, scale is generally the most important value. H0, H0m, H0e and H0f, for example, all use a 1:87 model scale; their different designations primarily refer to the modelled railway track gauge. Many H0 buildings can therefore also be used beside an H0m or H0e railway when the prototype and dimensions suit the scene.
| Model Size | Typical Scale | What It Means for Plastic Buildings |
|---|---|---|
| Z | 1:220 | Very compact kits where clean preparation of small parts is especially important. |
| N | 1:160 | Allows larger town scenes and extensive railway areas within comparatively little space. |
| TT / TTe | 1:120 | A useful compromise between visible building detail and overall space requirement. |
| H0 / H0m / H0e / H0f | 1:87 | Very broad selection of station, residential, town and industrial buildings. |
| 0 | approx. 1:45 | Large visible details, but the buildings require correspondingly more layout space. |
| 1 | 1:32 | Large building models and highly detailed individual projects. |
| G | often around 1:22.5, depending on the prototype | Large structures for garden and large-scale railways; POLA and other manufacturers offer suitable models. |
Unsure Which Scale You Need?
Compare model size and scale first. The track gauge may differ even when the surrounding buildings use the same 1:87 scale.
Directly to the Manufacturer Worlds
Manufacturers of Plastic and Building Kits
Scales, architectural styles, detail levels, material combinations and difficulty vary by manufacturer. Always check the exact material and contents stated for the individual product before starting construction.





Current Products Directly from the Webshop
Find Plastic Kits, Adhesives, Tools and Paints Live
The product finder loads suitable products from current English Modellbahnshop categories when this section approaches the viewport. Recognised archived product pages are excluded. Prices, stock information and delivery status are deliberately not displayed.
Current English product categories will be loaded when this section approaches the viewport …
Suitable Products for Every Construction Stage
Important Product Categories for Plastic Model Building
Building Kits
A broad selection for towns, villages, railway facilities and commercial scenes.
Railway Facilities Buildings
Stations, signal boxes, engine sheds and further railway structures.
Production & Craft
Factories, workshops and commercial buildings for industrial scenes.
Residential Buildings
Houses and residential developments for villages and towns.
Trade Buildings
Shops and commercial buildings for lively town and village centres.
Restaurant Buildings
Hotels, inns, restaurants and other hospitality buildings.
Adhesives
Plastic cement and further adhesives for different materials and construction jobs.
Tools
Cut, file, grip and assemble model components precisely.
Paints
Painting, detail work and weathering for model surfaces.
Vehicle Kits
Road vehicles and technical models for individual assembly and detailing.
Small Causes Can Produce Very Visible Problems
1
2
3
4
The Most Common Mistakes When Building Plastic Models
Using Too Much Adhesive
Excess plastic cement can run out of joints and permanently affect visible surfaces. Small, accurately placed amounts are usually sufficient.
Breaking Parts from the Sprue
Window frames, railings and gutters can easily be damaged. Delicate components should always be removed from the sprue in a controlled way.
Gluing Without a Dry Fit
A slightly misaligned wall can cause the roof, base or extensions to sit incorrectly later. Test larger assemblies without adhesive first.
Planning Lighting Too Late
Closed buildings are much harder to wire. Lighting, interior partitions and cable routes belong in the plan before the roof and base are permanently fitted.
Questions from Everyday Model-Building Practice
Frequently Asked Questions About Building Plastic Kits
Which Adhesive Is Suitable for Plastic Model Kits?
A plastic cement intended for the material is normally used for typical polystyrene kits. Mixed-material kits may also require a separate adhesive for cardboard, wood, metal or other materials.
How Can I Avoid Adhesive Marks on Building Walls?
Dry-fit the components first and then apply only a small amount of adhesive directly to the mating surfaces. Window frames can often be fixed especially cleanly from the rear.
Should Plastic Parts Be Painted Before Assembly?
Hard-to-reach components such as window frames, interior surfaces or individual roof details can often be painted more easily before final assembly. Keep adhesive mating surfaces free of paint where required by the chosen cement.
How Should Transparent Window Glazing Be Installed?
Cut the glazing accurately and secure it sparingly only around concealed edges. Avoid spreading adhesive over the visible transparent surface.
Why Does the Roof of My Plastic Kit Not Fit Correctly?
Side walls or gables are often not exactly square. Align the main shell on a flat surface before allowing the joints to cure fully and fitting the roof.
Do H0 Buildings Also Suit H0e or H0m?
Yes, where the prototype and dimensions fit the scene. H0, H0m and H0e all use a 1:87 model scale; the principal difference is the modelled railway track gauge.
Can Building Kits from Different Manufacturers Be Combined?
Yes. Scale, architectural style, era and actual building dimensions should fit the scene. A town often looks more natural when several different architectural designs are combined.
How Can I Stop Illuminated Plastic Walls from Glowing?
Interior surfaces can be made opaque or fitted with separate interior walls. Test the lighting in a darker room before final assembly.
How Heavily Should a Model Building Be Weathered?
Weathering looks most convincing when it has a logical cause. Building bases, rainwater areas, roofs, chimneys and workshop doors can be dirtier than protected facade surfaces.
Which Plastic Kit Is Suitable for a Beginner?
A smaller building with a manageable number of wall and roof parts is a useful starting point. It teaches the essential techniques without requiring many delicate components at the same time.
From an Individual Building to a Complete Layout Scene
Related Topics for Further Model Railway Building
Stations
Select station buildings to suit platforms, track arrangements and the chosen railway era.
Engine Sheds
Create locomotive servicing areas with workshops, tracks and characteristic railway equipment.
Industrial Buildings
Combine factories, workshops and larger building complexes.
Town & Residential Buildings
Combine several building kits into believable streets and residential districts.
Gauge Comparison
Compare scale and model track gauge before selecting buildings and vehicles.
Track Systems
Compare track geometry and systems before planning railway buildings and surrounding scenery.
Plan a Model Railway
Include buildings and scenic areas early in the overall layout plan.
Model Railway Maintenance
Keep vehicles, lighting, track and other technical components reliable over long-term use.
Build Cleanly, Then Add Your Own Individual Finish
Cleanly prepared components, sparing adhesive, careful test-fitting and controlled painting turn a standard plastic kit into a convincing individual model for the layout. English shop destinations and core product links checked on 10 September 2026.