One Direction
Do not twist the fracture lines of neighbouring rocks randomly.

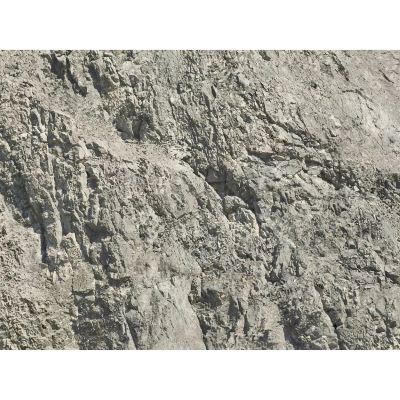
Cast individual rocks, model them with filler, carve rigid foam or cover a large rock face with lightweight foil. The decisive factor is a coherent rock type with consistent fracture lines, layered colour, believable scree and natural vegetation.
Designing realistic model railway rocks means planning the form, rock direction, colour and surroundings together. A single grey rock block rarely appears convincing. Fracture lines, shadows, broken edges, scree and a suitable transition to the vegetation are what create a coherent rock formation.
The basic form can be cast, modelled with filler, carved from rigid foam or covered with rock foil. The technique itself is less important than creating a recognisable type of rock. Several individual rocks should therefore be aligned in a similar direction and treated with the same colour palette.
Model rocks are built from coarse to fine. Begin with a stable form, continue with the base colour, a dark wash and restrained highlights, and then connect the rock to the rest of the scenery with small stones, earth, grass tufts, moss and shrubs.
Do not twist the fracture lines of neighbouring rocks randomly.
Combine a base colour, darker shadows and a few light edges.
Not every slope has to be covered completely with exposed rock.
Scree, earth and plants connect the rock naturally to the terrain.
Apply a light or medium rock colour over the complete raw surface.
Guide thin dark colour into cracks, joints and recesses.
Carefully remove excess wash from raised surface areas.
Emphasise selected edges with an almost dry brush.
Add scree, soil and vegetation around the base of the rock.
A recognisable rock type makes it easier to choose the form, base colour, scree and vegetation. The examples provide practical design guidance rather than a geological classification.
Angular fractures, grey base colours and light edges suit massive mountain faces. Darker grey, brown and green shades can collect in the recesses.
Ochre, beige and brown support softer, layered forms. Matching sandstone scree connects the rock face, path and mountain base.
Light grey and beige work with dark cracks and restrained green traces. Avoid covering large surfaces with pure white.
Parallel bands suit railway and road cuttings. Maintain the same inclination across several adjoining rock elements.
Soil, moss, lichen and small shrubs cover parts of the surface. Only selected fracture edges remain clearly visible.
Rounded stones, fine scree and darker moisture zones distinguish a riverbank from a dry vertical rock face.
| Rock Effect | Typical Colour Family | Suitable Addition | Suitable Layout Scene |
|---|---|---|---|
| Angular and massive | Grey, anthracite and off-white | Coarse scree and low alpine plants | Alps, quarry and deep cutting |
| Warm and layered | Ochre, beige and brown | Sandstone scree, earth and dry grass | Low mountains and river valley |
| Pale and rugged | Light grey, beige and a dark wash | Small bushes and gravel areas | Limestone mountains and hillside roads |
| Damp and weathered | Grey, brown, green and black | Moss, soil, roots and river stones | Stream, ravine and forest edge |
Different methods are suitable for large surfaces and individual accent rocks. Several techniques can also be combined within the same formation.
| Technique | Particular Strength | Suitable For | Important Working Step |
|---|---|---|---|
| Rock casting mould | Deep three-dimensional fracture structures | Individual rocks and structured rock faces | Align casts similarly and fill the joints |
| Rock filler | Free shaping directly on the terrain | Transitions, cuttings and mountain bases | Shape the structure before the material has fully set |
| Crumpled rock or rock foil | Fast, lightweight coverage of large areas | Background slopes and narrow layouts | Conceal edges with filler and scree |
| Ready-made rocks | Immediately recognisable individual structure | Small dioramas and prominent accents | Do not position them in isolation on a flat surface |
| Carved rigid foam | Lightweight and individually workable | Plateaus, cuttings and joins to retaining walls | Use only material-compatible paints and adhesives |
| Mixed construction | Large areas with sculptural focal points | Mountain massifs, ravines and tunnel portals | Unify the colour and fracture direction |
Rotate cast rocks and foil sections so that the strata and fracture lines continue in a shared direction. Filler and small fragments close the intermediate gaps and turn separate elements into one coherent formation.
Thin coats preserve the surface structure more effectively than one thick, opaque layer. A test rock helps you assess the mixture, colour transition and appearance after drying before working on the complete rock face.
The first colour covers the pale raw surface and should remain lighter than the later shadow colour.
Thin dark colour flows into cracks and joints. Remove excess colour from the raised areas before it dries.
An almost dry brush adds a few light accents to protruding fracture edges without covering the darker recesses.
Matching stone, soil and low plants conceal hard transitions and connect the rock face to the surrounding terrain.
Base colours, shadows, weathering tones and light highlights.
Fine and coarse materials for rock bases, paths and riverbanks.
Low vegetation for cracks, ledges and transitions to woodland.
Spruce, fir and pine trees for mountain and forest scenery.
Plaster, filler and paint are generally universal. Visible fracture edges, scree, plants and structures must nevertheless suit the selected model size.
| Gauge | Typical Scale | Suitable Visual Effect | Particularly Important |
|---|---|---|---|
| Z Gauge | 1:220 | Fine layers and calm surfaces | Use exceptionally fine scree |
| N Gauge | 1:160 | Long rock bands and extensive valleys | Use coarse ready-made rocks sparingly |
| TT Gauge | 1:120 | Visible structure at a moderate model size | Check H0/TT product labels against the actual dimensions |
| H0, H0e, H0m and H0f | 1:87 | Detailed rocks, walls and vegetation | All H0 variants use the same scenery scale |
| Gauge 0, 0e and 0m | Usually approximately 1:45 | Large individual rocks and bold textures | Finish transitions particularly carefully |
| Gauge 1 | 1:32 | Highly visible colour and surface details | Use sufficiently large fragments |
| G Gauge and IIm | Prototype-dependent, frequently approximately 1:22.5 | Large rocks and robust terrain bodies | Outdoors, use only suitable weather-resistant materials |
Casting moulds, filler, rock foils, colours and scree from different manufacturers can be combined when the materials and selected adhesives are compatible.
Filter the verified selection by technique, rock effect, manufacturer, gauge and product group. Every card leads directly to the English version of the corresponding product page.
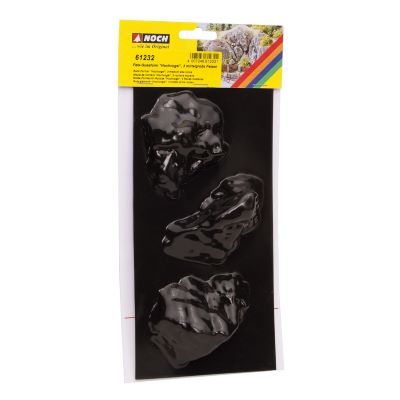
Reusable mould for three detailed medium-sized rocks and structured rock faces.
View Product →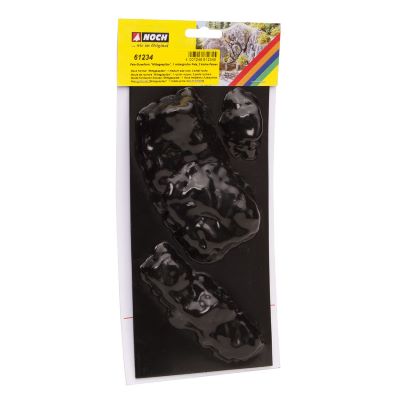
Reusable mould for varied fracture edges and individual mountain-rock formations.
View Product →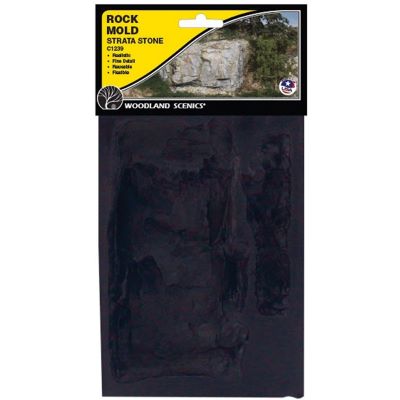
Casting mould for layered rock bands, cuttings and structured rock walls.
View Product →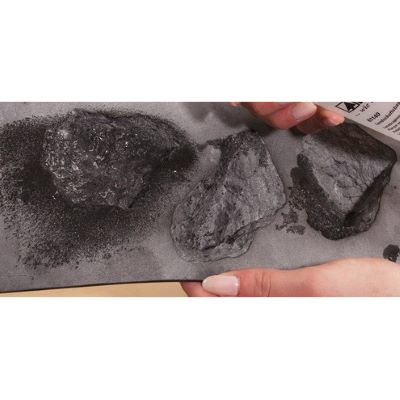
Casting material developed for detailed reusable rock moulds and larger rock-building projects.
View Product →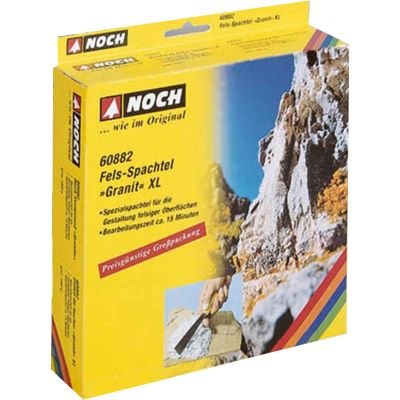
Grey modelling compound for forming large granite-style rock faces directly on the terrain.
View Product →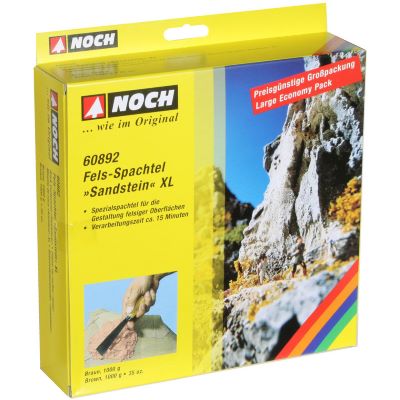
Warm-coloured structural compound for sandstone walls, cuttings and low-mountain scenery.
View Product →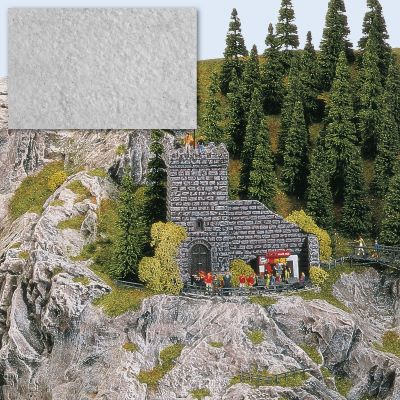
Modelling compound for free-form rock surfaces, transitions and irregular terrain structures.
View Product →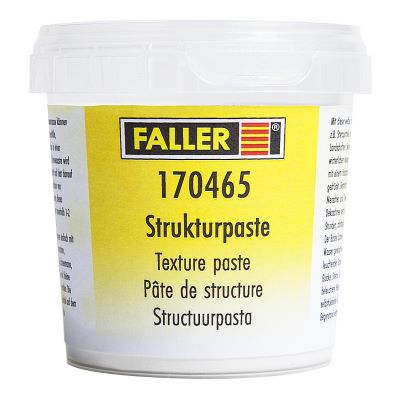
Paste for modelling terrain surfaces and closing transitions between scenery elements.
View Product →
Lightweight, deeply structured surface for covering extensive rock walls and background slopes.
View Product →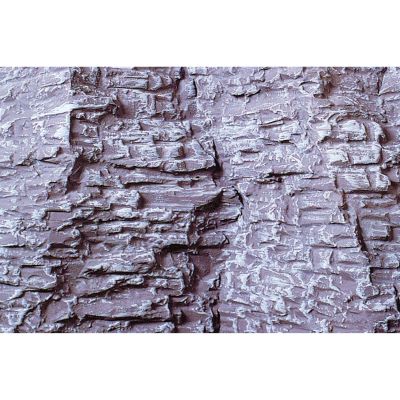
Large-format rock foil for layered formations, cuttings and long continuous rock bands.
View Product →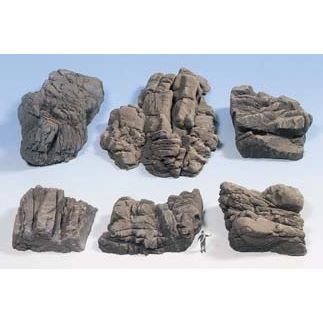
Six sandstone-style elements for individual rock accents, walls and terrain transitions.
View Product →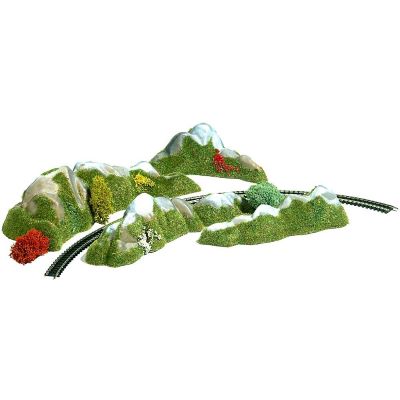
Small rock pieces for compact layouts, embankments and individual scenic accents.
View Product →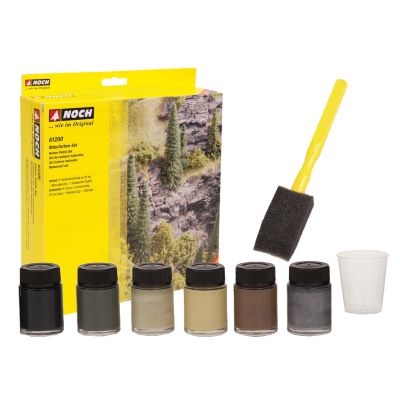
Coordinated colour shades for building up base tones, shadows and highlights on rocks and terrain.
View Product →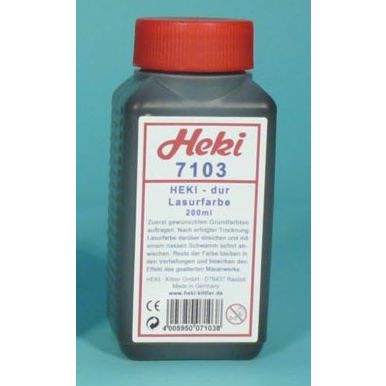
Dark, water-thinnable wash for emphasising cracks, joints and recessed surface details.
View Product →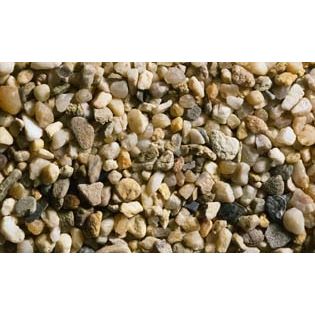
Natural stone material for warm rock bases, paths, riverbanks and sandstone landscapes.
View Product →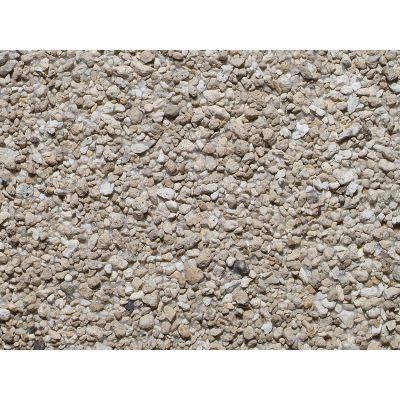
Fine grain for convincing rock bases, gullies, paths and smaller model railway gauges.
View Product →
Flexible modelling paste for transitions, terrain edges and joins around rock elements.
View Product →
Practical accessory for mixing plaster, casting compounds and other scenery materials.
View Product →Combine the raw form, rock structure, base colour, wash, scree and vegetation instead of treating every material as an isolated step.
Casting moulds, casting compounds and structural pastes.
Lightweight surfaces for slopes, cuttings and retaining walls.
Base tones, shadows, weathering shades and light edges.
Fine and coarse transitions around the mountain base.
Railway structures for rock faces and mountain routes.
Structures for ravines, cuttings and mountain valleys.
Low vegetation for cracks, ledges and forest edges.
Suitable fixation for rock pieces, scree and plants.
These steps apply to cast rocks, filler and rock foils. Product-specific mixing ratios, application instructions and drying times remain authoritative.
Mark the intended rock face, mountain base and areas that should remain free of vegetation.
Remove loose material and protect track, turnouts and nearby structures from plaster and paint.
Process the selected material in accordance with its individual instructions.
Test the complete arrangement while dry before permanently fixing the individual pieces.
Hard edges disappear beneath additional texture and suitably fine scree.
Cover the complete raw surface, but avoid applying the colour so thickly that it fills small details.
Dark cracks and selected light edges make the three-dimensional surface structure clearly visible.
The added materials connect the rock, path and surrounding landscape into one coherent scene.
A surface painted with one opaque dark-grey coat loses its visual depth. A lighter base tone, a thin wash and a few restrained highlights produce a more convincing result. Avoid repeating the same casting mould several times in exactly the same orientation.
Rocks should not end abruptly on a smooth grass surface. Scree, exposed earth and low vegetation break up the mountain base. Selected rock areas should nevertheless remain open so that their structure remains visible.
Plaster, filler, paint and adhesive must dry completely. Protect track, turnouts and moving components throughout dusty or wet scenery work.
Continue the same stratification and fracture direction across several adjoining pieces.
Thin coats preserve small cracks, sharp edges and detailed surface structures.
Group stones below edges, inside gullies and around the base of the rock face.
Keep distinctive rock formations deliberately visible and allow selected areas to remain barren.
A small casting or filler sample shows how the base colour, wash, dry-brushing and scree work together after every layer has dried.
These answers help with material selection, colour build-up, scale and a natural transition between the rock and the surrounding landscape.
Rock casting creates deep structures, filler permits free-form modelling and rock foil covers large surfaces quickly. The methods can also be combined within one formation.
The colour depends on the intended rock type. Grey, beige, ochre and brown are usually combined in several related shades rather than applied as one uniform colour.
A thin dark wash collects in cracks and recesses. Selected raised edges are then highlighted sparingly with an almost dry brush.
Align the pieces in a similar direction. Filler, small fragments and scree close visible joints and connect the individual casts.
Yes. Foil forms the large basic surface, while cast rocks add prominent projections, deep fractures and individual focal points.
Apply a suitable scenery adhesive sparingly. The grain size and bonding method should always follow the information supplied with the selected product.
Fine grain generally appears more convincing in Z, N and TT. Larger stones should be used only as individual boulders or prominent fragments.
Warm beige, ochre and brown shades suit layered forms. Sandstone scree creates a coherent transition around the bottom of the rock face.
Grey base tones, dark cracks and restrained light edges support the angular, massive appearance associated with granite and high-mountain scenery.
Plants are concentrated in cracks, on ledges and around the mountain base. Large vertical areas can remain exposed and comparatively barren.
Many basic materials are universal. Scree, plants, walls and clearly visible structures must nevertheless be adapted to the scale of the layout.
Begin with a small casting or filler sample. It provides a safe way to practise the form, wash and dry-brushing before working on a complete rock face.
Select the rock type and building technique, coordinate the colours and connect the completed rock face to the layout with suitable scree, soil and vegetation.
Content reviewed and updated on 16 August 2026. The mixing ratio, drying time and processing instructions supplied with each individual product remain authoritative.