How much space is really usable?
Not all of the room is available for track. Operating aisles, reach zones and maintenance openings must be included from the outset.

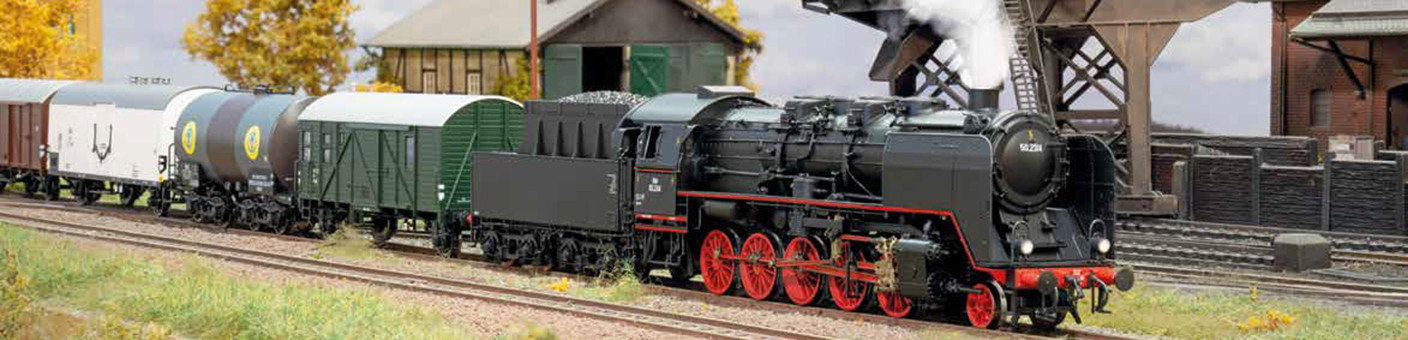
A good model railway layout does not begin with the first piece of track, but with a clear plan. Determine the space required, gauge, layout shape, operating concept, curve radii, gradients, hidden yard, power supply and construction phases before the actual build begins.
Planning a model railway means viewing the room, rolling stock, track, technology and scenery as one connected project. The available space does not determine the layout size on its own. Reach depth, accessible maintenance openings, aisles, doors, windows, radiators, sloping ceilings and the height at which the layout will later be built and operated are equally important.
The next question is what should happen on the layout. A showcase main line for long express trains requires different radii and station lengths than a small branch line with shunting operations. An automated hidden yard places different demands on feedback and wiring than a deliberately simple analogue layout. The desired operating style should therefore be defined before the final track plan is drawn.
The gauge influences the space required, possible train lengths and the visual level of detail. The Model Railway Gauge Comparison helps classify Z, N, TT, H0, narrow gauge, 0, 1 and G. In H0, an early decision must also be made between centre-rail and two-rail systems .
Before selecting individual track pieces, four fundamental decisions should be recorded in writing. These specifications form the layout brief and prevent the design from later conflicting with the rolling stock, the room or the way the railway is operated.
Not all of the room is available for track. Operating aisles, reach zones and maintenance openings must be included from the outset.
The longest passenger or freight train determines the platforms, sidings, hidden-yard tracks and often the sensible size of the visible station.
Continuous running, shunting, timetable operation, multi-train operation and automation require different track structures and technical equipment.
Hidden turnouts, tunnels, helixes and hidden yards must remain cleanable, testable and repairable after the scenery has been built.
The layout shape determines reach depth, route length, operating comfort and viewing angles. A large rectangular board is by no means automatically the best solution. A narrow wall, L-shaped or U-shaped layout often provides longer routes and more accessible scenes.
The classic board is easy to understand and suitable for small to medium-sized layouts. If it is too deep, however, tracks and buildings at the rear quickly become difficult to reach.
Compact beginner layoutsTwo connected legs provide longer routes and allow the station and main line to be separated visually. The corner of the room is used efficiently.
Branch line and main lineThree layout legs provide plenty of route length and several operating locations. The central operating aisle must be planned with sufficient width.
Larger operating layoutsA narrow layout along one or more walls offers good accessibility and often appears more spacious than a deep rectangular board.
Shelf and sectional layoutsIndividual transportable sections can be built and maintained one after another. They are also easier to move or combine in a new arrangement.
Flexible and mobile projectsA narrow point-to-point layout can provide permanently varied operation with only a few turnouts and does not require a complete continuous loop.
Little space, plenty of operationSmaller gauges allow longer trains and more generous route planning. Larger scales offer more visible detail but require larger radii and longer turnouts. The decision should therefore be based not only on a favourite model, but also on the room, intended train length and preferred style of operation.
| Gauge | Scale | Planning strength | Typical layout | Suitable starting point |
|---|---|---|---|---|
| Z | 1:220 | Very long route in a small space | Suitcase layout, display case, compact main line | Compare gauges |
| N | 1:160 | Long trains and generous scenery | Main line, large station, hidden yard | Discover N gauge |
| TT | 1:120 | Good compromise between space and detail | Branch line, DR theme, medium-sized main line | Discover TT gauge |
| H0 | 1:87 | Very wide choice of rolling stock and accessories | Branch line, digital layout, shunting operations | Discover H0 gauge |
| H0e / H0m | 1:87 | Large models on narrower track | Mountain railway, light railway, Saxon narrow gauge | Compare narrow gauges |
| 0 / 0e | usually 1:45 | Strong detail and easy handling | Shunting yard, modules, short branch line | Compare gauges |
| 1 | 1:32 | Very large and detailed rolling stock | Modules, collector operation, large indoor spaces | Compare gauges |
| G / IIm | often 1:22.5 | Robust large-scale railway for indoors and outdoors | Garden railway, terrace, large narrow-gauge railway | Discover G gauge |
A track plan is successful when every track has a clear purpose. A station does not need the greatest possible number of turnouts. It needs sufficiently long main, passing, siding and loading tracks. A small terminus with a goods shed and industrial connection can offer more activity than an overcrowded continuous loop without a clear operating purpose.
Trains can run continuously while crossings, overtaking and shunting take place in the station. This concept is particularly suitable for family and beginner layouts.
Trains run between two operating locations or between a station and a hidden storage area. This concept looks realistic and does not require a visible continuous loop.
Wagons are delivered, collected and arranged in a specified order. Only a few tracks are required if their usable lengths are properly coordinated.
Long passenger and freight trains require large visible radii, sufficient station lengths and smooth routes without too many tight reverse curves.
Short trains, manageable stations and a clear operating sequence make a realistic layout possible without filling the entire room with track.
The visible route and hidden storage level are connected by ramps or a helix. Gradients, clearances and accessibility must be checked particularly carefully.
A plan that looks attractive on a screen must also work with real rolling stock. Tight radii, immediately successive reverse curves, platforms that are too short, steep ramps and insufficient clearances are particularly critical.
The manufacturer’s specified minimum radius is a technical lower limit and not automatically the best visible radius. More generous curves look smoother and often improve the running characteristics of long coaches.
Wherever possible, place a straight intermediate section or a gentle transition between two opposing curves. This reduces lateral movement of couplings and vehicle ends.
Platform, passing and hidden-yard tracks must accommodate the longest intended train. The locomotive, vehicles, coupling gaps and a safety allowance must all be included.
Laying out the intended train formation on a straight track and measuring it provides a much more reliable basis than estimation.
A gradient must be long enough to overcome the required height difference without excessive loss of traction. Curves add further resistance and should not be assessed solely according to the length of the straight ramp.
Before final installation, carry out a temporary load test with the weakest intended locomotive and the longest train.
Vehicles swing inwards and outwards on curves. Parallel tracks, platform edges, tunnel portals and catenary masts therefore require additional clearance on curved sections.
Long coaches, overhanging locomotive ends, pantographs and protruding details must also be taken into account when checking clearances.
A layout should not be completed all at once. Clearly defined construction phases make corrections easier and prevent scenery, buildings or ballast from having to be removed because tracks or electrical connections are not yet operating reliably.
Add all fixed obstacles, operating aisles, doors, windows and accessible layout edges to a scale drawing.
Record the intended trains, stations, industrial connections, timetable or automated operation in writing.
Start with the main line and station, then add sidings, loading tracks and hidden-yard tracks.
Test train lengths, radii, turnouts, couplings and possible collisions with the models that will actually be used.
Build the frame, formers and track beds so that hidden areas remain permanently accessible.
Initially secure the track without permanent ballast and test every direction of travel thoroughly.
Label power feeds, feedback modules, turnout decoders and circuits, and record them in a wiring diagram.
Weather and ballast the track, and build terrain, roads and buildings only after reliable test running.
Buildings and tracks at the rear cannot be reached safely. A narrower layout with an operating aisle is often more practical.
Overcrowded track plans leave hardly any room for realistic scenery, roads, buildings and visually calm route sections.
The train does not fit completely alongside the platform or blocks turnouts. The longest intended train formation must be measured in advance.
A fault in a tunnel can block the entire layout. Maintenance openings must be large enough and positioned sensibly.
Traction, curve resistance and differences between locomotives are easily underestimated. A test arrangement provides more reliable results.
Missing cable routes and badly positioned drives make installation and maintenance more difficult. Cable routes belong in the structural planning phase.
Basic equipment, starter sets, space requirements and a sensible step-by-step introduction to the hobby.
Open the beginner’s guide →Compare scales, track spacing, space requirements and the typical strengths of different model railway gauges.
Compare gauges →Understand control methods, decoders, command stations and future expansion options.
Compare control systems →Distinguish between centre-rail and two-rail systems, pickup shoes, wheelsets and suitable rolling-stock versions.
Compare H0 systems →Design track beds, ballast, platforms, bridges, tunnels and other railway infrastructure.
Open the railway-construction guide →Calculate scales, model dimensions, gradients and other values for layout planning.
Use the calculator →Coordinate rolling stock, lettering, buildings and railway companies so that they match the chosen period.
Open the era overview →Discover German and international prototypes for historical, regional and modern model railway projects.
Choose railway worlds →Select track systems, rolling stock, digital equipment and accessories by brand and product specialisation.
Discover manufacturers →Planning books, templates and software help with the design. Coordinated track and extension sets then make implementation easier. Before buying, always check the gauge, track system, roadbed, power system, layout dimensions and exact scope of delivery.
Books, track templates and digital tools support you from the first collection of ideas through to dimensionally accurate multi-level planning.

Digital 2D and 3D planning for track, levels, clearances, baseboards and buildings.
View product →
Fundamentals of space requirements, track systems, layout construction, power supply and control.
View product →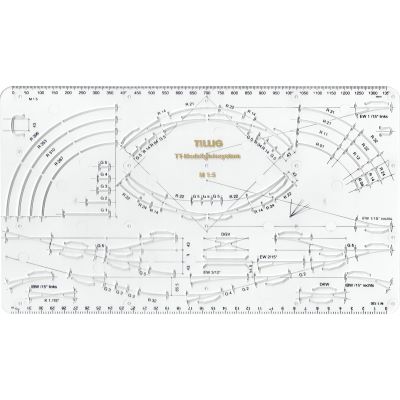
Transfer radii, turnouts and track from the TT system neatly and to scale onto paper.
View product →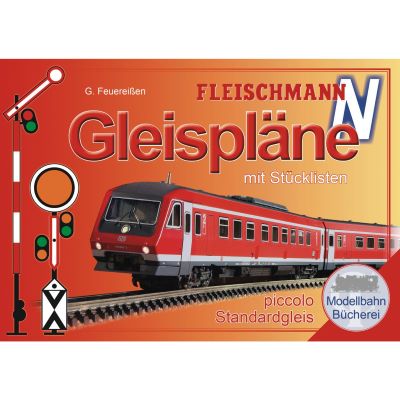
Layout proposals and complete parts lists for the Fleischmann N-gauge track system.
View product →H0 offers numerous systems with and without roadbed. The selection ranges from compact extensions to complete layouts that can be built in stages.
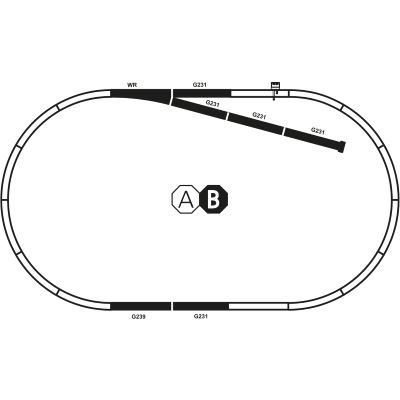
Extension with a turnout, siding and buffer stop for a compact H0 layout.
View product →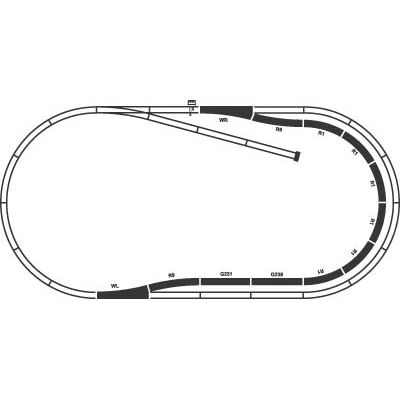
Additional turnouts and curves for a more varied route and station area.
View product →
The first construction stage of a larger model railway layout that can be expanded step by step.
View product →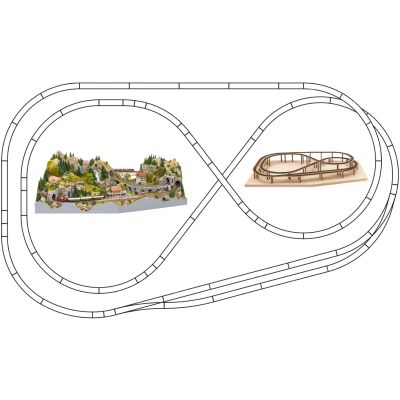
Coordinated centre-rail track set for a pre-planned Easy-Track layout shape.
View product →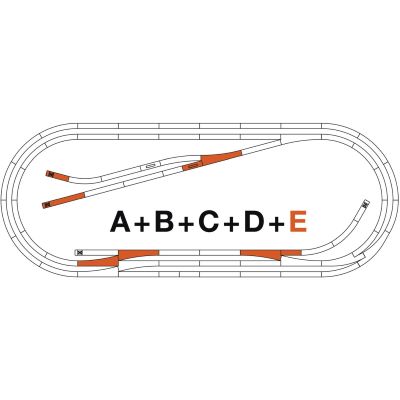
Extension with turnouts and additional track for station, storage and shunting operations.
View product →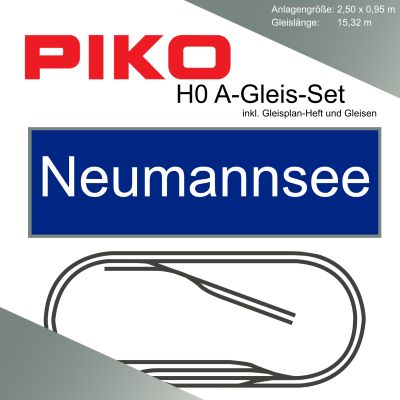
Complete track plan with a station, sidings and the visual impression of a double-track route.
View product →TT allows longer routes than H0 while retaining clearly visible models. Extension sets make gradual construction easier.
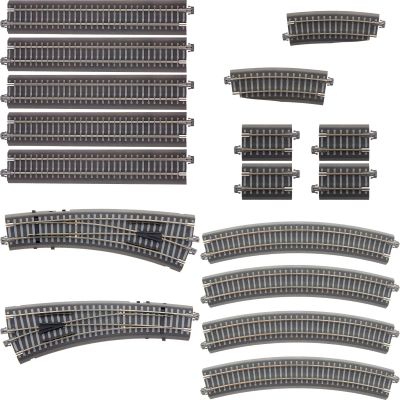
Track sections for adding another running route to a TT roadbed-track layout.
View product →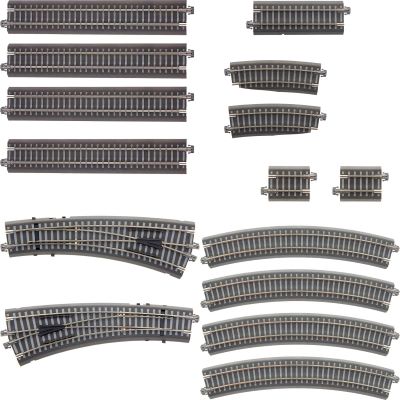
First extension stage for a TT route with the appearance of a double-track main line.
View product →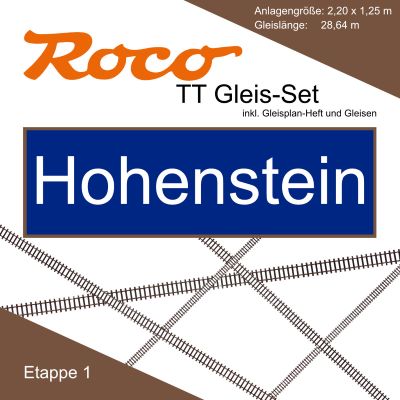
Entry point into a modular layout plan with further expansion options.
View product →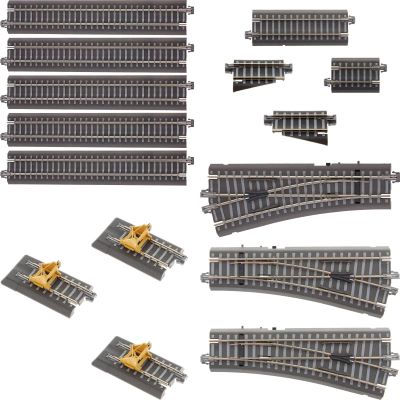
Turnouts, sidings and buffer stops for additional freight and shunting operations.
View product →
Compact layout plan with a station, storage area and continuous running circuit.
View product →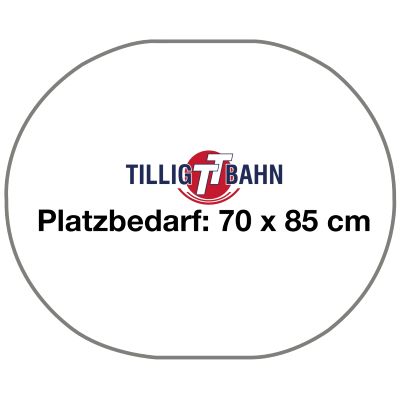
Simple basic shape for test running, a starter layout or a TT railway that can be expanded later.
View product →N gauge makes it possible to plan longer stations, multiple levels and varied routes on a manageable footprint.

The first construction stage of a multi-stage expandable N-gauge model railway layout.
View product →
Hidden storage area for more train changes and varied operation.
View product →
Extensive track plan for a compact layout with several running and shunting options.
View product →
Small footprint with a winding route and several visible running sections.
View product →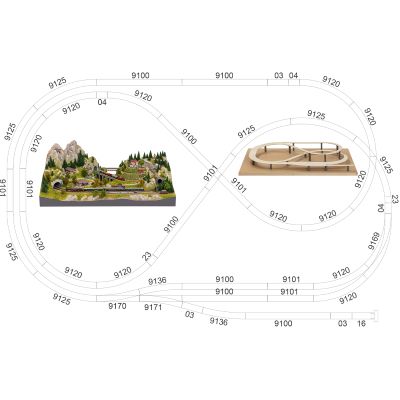
Coordinated track set for a pre-planned N-gauge track-bed layout with a station and defined route.
View product →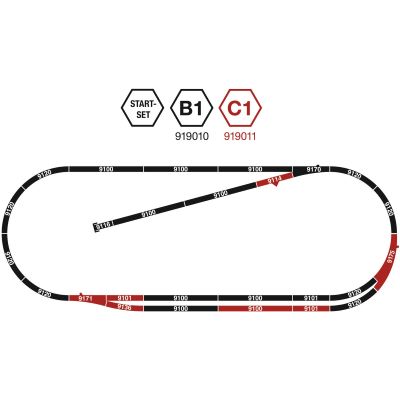
Extends the starter oval with station tracks and an additional storage area.
View product →Garden railways require large radii, stable track beds, easily accessible turnouts and a route that harmonises with the natural surroundings.
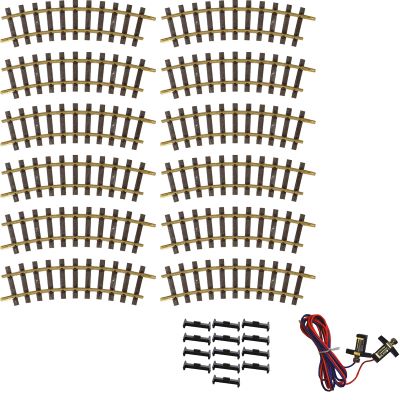
Track circle as a basis for test running, seasonal construction or later garden-railway expansion.
View product →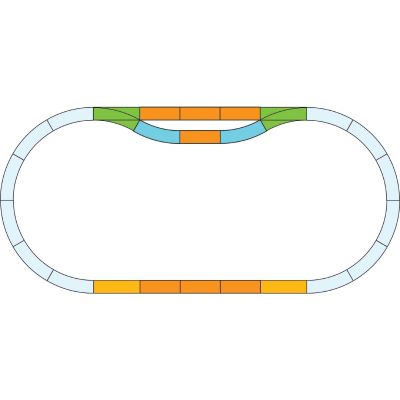
Extension with turnouts and a station track for train crossings, storage and shunting operations.
View product →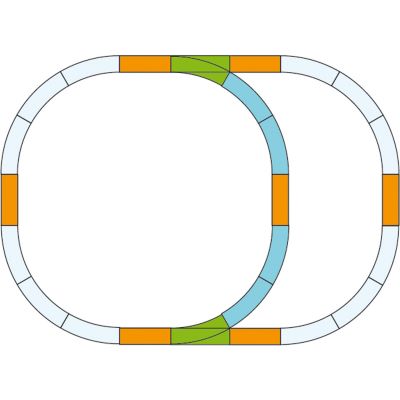
A second station track for train crossings and more varied garden-railway operation.
View product →A robust plan considers more than the visible route. Operation, maintenance, rolling-stock length and technical accessibility are at least as important.
First draw the available room, including doors, windows, radiators and operating aisles. Then define the gauge, layout shape, longest train and desired operating procedures.
The practical depth depends on body height, layout height and accessibility. Rear areas should be safely reachable without climbing or leaning on the scenery.
It is usually sensible to plan the most important operating station first, with sufficient usable track lengths. The route, hidden yard and other operating locations can then be added.
They must fully accommodate the longest intended train, including the locomotive, vehicles, coupling gaps and a safety allowance.
The minimum radius is primarily a technical lower limit. Visible routes look smoother with larger radii, and long vehicles show less overhang.
Consider N or TT gauge, a narrow wall or sectional layout, a terminus or a shunting layout. A few genuinely usable tracks often provide more play value than an overcrowded continuous loop.
No. A hidden yard increases the number of available trains but requires space, technology and safe access. Small shunting and branch-line layouts also work without hidden storage.
Before the baseboard is built. Booster districts, feedback sections, turnout decoders, cable routes and command-station positions must remain accessible and be easy to document.
Build a temporary test section and use the weakest intended locomotive with the longest train. Curves on the gradient increase resistance.
Only after an extended period of fault-free test running with different vehicles, directions of travel and speeds.
Paper, a template and a track-plan book are often sufficient for small layouts. Software is particularly useful for multiple levels, complex stations and hidden routes.
Permanently retain the track plan, parts lists, wiring plan, decoder addresses, feedback sections and photographs of hidden areas.
Start with the room, gauge and operating concept. Only then choose the track system, technology, baseboard and scenery. This keeps the layout reliable, accessible and expandable in the long term.