Finishing and specialist filaments
Test adhesive, primer and paint on an offcut printed from the same spool. An adhesive intended for polystyrene kits is not automatically suitable for PLA or PETG. Locating features built into the design make assembly easier; larger bonding surfaces provide more scope than tiny butt joints.
Sand with light pressure so that frictional heat does not distort the part. Thin coats of paint preserve small joints better than a thick filling coat. Illuminated buildings also need a light test: wall thickness, material colour and an internal coating affect whether unwanted light shows through the walls.
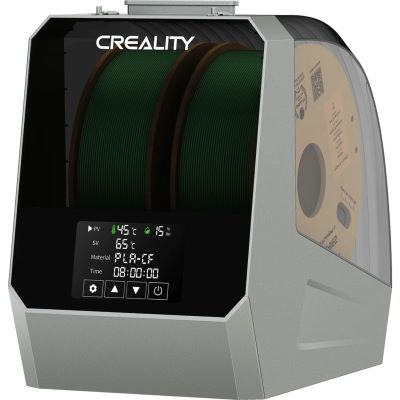
Wood effects, metallic finishes, flexible materials and fibre-filled filaments are specialist options. Before adding one to your range, check the minimum nozzle size, wear resistance and printer approval. Abrasive fillers may require a wear-resistant nozzle. A wood colour alone, however, does not mean that the filament contains wood particles. For your first batch of model parts, a familiar standard material is usually easier to compare.
Material consumption includes supports, brims and failed prints. Calculate the entire print job and the finishing work. The 3D printing cost calculator helps with the estimate. For small models, repeatability often has a greater effect on the effort involved than a small difference in price per kilogram.
Keep the shopping list deliberately short
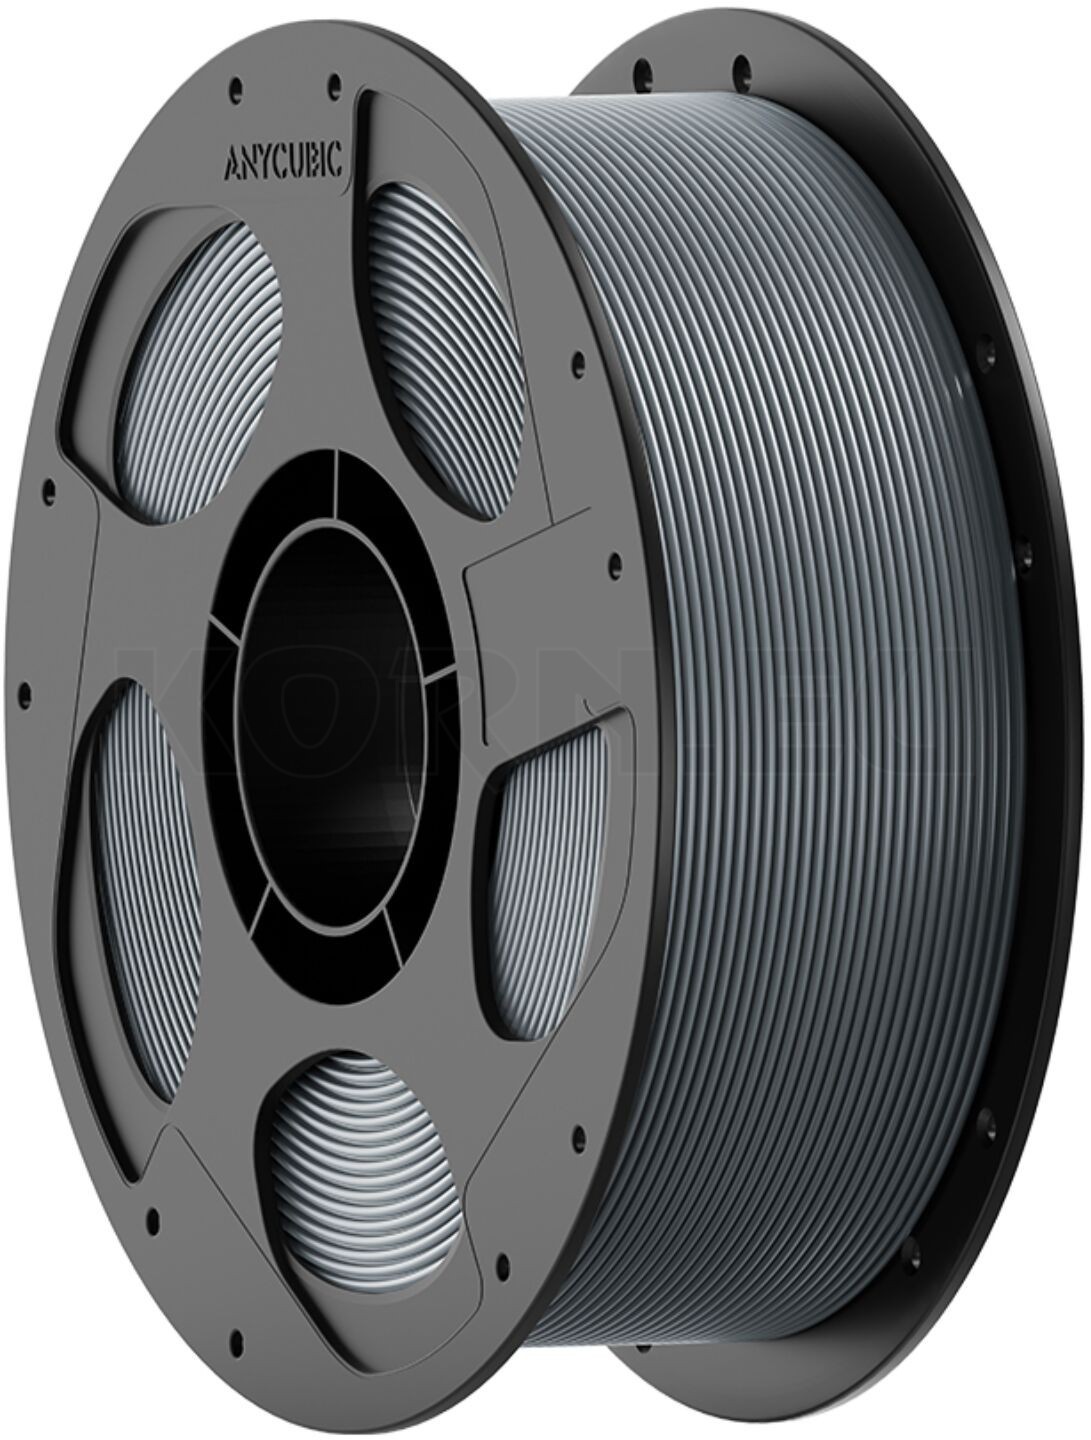
Start with one neutral-coloured spool for visible indoor models, and add a second material only for a specific task. If you begin by painting buildings, you do not immediately need a wide range of filament colours. For a batch of unpainted crates, on the other hand, a suitable base colour can save work. Reserve some material for fit tests and later additions.
Before ordering, also check how much you need: the slicer estimate applies to the selected profile and the complete print job. Changes to supports or additional walls change consumption. Keep the profile and material designation with the project file.