A village fair with a few attractions
A children's roundabout, two stalls and a few families make a good starting point for a compact scene. A meadow, an inn or a church can provide the setting.

Funfair · Fairground · A miniature festival
A Ferris wheel above the rooftops, colourful roundabouts, candyfloss and small groups of visitors: a funfair on your model railway turns an empty space into a lively scene. Rides and accessories come together as one theme, from your first children's roundabout to a complete fairground with stalls, showmen's trailers and evening lighting. Here you will find design ideas, layout-building advice and a product finder for your own miniature funfair.
Explore ideas for the surroundings: Designing paths and squares · Building roads · Town houses as a backdrop · Lighting buildings.
The German word “Kirmes” is historically linked to church dedication festivals and now also describes a fair with amusement attractions. On a model railway, this can inspire very different settings: a small village fair, an urban fairground or a large public festival. Entertainment, rides and the shared celebration are at the heart of the scene, rather than the buying and selling found at a traditional market.
We recommend designing three layers: a recognisable main attraction, a varied row of stalls and convincing surroundings. Entrances, walking routes, ticket booths, waiting areas and service spaces connect the individual models. A small scene with a clear layout often looks more convincing than numerous kits crowded closely together.
A funfair diorama remains interesting even without a moving train. On a railway layout, it can connect to a station, a bus stop or a road leading into the town centre. This connection explains how visitors reach the fair and gives railway operations an additional purpose.
Start with a scale plan. Cut paper templates matching the footprints of your chosen models and move them around the proposed site. Allow for more than the stated overall dimensions: include the full range of movement, ticket booths, entrances and enough room for your hands during future maintenance.
A children's roundabout, two stalls and a few families make a good starting point for a compact scene. A meadow, an inn or a church can provide the setting.
Place the tallest attraction towards the back or to one side. Lower stalls remain visible in the foreground. An open central walkway keeps the scene clear and prevents it from looking overcrowded.
A removable base makes wiring, lighting and mechanisms easier to access. Plan plug connections and a sturdy transport cover before starting construction.
One useful approach is a main walkway with smaller gathering areas. Position figures and a delivery vehicle temporarily. If there is convincing space for them to move, even a deliberately compressed fairground can look plausible. Fixed minimum dimensions would be misleading: a Ferris wheel and a broad roundabout have very different requirements.
A Ferris wheel emphasises the height of your funfair. A children's roundabout creates a family atmosphere, while a modern spinning ride puts more emphasis on movement. Choose a main attraction first, then build the fairground around it. This keeps the size, colour scheme and technical complexity manageable.
Possible starting points include the FALLER 140460 Funfair Fun Set with several rides and stalls, the 140341 Funfair Set with Polyp or the 140434 Insider Roundabout . For smaller scales, the FALLER 231722 N Scale Funfair Set offers an option designed specifically for that scale.
Check separately whether each model includes a motor, control electronics and lighting. A kit designed to move is not automatically supplied fully motorised or illuminated. The difficulty level matters more than size alone: several moving assemblies require careful construction and plenty of testing time.
This selection brings together complete sets, individual attractions, stalls and the showmen's service area. The product images come from the relevant shop pages. You can find further models in the product finder below, organised by product group.
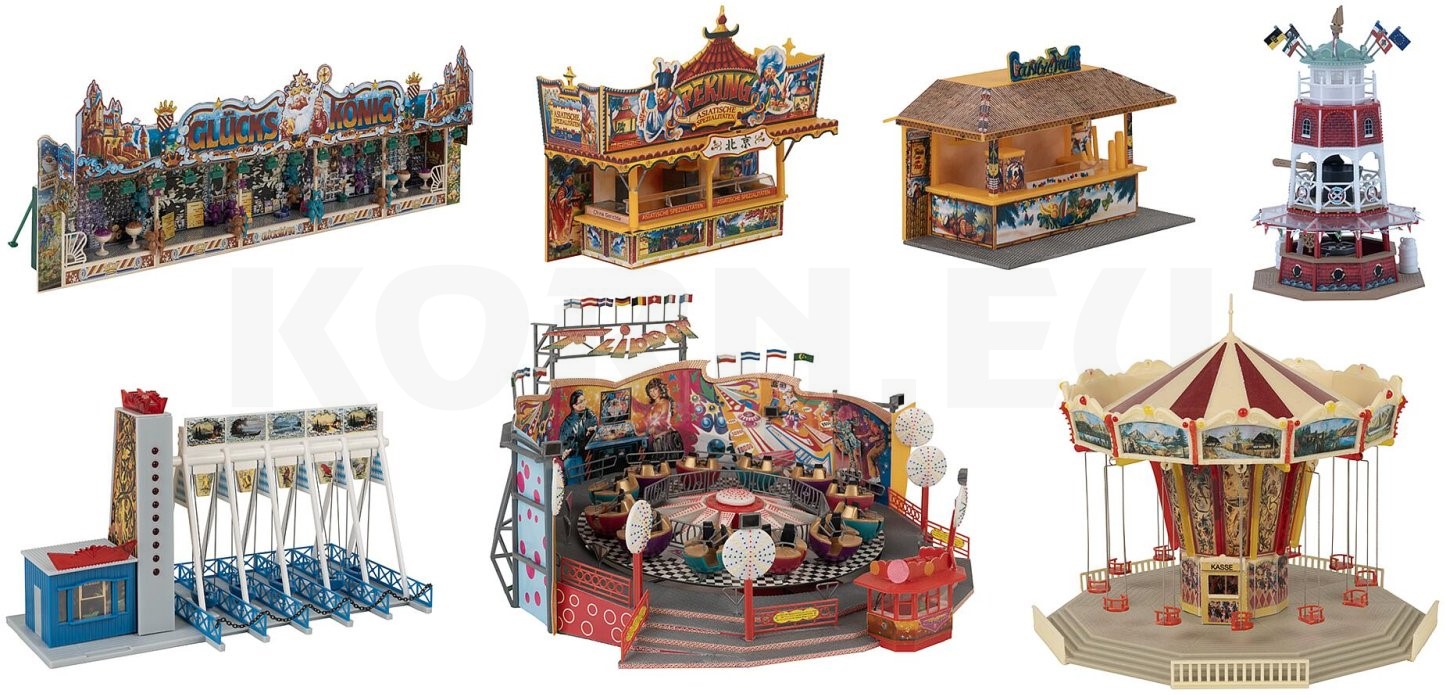
Several attractions as the starting point for a larger fairground.
View product
A ride and complementary models that form a coherent scene.
View product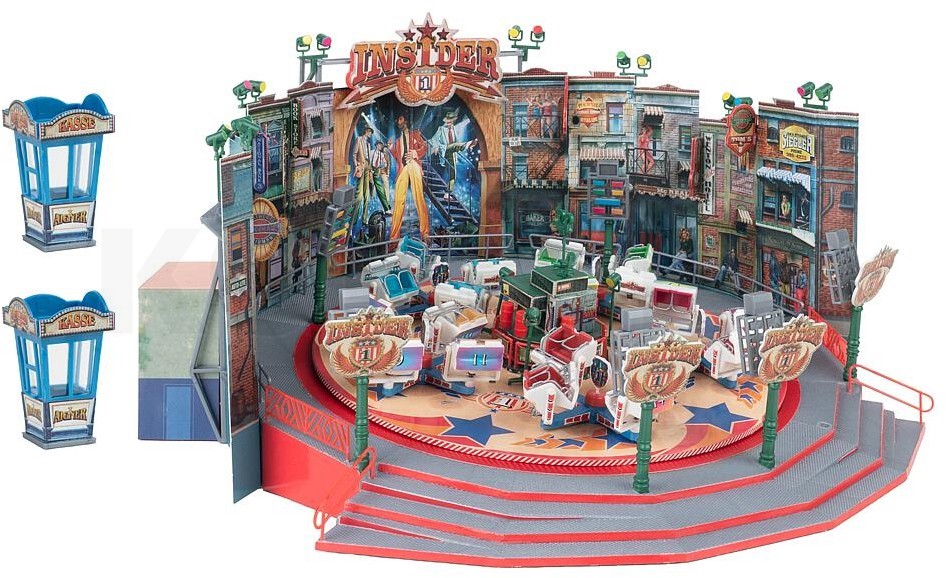
An individual attraction for the centre of your funfair scene.
View product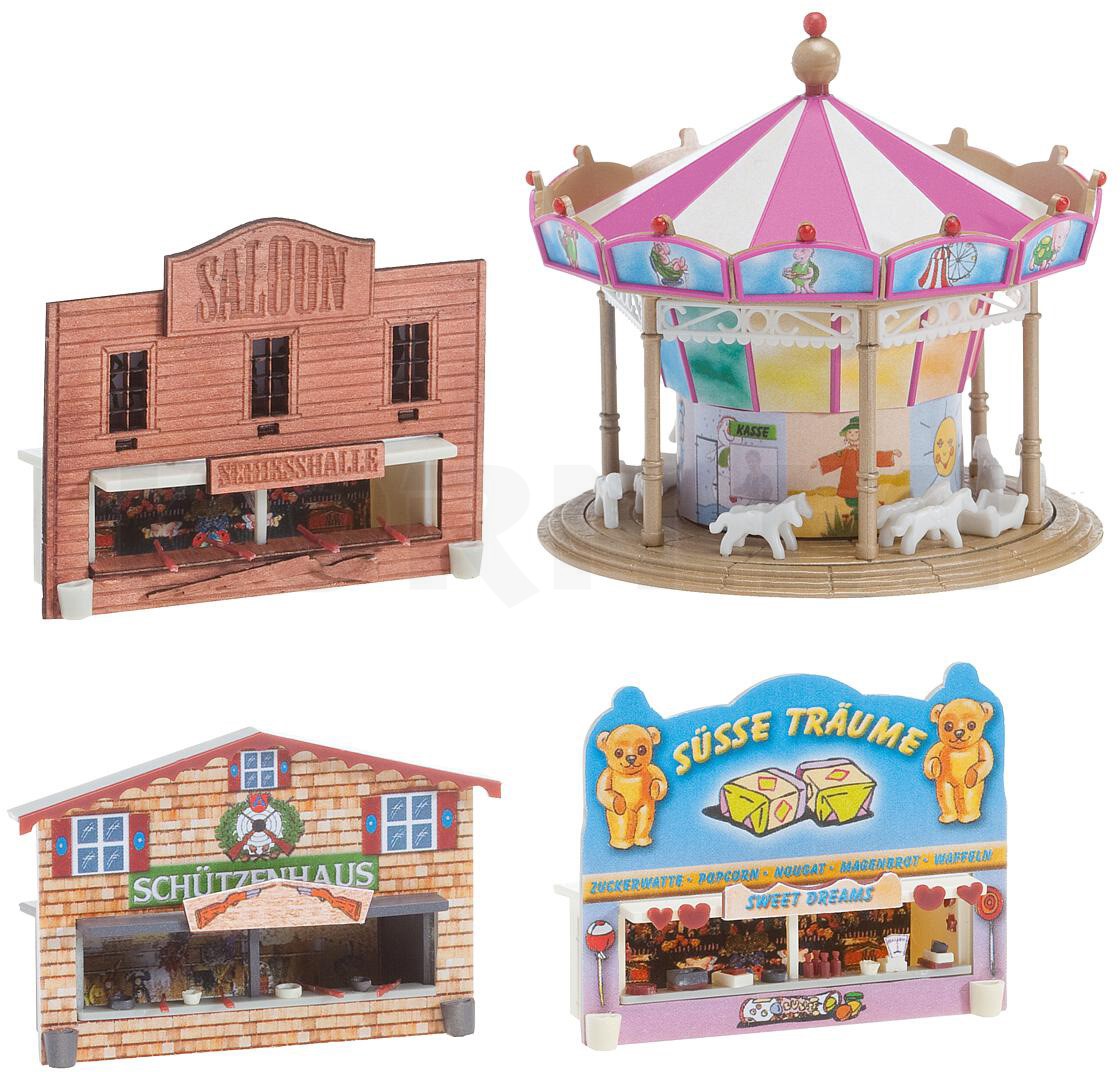
A small fairground with a roundabout and a variety of stalls.
View product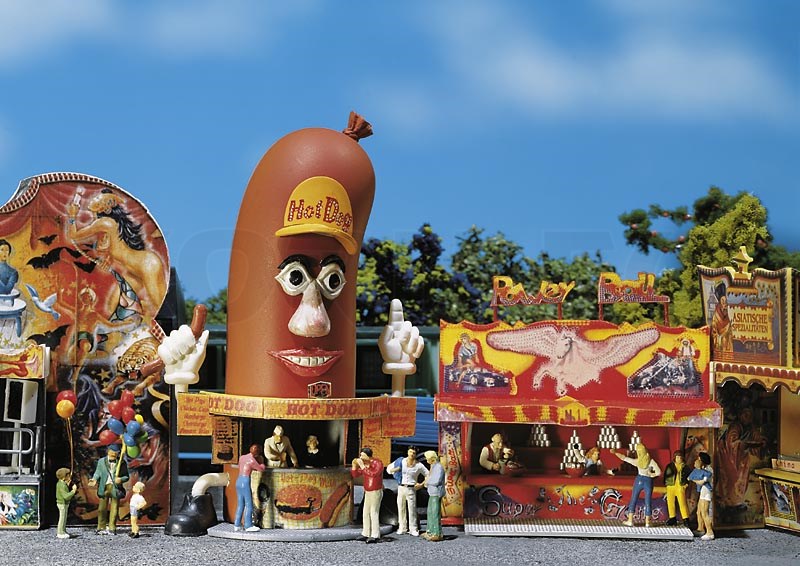
Hot-Dog-Man and Power-Ball add variety to the visitors' walkway.
View product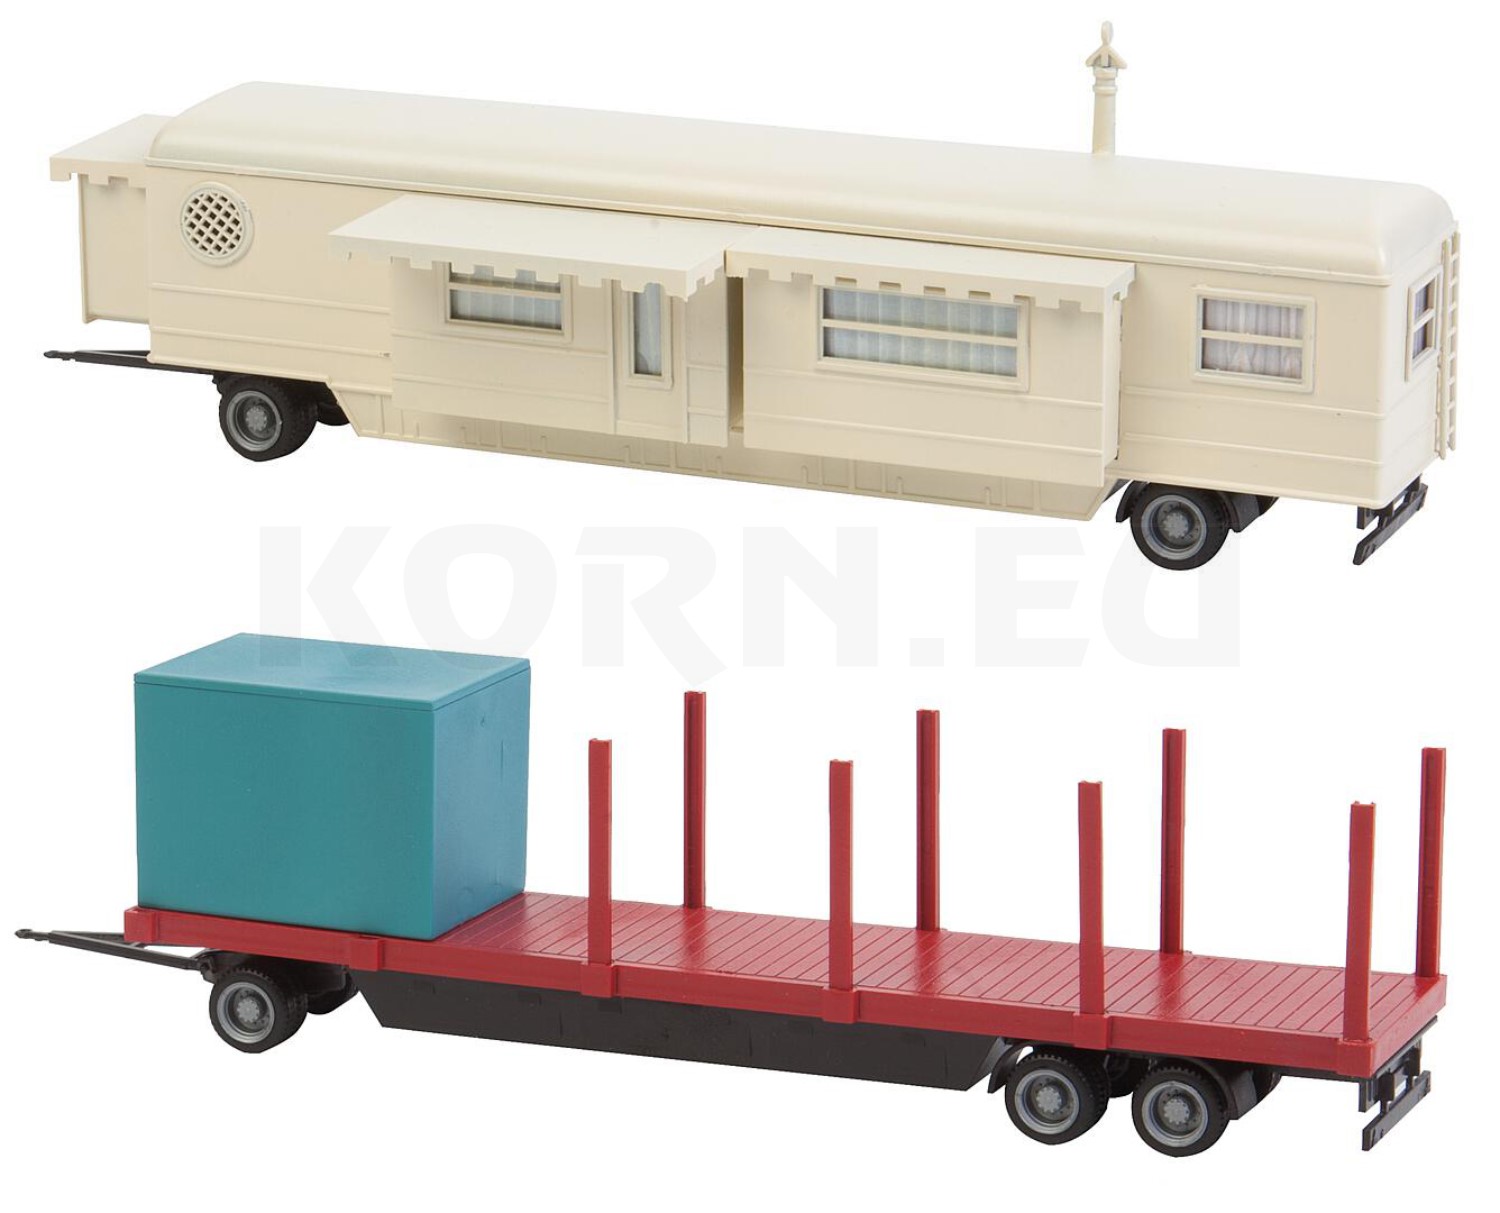
Living quarters and transport facilities behind the colourful façades.
View productA funfair needs smaller destinations between its rides. A sweet stall, a snack stand, a throwing game and a drinks stall attract different groups of visitors. Vary façade heights, roof shapes and orientations rather than placing every stall in a uniform row.
The FALLER 140464 Funfair Stalls , for example, let you place a food stand and a game of skill side by side. Find additional models in Circus and Fair and among our commercial buildings and sales stalls .
Face the serving openings towards the walkways. Crates, parked trailers and small working areas can sit behind the stalls. A few clear square millimetres in front of the counter often help more than extra decoration: customers should visibly be able to order, wait and move on.
Model railway figures turn a collection of assembled rides into a busy fairground. Combine families, couples, children, people waiting and fairground staff. Match their gaze and posture to their activity: looking towards the ticket booth, the counter or the roundabout they are watching.
Place small groups at focal points and leave other routes clear. A queue at the entrance has a different character from a relaxed conversation at the edge of the fair. Seated passengers must also physically fit into the gondolas or seats; a matching scale alone does not guarantee a suitable pose.
Browse our leisure figures for more everyday scenes. Add a parked pushchair, a bench or a bicycle, for example. A few clearly recognisable activities are easier to read on a small layout than an unbroken crowd.
A convincing fairground has a backstage area. Caravans, equipment trailers, toilet trailers and fenced-off working areas explain how the fair operates. Leave a plausible access route for setting up and visually separate this area from the visitors' walkway.
The FALLER 140480 Showmen's Trailer Set I and 140358 Funfair Barriers and Signs provide specific ideas for this area. Find further finishing touches in scenic accessories. Choose vehicles carefully: their markings, construction and age should suit the fairground operator and the period you are depicting.
Assemble moving models on an easily accessible work surface first. Following the instructions, check that parts move freely, guides work correctly and the movement follows its intended path. Keep glue, paint and scenic materials away from bearings and joints. Only install the attraction in the fairground after a successful test run.
A funfair layout does not automatically share one operating voltage. Motors, control boards and lighting modules may require different voltages and either AC or DC power. Keep circuits separate as specified in the relevant instructions and label the connections.
For the FALLER 140434 Insider Roundabout, the manufacturer specifies 5–12 V DC. For the motor drives described in the Funfair Fun Set, the specification is 12–16 V AC. These connections must not be treated as interchangeable without checking.
Compare the voltage, AC or DC supply, polarity and required power rating with the instructions. Use suitable model railway power supplies and make connections only with the power switched off. Never connect mains voltage to model motors or LED modules.
Start by lighting façades, serving openings and walkways. Then use coloured effects to highlight individual attractions. The FALLER 180704 LED Light Chain creates a different effect from coloured funfair lighting modules. Leave quieter areas deliberately darker. This avoids a uniformly glaring surface and gives your models a stronger sense of depth.
The funfair kits featured here focus on H0 and N. The same theme can be modelled in other scales, but requires a separate product selection or scratch-building. Adding smaller figures does not turn an H0 roundabout into a TT model. Narrow-gauge railways such as H0e and H0m, however, also use a scenery scale of 1:87.
| Scale designation | Scale ratio | Design approach |
|---|---|---|
| Z | 1:220 | Clear shapes, fine details and restrained lighting. |
| N / Nm | 1:160 | A compact funfair scene using models specifically designed for N scale. |
| TT / TTe / TTm | 1:120 | Combine correctly scaled figures with suitable kits or scratch-built models. |
| H0 / H0e / H0m | 1:87 | Plan rides, stalls and visitors as one coherent fairground. |
| 0 / 0e | Usually 1:45 here | Individual, highly detailed attractions; check the manufacturer's scale. |
| 1 | 1:32 | Spacious individual scenes with clearly visible interiors. |
| II / IIm, G garden railways | Often 1:22.5; G varies | For outdoor use, choose materials and electrical equipment specifically rated for that purpose. |
The same principle applies to other scales, such as British 00: people, seats, doors and sales areas must fit together. Scale-independent electronics do not remove the need for this check; their visible components must also physically fit inside the model.
A nostalgic village fair can be created with simple stalls, restrained advertising and suitable older vehicles. A modern scene can include striking rides, vans and colourful lighting effects. Your chosen prototype is the deciding factor: a roundabout that looks nostalgic does not automatically belong in a very early railway era.
Depending on the setting, cobblestones, asphalt or a compacted fairground meadow can form the base. Use suitable road and square surfaces and create transitions to paths and green spaces. Subtle colour variations along walking routes, beneath wheels and near entrances suggest how the area is used. Blend visible kit bases into the surrounding surface without gluing moving parts in place or blocking maintenance openings.
Finish the ground before permanently positioning delicate models and figures. Mark the footprints, cable openings and removable parts. A thin top layer worked on separately makes it easier to bring paving or asphalt right up to the bases. Test paints and adhesives on spare material first, particularly when working with transparent parts and printed decorations.
Then work from large elements to small details: install the main attraction and stalls first, followed by fences, signs and visitors. Photograph your trial arrangement from the height at which the finished scene will be viewed. These pictures often reveal hidden serving openings, distracting patches of colour and blocked routes more clearly than a view from above. Adjust these areas while the models can still be moved.
Keep instructions and spare small parts clearly labelled. Note underneath the module which connection belongs to each model. Use soft brushes carefully for cleaning, avoiding pressure or pulling on delicate railings and figures. A suitable dust cover protects the finished scene between operating sessions.
Rides · Stalls · Figures · Fairground · Technology
The finder retrieves products from suitable shop categories and checks their product pages. Filter the models already loaded by keyword, product group, manufacturer and scale. You can load more products and additional category pages step by step, bringing together everything from rides to ground surfaces for your scene.
The product finder starts when you reach this section.
When choosing products, consider kits, figures and scenic accessories together. Start with a suitable attraction, then add people and details around the edges. Always check scale, included components and electrical specifications when combining models; choosing the same brand does not replace these checks.
Choose one ride, a few stalls and suitable visitors. Begin with a trial arrangement using the models' actual footprints. Then add paths, surrounding details and technical features. This lets the scene grow without having to redesign the whole site.
That depends on the attractions you choose. Allow for more than their footprints: movement, walking routes and maintenance access need space too. A paper plan based on the manufacturer's dimensions is more reliable than a general space estimate.
Visually, yes, provided the scale and prototypes work together. Electrically, each model must be powered according to its own instructions. Matching scales do not guarantee the same operating voltage or compatible connectors and controls.
Yes. H0e and H0 both use a scale of 1:87, despite their different track gauges. H0 figures, stalls and attractions can therefore also form the scenery around an H0e railway. The available space still needs to be checked separately.
No. A carefully designed static scene can be just as convincing. Start with one working focal point and add further functions later. This keeps wiring, troubleshooting and maintenance manageable.
Plan removable bases, accessible plug connections and openings in the supporting structure. Do not permanently fix delicate scenery over motors or control boards. During the trial arrangement, check how each model can be lifted out again.
The finder filters products that have already been loaded. Load more products or include scale-independent accessories. A lack of results does not mean the full shop range contains no other suitable models.
Plan your fairground as a scene rather than a collection of individual models. A clear centrepiece, varied stalls, understandable visitor routes and a carefully designed backdrop make every kit more effective. Accessible mechanisms and an expandable base also leave room for the next attraction.
Find more guidance on layout planning, buildings, scenery, figures, scales and electrics in our comprehensive model railway guide .
 FALLER
 PREISER
 NOCH