Field and Farm Tracks
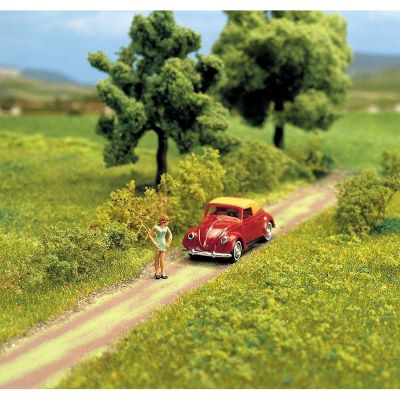
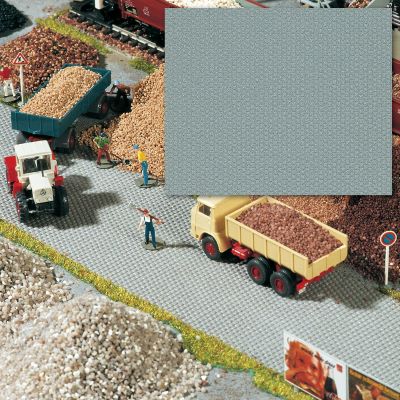
Earthy base colours, fine gravel and visible wheel tracks suit farms, fields and rural branch-line scenes. Grass can gradually reclaim the centre of the path and areas along lightly used edges.

Field paths, pavements, village squares, station forecourts and historic paved areas connect buildings and scenery to create a logical and believable miniature world.
Designing paths and squares on a model railway means much more than simply covering empty areas with paving or sand. A path explains how people get from the station to the village, from a house to the garden or from a farm to the fields. A square creates open space in front of a church, town hall, station, restaurant or market. This gives individual buildings a clear and recognisable relationship to one another.
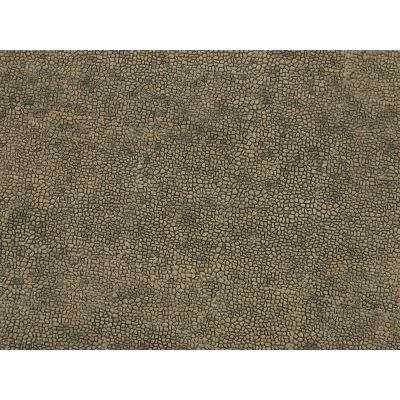
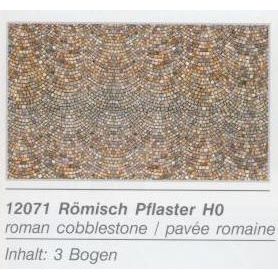
Begin with the purpose of the area. A narrow footpath requires a different surface from a farm access road. A field path can have irregular wheel tracks, grass growing along the centre and soft transitions into the surrounding terrain. An urban pavement, by contrast, requires a clear boundary to the roadway and may include kerbs, gutters, drains and street lamps. For a historic market square or village square , cobblestones and slightly irregular surfaces are especially characteristic.
The era and surroundings also determine the overall appearance. A historic half-timbered townscape requires a different surface from a modern shopping centre. On a station forecourt, pedestrian routes, road access, a possible bus stop, taxi rank and entrance to the platforms should all connect logically. In rural scenes, paths can merge much more naturally with soil, sand, gravel and spreading material .
Convincing scenery is often created by paying particular attention to the edges. Paving ends at a building, wall or strip of greenery. Field paths blend into grass and soil. Squares can be structured using trees, fountains, benches, market stalls, fences or parked vehicles. In this way, a simple flat area becomes a scene with an understandable purpose.
Shape and material should make it clear who uses the path and where it leads. Using different path types creates much more variety than applying the same surface treatment everywhere.
Earthy base colours, fine gravel and visible wheel tracks suit farms, fields and rural branch-line scenes. Grass can gradually reclaim the centre of the path and areas along lightly used edges.
A light sand or earth surface can be combined with leaves, small stones and individual grass tufts. Perfectly straight paths often look less natural here than gentle curves and partly hidden sections.
Slabs, paving, kerbs and gutters create a clear separation between pedestrian areas and the road. Property entrances and building doors should be connected logically to the pavement.
Fine gravel, small paving stones or compacted mineral surfaces work well in parks, cemeteries and gardens. Benches and trees can additionally structure the route.
Yards can combine several different materials. Old paving beside more recent asphalt repairs or concrete surfaces immediately tells a story about the use and development of the site.
Service paths, access routes to signal boxes and paths beside railway embankments should remain visually understated. They should be subordinate to the railway route and framed by slopes , fences or vegetation.
A square should not simply fill a gap between buildings. Its shape develops from the surrounding buildings and from the routes that meet there. On a village square, the church, inn, fountain and large trees may define the whole scene. A market square, by contrast, needs enough open space for stalls, delivery vehicles and pedestrians.
The traffic relationship is especially important around a station. The station entrance should lead directly to a pedestrian route, forecourt or road. Larger layouts can also include a bus stop, taxi rank, car park and bicycle parking area. If these functions are considered when planning the basic layout, even a compact forecourt looks considerably more convincing.
Historic old-town and church squares benefit from paving and textured building boards . More modern areas can combine asphalt, concrete blocks and clearly separated green islands. Maximum detail is not the goal; a clear and understandable arrangement is more important.
Paving, fountain, inn, church, a group of trees and a few parked vehicles.
Enclosed building frontages, paving, market stalls, benches, street lamps and pedestrians.
A direct connection between the station building, road, public transport stop and parking area.
Robust surfaces, gates, fences, stored goods, loading areas and clearly visible signs of use.
First decide whether the area is used by pedestrians, passenger cars, agricultural vehicles or delivery traffic.
The intended use determines the width, surface and edge design.
Position buildings temporarily and create logical paths between entrances, roads and railway access points.
Smooth the surfaces and level out height differences. Pavements and squares require a stable and even base.
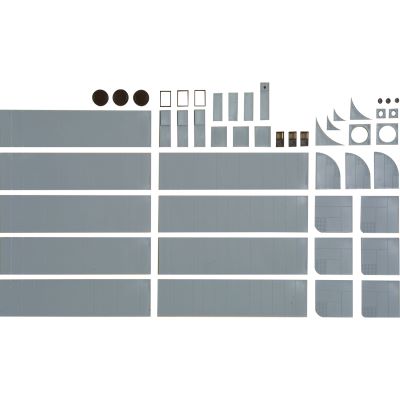
Cut films and plates cleanly to size or apply sand, soil, gravel or texture material evenly.
Kerbs, gutters, walls and property boundaries prevent exposed and obviously artificial material edges.
Use subtle grey, brown and dusty shades to emphasise joints, foot traffic and areas exposed to different levels of wear.
Place benches, fountains, market stalls, street lamps, fences and figures selectively instead of filling every open area.
Bring grass, bushes, soil and small stones right up to the edges and disguise hard transitions between the individual materials.
Accessories for roads, paths and squares are primarily determined by the model scale. This means that H0e and H0m layouts, for example, can use many H0 scenery details. Universal materials such as sand, soil, gravel, paint and filling compound can be adapted to virtually every model railway scale.
| Gauge | Scale | Suitable Scenery | What Should You Pay Particular Attention To? |
|---|---|---|---|
| Z | 1:220 | Fine sand, paint and thin texture materials | Use very fine grain sizes and restrained detailing |
| N / Nm | 1:160 | N-scale paving, path films and fine spreading material | Avoid oversized joints and paving textures |
| TT / TTe / TTm | 1:120 | TT and selected H0/TT accessories | Compact squares and narrow traffic areas work particularly well |
| H0 / H0e / H0m / H0f | 1:87 | Very wide selection of paving, pavements and accessories | Coordinate the era, buildings and road vehicles |
| 0 / 0e | approx. 1:45 | Scratch-building, texture paste, individual paving stones and paint | Surface texture is considerably more visible |
| 1 | 1:32 | Detailed scratch-building and larger texture materials | Carefully detail joints, edges and signs of wear |
| G / II | approx. 1:22.5 | Robust scratch-built surfaces, gravel, sand and larger details | Use suitable materials and bases for outdoor layouts |
Field paths, pavements, paved streets, squares, parking areas and road surfaces.
Square surfaces, paving, asphalt, concrete and structured model-making materials.
Sand, soil, gravel and ground materials for field, forest and park paths.
Small scenes and details for villages, towns, markets and station surroundings.
Define paths, structure properties and create yard entrances.
Coordinate paving, soil, concrete and weathering with suitable colour tones.
Level the base and model individual paths or square surfaces.
Secure paving plates, spreading material, walls and scenery details.
Continue designing the complete surroundings of paths and squares.
These manufacturers offer different solutions ranging from ready-made paved surfaces to materials for complete scratch-building.





The product finder loads suitable products from several current Modellbahnshop categories. Filter by category, manufacturer, gauge and desired scenery type. Stock and delivery information is deliberately not displayed on the product cards.
Loading matching products …
Every visible path should have a logical destination or continue believably behind a building, vegetation or the edge of the layout.
Base the shape on building façades, road access and pedestrian routes. Small offsets and irregularities often look more natural than a geometrically perfect surface.
Joints, wheel tracks and edge areas can show subtle variations in colour. The overall base structure should nevertheless remain calm and balanced.
Soil, grass and small stones should extend slightly into the path. A perfectly cut strip quickly looks artificial in open countryside.
Create small groups around a fountain, market stall or station entrance and deliberately leave other areas open.
For embedded tram track, keep the rail head and wheel-flange area clear. Test the vehicles before permanently completing the paved surface.
Use earthy colours, fine sand or gravel and create irregular wheel tracks. Grass and ground material should blend into one another along the edges. Lightly used paths can also have a strip of vegetation growing along the centre.
Historic village squares look convincing with cobblestones or a fine mineral texture. A fountain, large trees, benches and surrounding buildings then give the area its recognisable purpose.
Lay pavement slabs or paving on an even base. Kerbs, gutters, building entrances, driveways and, where appropriate, drains create the transition to the street and surrounding buildings.
This depends on the purpose and scale. A pedestrian path is considerably narrower than an agricultural access road. Position figures and vehicles temporarily before deciding on the final width.
Work with very subtle grey and brown shades. Joints can be darker, while frequently used areas may appear slightly lighter or dirtier. Excessive contrast quickly makes paving look too busy.
The most important element is a clear connection to the station entrance. Depending on the size of the layout, pavements, a bus stop, taxi rank, parking spaces, bicycle parking, lighting and green areas can be added.
Bring soil, grass, paving edges, kerbs or walls right up to the edge of the material. This disguises the hard transition between the plate and the surrounding scenery.
Fine sand, soil, gravel, pigments, paints and filling compounds can generally be used across many scales. With textured paving and pavement plates, however, the size of the visible stones must match the model scale.
Choose a few focal points such as a fountain, tree, market stall or seating area. Arrange figures in small groups. Open paving is important so that the square still reads as one coherent space.
The paving must not block either the rail head or the required wheel-flange clearance. Before permanently fixing the surface, test the entire route with the longest tram vehicles you intend to use.
The main Model Railway Guide contains further instructions covering scenery, roads, buildings, gauges, layout planning, track, electrics and digital technology.