The order is a suggested learning sequence. Choose a specific location on your layout and check whether the object is needed there before printing. All dimensions below are model dimensions in millimetres.
1
Route cables beneath the layout
Material: PLA. Example: 30 × 15 × 8 mm. Difficulty and print time: very easy, 20–45 minutes.
- Draw a baseplate with two rounded guides and an accessible mounting point.
- Print the plate flat and remove sharp edges.
- Try the holder with the actual bundle of insulated cables.
Finishing: Smooth the edges and dry-fit the mounting. Cables should sit loosely and remain removable. The holder is only intended to guide insulated extra-low-voltage model railway wiring; it does not replace an electrical connection or tested strain relief. Also check the screw length against the layout baseboard.
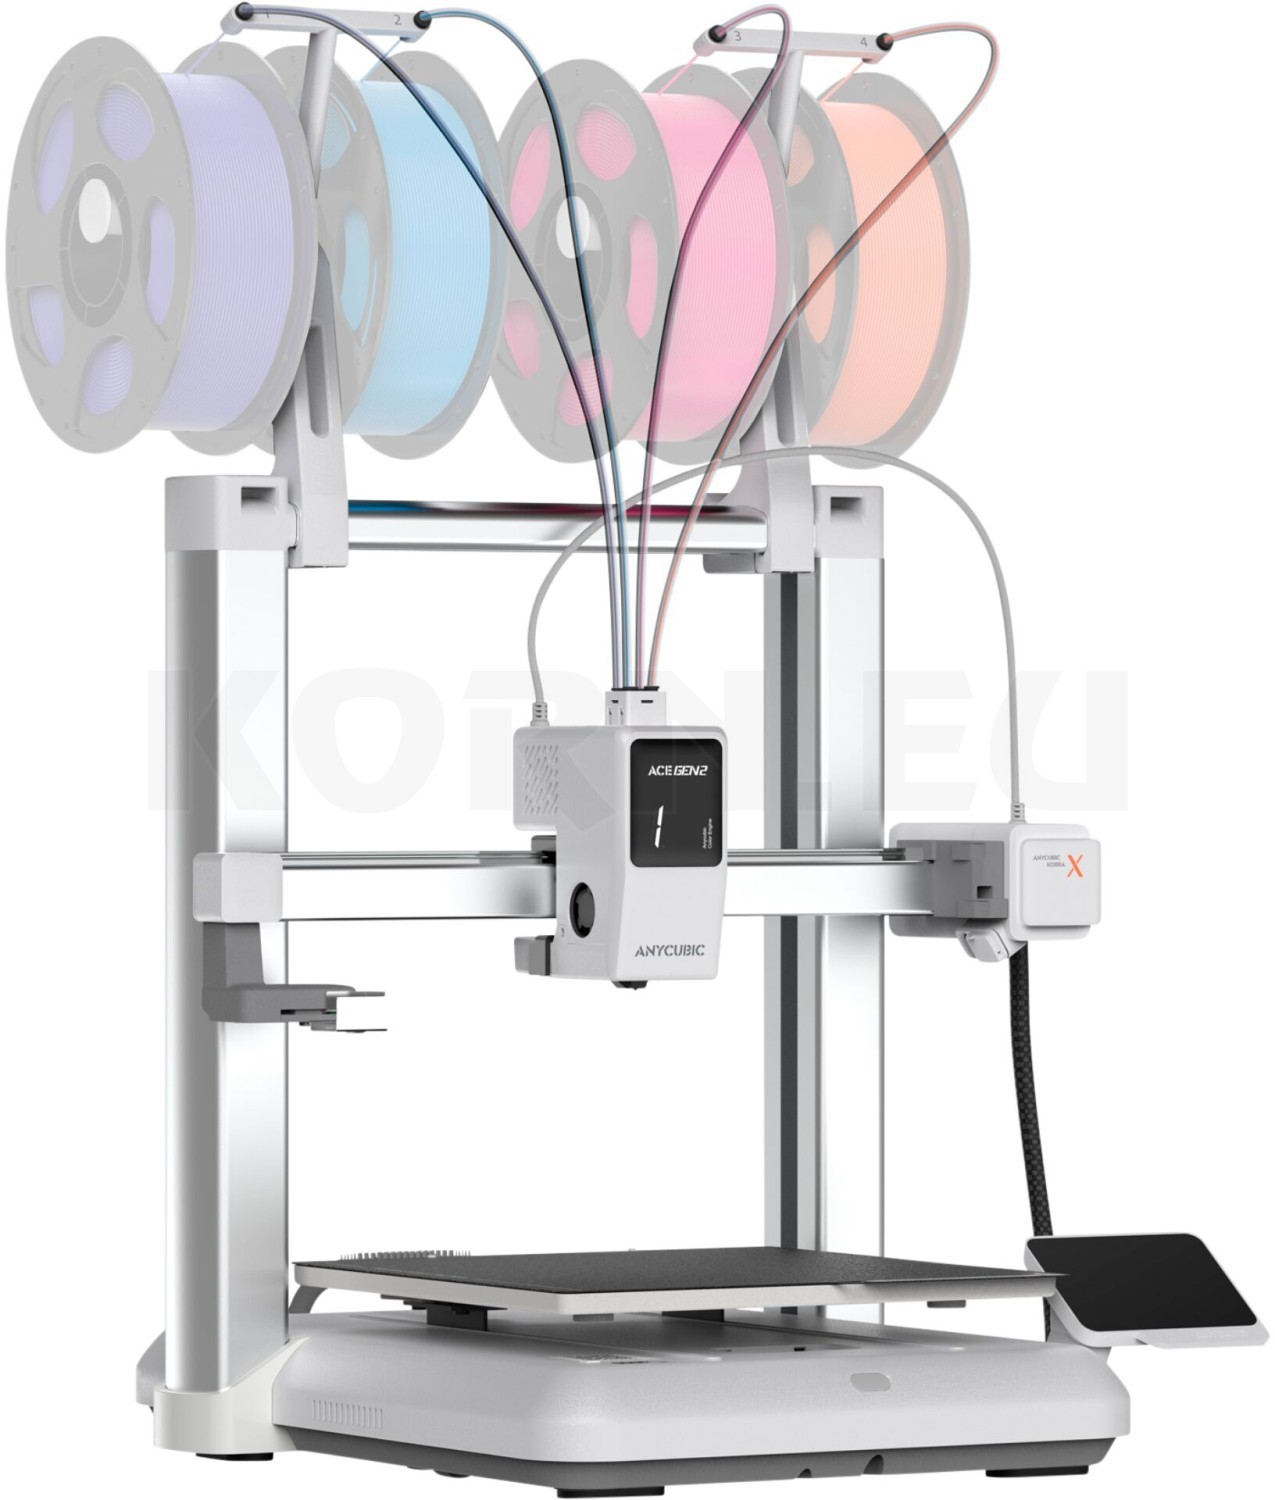
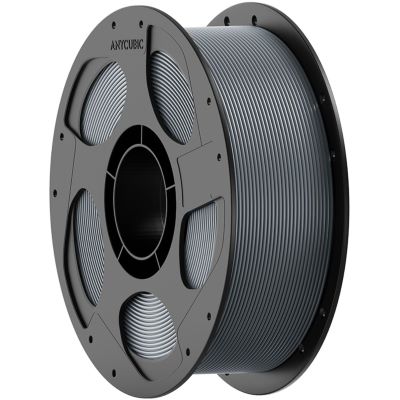
Shop products: Anycubic PLA Grey as a neutral starting material; choose suitable cables separately.
2
Collect small parts in a sorting tray
Material: PLA. Example: 70 × 45 × 12 mm. Difficulty and print time: very easy, 45–90 minutes.
- Create a base and three open compartments with easily accessible internal corners.
- Start with wall and base thicknesses of about 1.6 mm and print with the openings facing upwards.
- Try placing typical screws and coupling parts inside.
Finishing: Deburr the top edges and remove sharp burrs from the corners. The tray should sit level; small screws must not slip beneath the dividers. If needed, label the compartments only after trying the tray in use, so the arrangement suits your work.
Shop products: Anycubic PLA Grey; the Faller 170558 tweezers make small parts easier to pick up.
3
Create a shipping crate as wagon cargo
Material: PLA. H0 example: 13.8 × 9.2 × 9.2 mm. Difficulty and print time: easy, 15–35 minutes.
- Build a rectangular box with a flat lid and a few clearly defined plank joints.
- Print with the underside on the build plate; keep reinforcement strips around the crate simple at first.
- Compare the size with a wagon and a suitable figure.
Finishing: Remove the brim, clean the surface and apply a thin primer coat after testing compatibility. A brown base colour and a few lighter highlights emphasise the wood. Avoid thick paint layers that fill the joints again. Before loading a wagon, check that the crate sits securely and stays within the vehicle's clearance envelope.
Shop products: Revell Aqua Color Dark Earth 36182 as a possible base colour.
4
Build a robust pallet stack
Material: PLA. H0 example: 13.8 × 9.2 × 5 mm. Difficulty and print time: easy, 15–40 minutes.
- Represent several stacked pallets as a single body.
- Suggest planks and gaps with recesses in the sides.
- Print the stack flat and check whether the texture is recognisable.
Finishing: Remove stringing, apply a wood colour and carefully darken the recesses. The simplified stack avoids numerous thin, freestanding planks. It is a decorative approximation, not a dimensionally accurate working model of a particular pallet. Check its appearance from your usual viewing distance before adding more detail.
Shop products: Revell Aqua Color Dark Earth; find more wood shades among the modelling paints.
5
Print concrete bollards for yards and platforms
Material: PLA. H0 example: Ø 3.5 × 9 mm. Difficulty and print time: easy, 10–25 minutes.
- Design a short cylinder with a slightly rounded or chamfered top edge.
- Check the contact area and cooling time for the small layers in the slicer.
- Print one bollard first and inspect its top.
Finishing: Carefully remove any adhesion aid used and make the base flat. Muted grey paint takes away the plastic shine. Print a small batch only once the individual bollard comes out cleanly. Check clearance for moving vehicles and planned footpaths; restrained placement often looks more convincing on a compact layout.
Shop products: Revell Aqua Color Grey Matt 36157.
6
Add a planter to the station
Material: PLA. H0 example: 15 × 8 × 7 mm. Difficulty and print time: easy, 15–40 minutes.
- Draw an open box with walls about 1.2 mm thick and a closed base.
- Print with the opening facing upwards and check the rim all the way round.
- Fit a removable insert for soil and greenery.
Finishing: Lightly smooth and paint the outside, then decorate the planting insert separately. Keep the greenery in proportion so it does not completely conceal the small container. The model is intended for dry decoration and is not a tested watertight container. Check stability and clear routes along the platform.
Shop products: The Faller 170558 tweezers help position small scenic details.
7
Build an electrical cabinet as a lineside detail
Material: PLA. H0 example: 10 × 6 × 18 mm. Difficulty and print time: easy, 20–45 minutes.
- Design a closed body with a plinth, an indicated door and a simple handle.
- Place the smooth back on the build plate.
- Check that the door outline and handle remain visible in the toolpath preview.
Finishing: Clean the back and check the edges. A matt grey finish is often enough; heavy weathering would obscure the small shape. The object represents an electrical cabinet and is not a housing for electrical components. Choose a plausible location outside the vehicle clearance envelope.
Shop products: Revell Aqua Color Grey Matt for painting the model.
8
Assemble a platform bench from simple parts
Material: PLA. H0 example: approximately 20 × 5 × 9 mm. Difficulty and print time: intermediate, 30–60 minutes.
- Split the bench into a seat, backrest and two sturdy side supports.
- Arrange the parts flat and check the thinnest connections.
- Align them on a level surface before gluing.
Finishing: Smooth the contact surfaces, glue carefully and then paint. The seat and backrest can remain solid for the first attempt; very fine individual slats increase the difficulty. An H0 figure helps assess seat height and overall appearance. Check that all feet touch the ground at the same time.
Shop products: NOCH 61106 superglue used after testing material compatibility and adhesion on leftover prints.
9
Assemble a small tool shed
Material: PLA. H0 example: 46 × 34 × 30 mm wall structure, with the roof added separately. Difficulty and print time: intermediate, 2–4 hours.
Plan walls and roof separately
Print four simple walls flat. Start with one door and one window; a solid roof panel will later have a small overhang. Test the corner joints on two short wall sections first.
Dry-fit before gluing
Align all walls at right angles and check the removable roof.
Record dimensions and file version
Note corrections to joints and roof supports before printing more sheds.
Finishing: Smooth the joints, apply thin coats of paint to the walls and fit glazing film from the inside. Shop products: NOCH 61106 superglue after a compatibility test; find further ideas in scratch-building buildings.
10
Fit a small loading ramp into the scene
Material: PLA. H0 example: 80 × 30 × 12 mm. Difficulty and print time: intermediate, 1.5–3 hours.
- Measure the available space, track position and loading height using the actual vehicles you run.
- Design a base with a closed top and simple joints along the sides.
- Print a short section first to check positioning, then print the adjusted ramp body.
Finishing: Smooth the top, paint a concrete or paved finish and secure it only after test runs. The example height is not a universal standard height. Check vehicle overhang particularly on curves. Crates, pallets and the shed from earlier projects now form a complete loading scene.
Shop products: Revell Aqua Color Grey Matt; find more advice in designing platforms.