Coarse to Fine
Build the terrain first and add vegetation only afterwards.

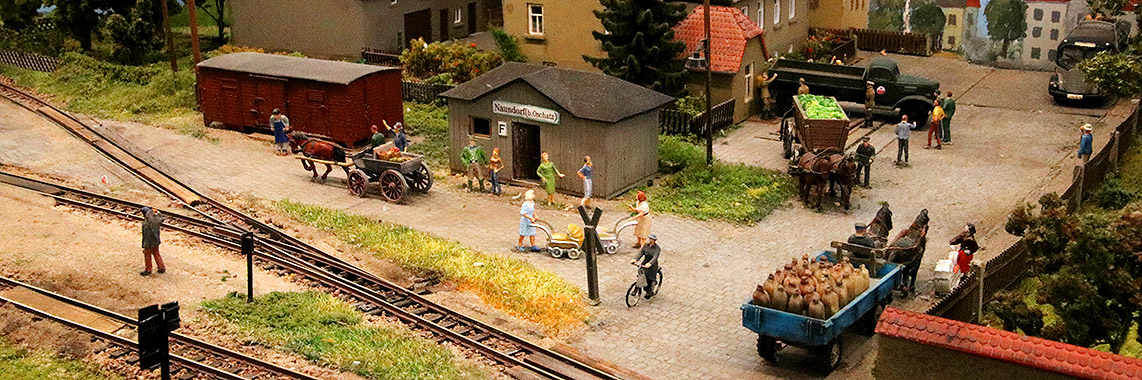
Build realistic model railway scenery layer by layer: terrain, ground colour, rocks, grass, trees, water, roads, buildings and carefully selected miniature scenes. The railway should become part of the landscape rather than simply sitting on top of it.
Designing a model railway landscape does not mean immediately covering every empty area with grass, trees and figures. A convincing landscape develops in layers.
First define the region, railway era, season and basic terrain form. Then add the supporting surface, ground colour, soil structure, vegetation, roads, buildings and finally small scenes.
The railway itself should be integrated into the landscape. Embankments, cuttings, tunnels, bridges and retaining walls explain why the line follows a particular route.
Roads should lead somewhere, fields should follow the terrain and trees should form natural groups instead of being spaced evenly across the entire layout.
Begin with a manageable section. A completely finished embankment, woodland edge or village pond provides more useful experience than starting work everywhere on the layout at the same time.
Working section by section also allows colours, adhesives, scatter materials and grass fibres to be tested before they are used over a much larger area.
Build the terrain first and add vegetation only afterwards.
Combine colour, soil, grass, shrubs, trees and final details.
Finish manageable sections instead of working everywhere at once.
Hidden track, tunnels and turnouts must remain accessible for maintenance.
Basic materials for first rocks, meadows and vegetation.
Create upright grass fibres in several lengths.
Combine different tree heights instead of planting identical rows.
Prepare and seal the base before adding model water.
No single material creates a complete landscape. Natural scenery develops through several fine structures, graduated colours and soft transitions between the railway, nature and buildings.
Rigid foam, Styrodur, open-frame construction, wire mesh or formable terrain systems create hills, valleys and differences in height.
Lightweight methods are particularly useful for modules and transportable layouts.
Filling compounds close transitions and create paths or building platforms.
Rock filler, casting moulds and structured rock panels reproduce fractures, fissures and visible layers of stone.
Soil, sand, gravel and scatter material form the basic layer. Grass fibres, mats, flock, bushes and trees follow in different colours, heights and densities.
Water requires a sealed and colour-prepared base. Roads, walls, bridges and tunnels connect landscape and railway operation into a coherent whole.
| Construction Layer | Suitable Materials | Typical Application | Important Note |
|---|---|---|---|
| Basic Form | Styrodur, rigid foam, mesh or open-frame structure | Hills, cuttings, valleys and slopes | Keep hidden track permanently accessible. |
| Surface | Filler, plaster cloth and texture paste | Terrain skin, paths and building bases | Thin layers dry more predictably. |
| Rocks | Rock filler, casting moulds and rock panels | Mountains, quarries and retaining walls | Darken recesses and dry-brush exposed edges. |
| Ground | Earth colour, sand, gravel and scatter material | Fields, forest floor, paths and banks | Apply a base colour beneath all vegetation. |
| Greenery | Grass fibres, mats, flock and moss | Meadows, embankments and woodland edges | Several shades look more natural than one green. |
| Fine Details | Trees, bushes, flowers, figures and fences | Scenes and visual subdivision | Group details and preserve open areas. |
A recognisable region makes every scenery decision easier. Soil colour, vegetation, architecture and transport routes should all tell the same landscape story.
Gentle hills, fields, meadows, farm tracks, small groups of trees and a village create a calm scene with plenty of open landscape.
Rocks, tunnels, retaining walls, coniferous forest and deep cuttings explain tight railway curves and dramatic differences in height.
Roads, pavements, rear courtyards, parks, railway embankments and overgrown residual areas connect buildings and railway naturally.
Gravel, concrete, mud, rust colours, fences and sparse vegetation create a functional working landscape.
Colour-prepared water, irregular banks, stones, reeds and small bridges create depth and movement.
Snow becomes believable when tyre tracks, cleared paths, icy banks and areas with different levels of snow cover remain visible.
Many landscaping materials can be used across several scales. Grain size, grass-fibre length, tree height and fine-detail size must nevertheless suit the visual effect of the model scale.
| Gauge | Scale | Typical Scenery Approach | Pay Particular Attention To |
|---|---|---|---|
| Z | 1:220 | Fine fibres, small trees and calm surfaces | Avoid excessively coarse grains. |
| N | 1:160 | Broad landscapes and longer sight lines | Distribute details sparingly and finely. |
| TT | 1:120 | Strong balance between scenery and visible detail | Check the actual size of products marked H0/TT. |
| H0, H0e & H0m | 1:87 | Very broad selection of plants, buildings and scenes | H0e and H0m use the same scenery scale as H0. |
| 0 | Usually around 1:45 | Strong textures and detailed individual plants | Greater material and space requirements. |
| 1 | 1:32 | Highly visible ground and building details | Fine surfaces require especially careful finishing. |
| G / II | Often around 1:22.5 | Large plants, robust structures and garden themes | Outdoors, use only materials suitable for exterior use. |
The table is a scenery-design guide. Always check the stated scale, dimensions and indoor or outdoor suitability on the individual product page.
Correctly sized grass, ballast, trees, buildings and figures make a major difference to the overall scale impression.
Terrain, vegetation, water, roads, structures and lighting can be combined across manufacturers when scale, colour, material and the planned scene work together.




These twelve fixed examples correspond to the checked product selection on the current German source page. Each card uses a direct English product page and a fixed Modellbahnshop MBS image path.
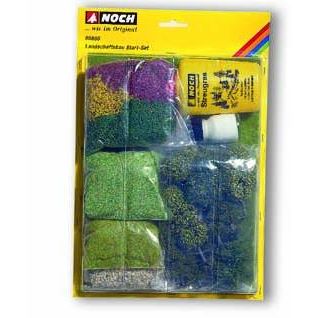
Basic materials for first rock surfaces, meadows and vegetation projects.
View Product →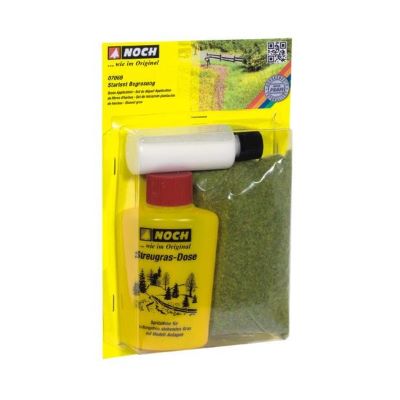
Beginner package for applying upright grass fibres to meadows and scenery areas.
View Product →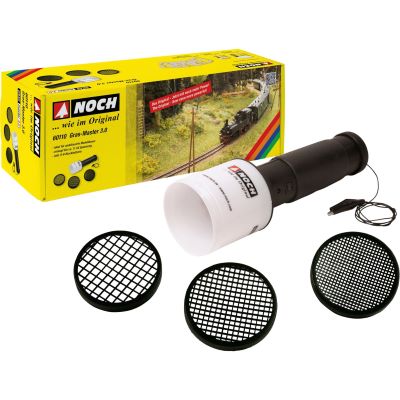
Electrostatic grassing tool for processing both short and longer grass fibres.
View Product →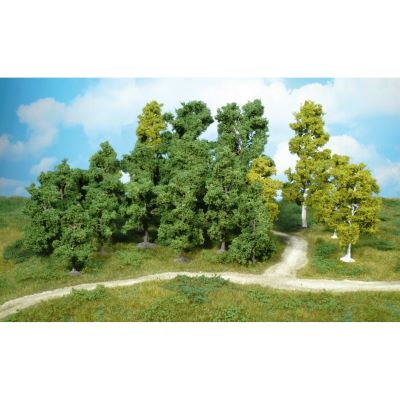
Different tree heights for forests, woodland edges and natural tree groups.
View Product →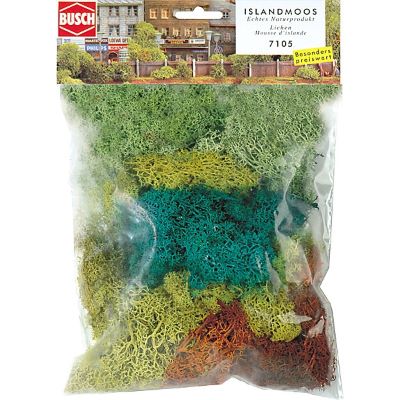
Natural material for bushes, hedges, undergrowth and irregular vegetation.
View Product →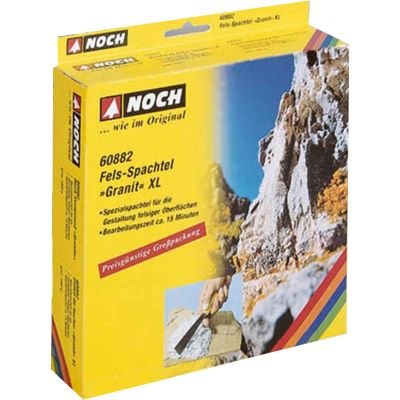
Structural material for granite rock faces, mountains and steep slopes.
View Product →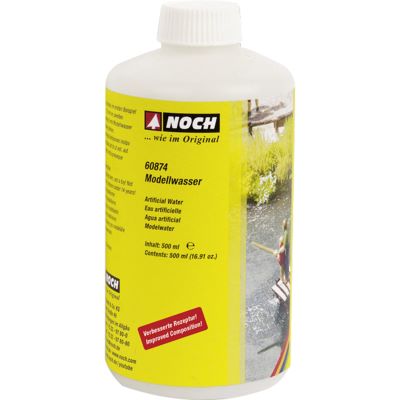
Pouring material for calm water surfaces, ponds and model lakes.
View Product →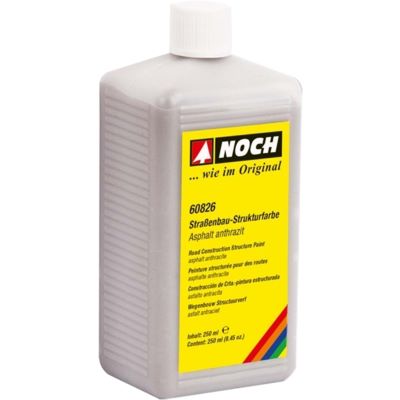
Textured paint for country roads, squares, parking areas and other paved surfaces.
View Product →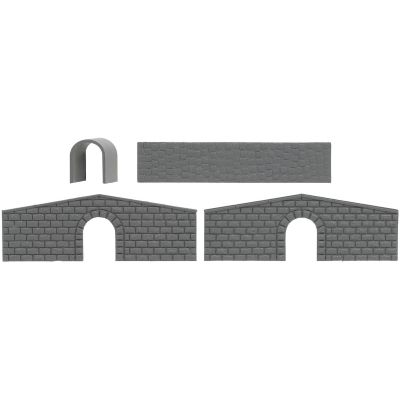
Compact structure for a brook, park path or rural field road.
View Product →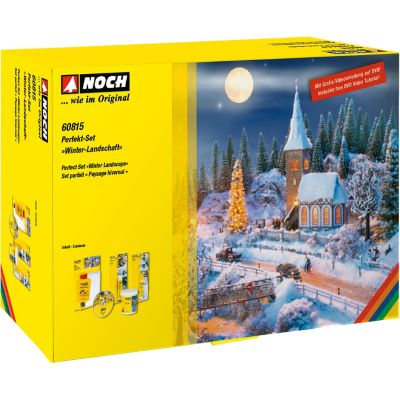
Materials for snow, ice and icicles in winter and Christmas scenery.
View Product →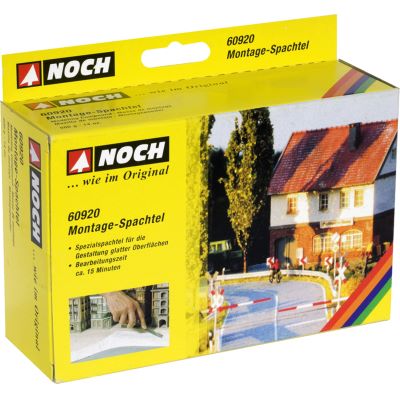
Smooth base material for terrain surfaces, roads and building foundations.
View Product →
Natural ground material for paths, beaches, banks and other sandy surfaces.
View Product →Test the base colour, adhesive, scatter material and grass fibres on a scrap piece first. Keep the finished sample as a colour and material reference for the rest of the layout.
Use the live English shop categories for current products, manufacturers, scales, prices and availability.
Central category for terrain, grass, rocks, roads, bridges, tunnels and scenery materials.
Basic greenery, meadows, embankments and wild grass.
Deciduous forest, conifers, bushes, hedges, flowers and vegetation.
Forest soil, earth, sand, gravel, rubble and field surfaces.
Tree crowns, shrubs and seasonal vegetation colours.
Asphalt, paving, pavements and road surfaces.
Railway, road and pedestrian bridges for several scales.
Tunnel portals, internal walls and complete tunnel structures.
Snow, ice, winter vegetation and seasonal scenery.
Materials for terrain shells, rocks, roads and building foundations.
Glues for vegetation, ballast, structures and scenery materials.
Water effects, small accessories and additional landscape-design products.
Each stage should end with a result that can still be checked and corrected. Delicate details are therefore not installed before the underlying construction is complete.
Mark the station, village, forest, water and background. Important trains and scenes should remain visible from the operating side.
Test the longest vehicles, pushed wagons, turnouts, gradients and hidden sections in both directions.
Shape slopes and valleys approximately first. Avoid unnaturally hard edges and keep all maintenance openings accessible.
Arrange rock structures in geologically plausible directions and blend transitions using filling compound.
Earth, grey and ochre tones form the base. Recesses can be darker while dry edges and paths can be slightly lighter.
Begin with ground material and short fibres. Add wild grass, bushes, undergrowth and trees of different heights afterwards.
Prepare the colour of water beds and roads before pouring water material or installing neighbouring vegetation.
Group people, animals and vehicles into small stories. Open areas give each scene space and visual impact.
Artificial-looking scenery often results from excessive uniformity: the same green everywhere, trees spaced at identical intervals and roads without a visible purpose.
Irregular groups, graduated colours and logical transitions create a more natural appearance.
Rails, turnout blades, frogs and moving drives must also be protected from glue, paint and scatter material during every scenery construction stage.
Do not permanently build tunnels and hills until reliable train operation has been confirmed.
Soil, dry grass and several shades of green create considerably more visual depth.
Group scenes together and deliberately retain calm, open landscape areas.
Cover moving parts and the tops of the rails while applying glue, paint and scatter material.
Do not trap moisture inside filler, adhesive or model-water layers by continuing work too soon.
Follow the stated processing method, layer thickness, drying time, ventilation requirements and safety information for the exact product being used.
Remove dust, glue and scenery residue from rail contact surfaces safely.
Keep track, vehicles and operating equipment reliable after construction work.
Check planning, track, testing and expansion before permanent scenery is installed.
These answers cover construction sequence, materials, greenery, water, scales and later maintenance.
Only after the track, turnouts, electrical system and longest vehicles have been tested reliably. Then build the scenery section by section from the basic terrain form through to the fine details.
Common options include Styrodur, rigid foam, open-frame structures, wire mesh and terrain crepe. The surface can then be covered with filler, plaster cloth or texture paste.
Grass mats cover larger areas quickly. Loose grass fibres allow more individual heights and transitions. Using a mat as a base and adding fibres afterwards combines both approaches.
Smaller scales generally require finer and shorter fibres. In H0 and larger scales, short base fibres can be combined with longer wild-grass fibres.
Use several green, beige and brown tones. Add tufts, flowers, exposed earth and fibres of different heights irregularly rather than covering the whole area in the same way.
Rock casting moulds, rock filler or structured panels create the form. Thin dark washes emphasise recesses, while light dry-brushing highlights sharp edges.
The base must be sealed, clean and prepared with colour. Pouring material should only be applied at the layer thickness approved for the product. The manufacturer's processing and drying instructions remain decisive.
Yes. Hidden track must remain accessible for cleaning, repairs and recovery of derailed vehicles. Removable mountain sections are often the simplest solution.
Usually yes. Check colour, scale, material compatibility and adhesive on a small sample area before using the combination on the complete layout.
Yes. H0, H0e and H0m all use a scale of 1:87. Their model track gauges differ, but buildings, figures and plants use the same scenery scale.
Apply snow in different depths. Allow roads, rails, roofs and tyre tracks to remain partly visible. Ice, snow-covered vegetation and muted colours complete the scene.
Build a small sample landscape or use a landscaping starter set to learn how the colours and materials behave. Expand to a larger layout section only after the test area has produced the desired result.
Begin with one small section, test colours and materials and then expand the miniature world with vegetation, water, transport routes and carefully selected scenes.
Combine scenery with layout planning, track, digital technology, vehicles and reliable railway operation.
Content, English category links, product pages and image paths checked: 16 August 2026.