Modellbahn Keks
Welcome!
Our cookies offer you a fast, relaxed and full-featured shopping experience. Some are necessary to operate the website and its functions. Others help us to improve our services. If you agree to this, simply consent to the use of cookies for preferences, statistics and marketing by clicking on "OK". Alternatively, you can deactivate individual cookies under "Customise cookies" or all cookies, except those required for the function of our website, under "Reject all".
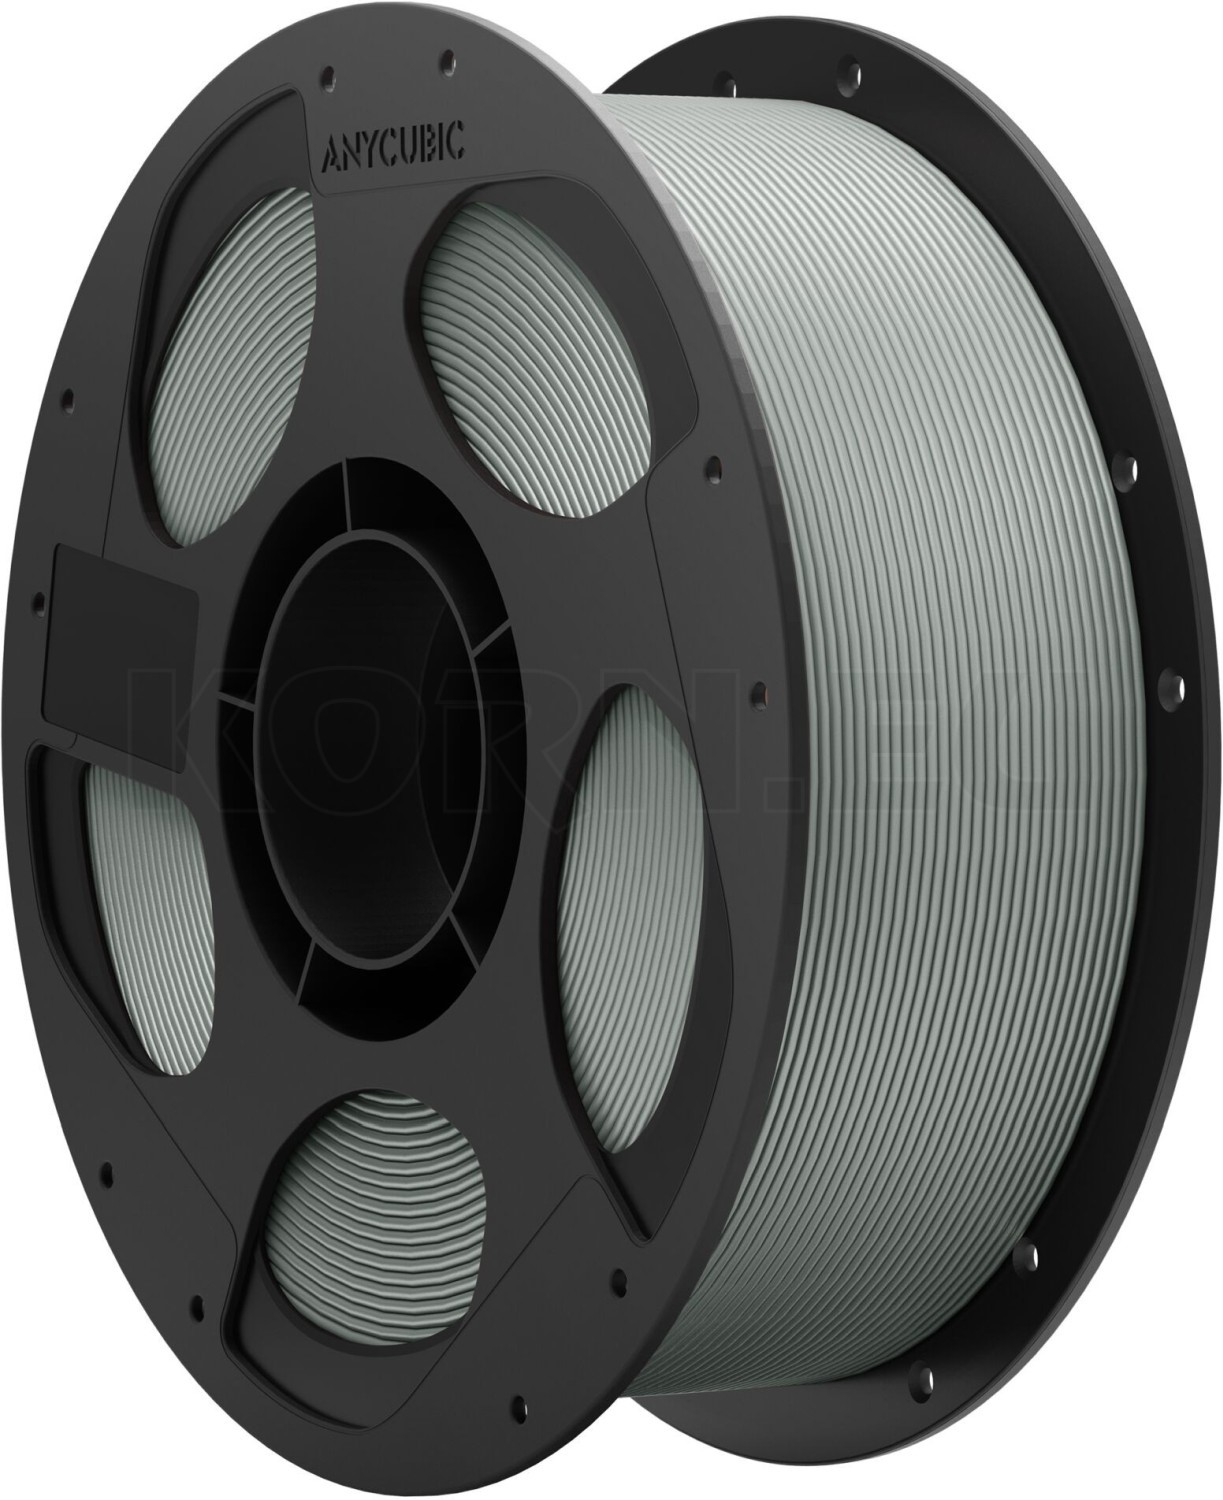
Anycubic PLA+ Filament Grey 1 kg for model making and model railways
Comparing materials for your models

PLA or PLA+ – Which Filament for Model Making?

PLA is sufficient for many model buildings, wagon loads and indoor decorations. PLA+ can be useful when removable parts or brackets need greater toughness. The specific formulation and your part are what matter: the plus sign guarantees neither finer detail nor greater heat resistance.

The task determines the choice

When is PLA sufficient, and when is PLA+ worthwhile?

Choosing PLA or PLA+ for model making starts with how the finished part will be used. A permanently installed shed wall needs different properties from a roof you regularly remove for maintenance. Crisp edges and paintability matter for the wall; the roof also needs a good fit and resistance to minor knocks.

So compare more than two material names. Decide what needs to improve: less breakage during handling, cleaner joints or easier assembly. A proven spool of PLA does not need replacing if it already meets the requirements.

PLA and PLA+ in model making: typical differences, not an overall ranking
Selection criterion PLA PLA+
Getting started and ease of printing An accessible starting point for many indoor models. Often similarly accessible; check its own material profile.
Fine contours and surface finish Suitable for façades, wagon loads and decorative parts. Can also reproduce detail well; no automatic increase in resolution.
Knocks and repeated handling Brittle failure is possible at thin sections. Tougher formulations may offer benefits; this depends on the product.
Heat and outdoor use Limited suitability for warm locations or continuous exposure to the weather. The plus sign is not evidence of temperature or UV resistance.
Gluing and painting Test compatibility on a spare piece. Test here too; additives may affect processing.
Cost-effectiveness A sensible choice if its quality and durability meet the project's requirements. Any extra cost is worthwhile when it provides a benefit you can actually use.

What the plus sign means – and what it leaves open

PLA stands for polylactide, a thermoplastic. In FDM printing, the filament strand is melted and deposited layer by layer. PLA+ is also based on PLA, but uses a modified formulation. Manufacturers may use this to change, for example, its fracture behaviour or processing characteristics.

The suffix does not indicate identical performance across different brands and ranges. Terms such as Pro, Tough or High Speed also describe different aims. A filament designed for particularly fast printing does not necessarily offer the same toughness as a grade developed specifically for that purpose.

Stiffness and toughness are different properties

A stiff part deflects little under load. A tough part can absorb energy before breaking. Tensile strength, in turn, describes the stress it withstands in a tensile test. Different properties therefore matter for a long platform beam, a flexible clip and a delicate roof edge.

A single high number does not settle the comparison. Look at the test method, print orientation and how the test specimens were made. Values for a moulded specimen cannot simply be compared with those for a printed part. Values measured within the layer plane and across the layers can also differ considerably.

Assess heat resistance separately

One specific example is the Anycubic PLA+ data sheet, version 3.0: it lists a heat deflection temperature of 50 °C according to ISO 75-2 at 0.45 MPa. This is a test value under specified conditions, not a guaranteed service temperature for every model.

A roof in a sunny window or a part in a parked car therefore needs its own assessment. The melting point does not tell you how hot a loaded structure can get while retaining its shape. Other materials may be appropriate for such requirements.

Three typical model railway tasks compared

Buildings and fixed details

Standard PLA is often sufficient for an indoor warehouse, a wall or transport crates glued permanently in place. A design that prints well, even surfaces and clearly reproduced joints matter more than the suffix.

Choose PLA+ if a practical trial shows a benefit at delicate edges. Reprinting an entire façade simply because of the plus sign offers no proven benefit.

Removable roofs and plug-in parts

A tougher PLA+ formulation may be useful here. A roof is handled, moved and occasionally tilted while being fitted. First check, however, whether the connection is too tight or a thin locating pin is poorly designed.

You should be able to assemble the part without excessive force. A better-fitting pin often helps more than changing material while leaving a poor fit unchanged.

Brackets and workshop aids

PLA may be sufficient for a light-duty tray. For clips used regularly or brackets under load, it is worth comparing PLA+. Sustained loads, ambient temperature and the direction of loading all form part of the decision.

For structures subject to greater loads, PETG is another possible alternative. Suitable geometry and a trial under the intended conditions remain necessary.

Track gauge alone does not determine the material

In N and Z scales, the smallest feature that can still be reproduced often determines the approach. In TT, H0 and OO, more visible scenic details become practical. In S, Gauge 0, Gauge 1, II and G, larger surfaces and connections become more important.

H0e, H0m, TTm, Nm, 0e and other narrow-gauge variants follow the same material considerations. Detail size, use and location determine the choice, rather than track gauge. For very fine figures or railings, the comparison of FDM and resin also helps; PLA+ does not overcome a fundamental resolution limit.

Use the right profile rather than a blanket temperature rule

Switching from PLA to PLA+ does not automatically require a particular temperature increase. Start with the specifications for the actual spool and a matching printer profile. Diameter, hotend, build plate and print speed must be compatible. A profile from another manufacturer is only a possible starting point.

For example, the Anycubic PLA+ data sheet mentioned above specifies a nozzle temperature of 190–230 °C and a bed temperature of 55–65 °C for a 0.4 mm nozzle. These specifications apply to that material range. They provide neither a universal setting for all PLA+ grades nor a fixed temperature difference from standard PLA.

Several settings determine the contours

The nozzle, line width and model geometry are crucial for masonry joints and raised lettering. A smaller layer height mainly changes the steps in the vertical direction. Check in the slicer preview whether thin elements appear as print paths at all.

A steadily printed outer wall can look more convincing than a quickly produced surface with visible irregularities. Compare how the model will look under layout lighting, as well as in a heavily magnified screen view.

Walls and print orientation affect durability

The number of perimeter walls can matter more for strength than a high infill percentage. Orient loaded parts so that forces do not unnecessarily pull apart weaker layer bonds. The appropriate orientation depends on the shape.

If a tab remains fragile after changing material, check its cross-section and transition to the main body. A sharply notched root is a different problem from insufficient toughness. More material inside will not remedy every weakness on the outside.

A comparison for your own workshop

Practical project: a removable H0 shed roof

The following practice project shows how to assess PLA and PLA+ using the same model. It is a trial procedure, not a product test that has already been carried out. Choose a small shed roof with two locating features that slot into place. As an illustrative example, its footprint could be about 60 × 40 millimetres; set the prototype dimensions and wall thickness to suit your building.

Materials and preparation

You will need PLA and PLA+ in similar colours if possible, a suitable FDM printer, callipers and model-making tools for deburring. Both spools should be in a comparable, dry condition. Use the same file and record the respective material profiles.

Keep the comparison manageable

First print just a small section containing the roof edge and plug-in connection. This lets you check the critical areas before making two complete roofs.

Keep the geometry constant

Retain the orientation, wall construction and chosen layer height. Material-specific temperatures may differ according to the manufacturer's guidance; record these differences.

Record observations straight away

Label each sample. Record fit, visible contours, finishing work and behaviour during normal fitting separately. A single trial is no substitute for standardised material testing.

Six steps to a decision

  1. Model the roof and its mating part, or select a suitable file with an appropriate usage licence.
  2. Allow clearance for the connection and check the layer preview for missing webs or awkward supports.
  3. Print one sample in PLA and one in PLA+, and let both cool completely.
  4. Deburr both parts in the same way; do not force an overly tight connection together.
  5. Carefully fit and remove them several times. Record changes to the fit, edges or pins.
  6. Print the full batch of roofs in the chosen grade only when a clear benefit is apparent.

If both samples work well, the material you already know may be the simpler choice. If both fail, revise the connection first. Find more small tasks in your first ten 3D printing projects.

Check compatibility before changing spools

The filament diameter must suit your printer. Do not confuse it with the nozzle diameter: a 1.75 mm material strand and a 0.4 mm nozzle describe different points along the material path. For filament boxes, also check spool width, outside diameter and requirements for refill spools.

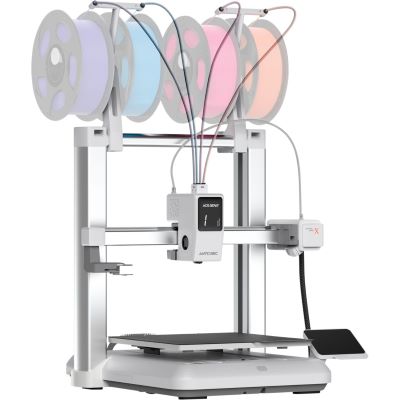
An identification chip is a convenience feature, not general proof of compatibility. Whether material can be recognised automatically, assigned manually or used in a multicolour system depends on the equipment. After a change, create a clearly named profile so that you do not accidentally treat standard PLA, PLA+ and different colours identically later.

Compare surface finish, painting and assembly

PLA+ is not inherently smoother than PLA. Gloss, colour, formulation and print profile affect its appearance. Compare similar colours: glossy black makes the same surface look different from matt grey. For painted buildings, what matters most is the quality of the prepared surface.

Deburr carefully and sand with light pressure. Frictional heat can distort small plastic parts. Test primer and paint on a spare piece; several thin coats preserve small joints better than one thick coat. Also check whether light shows through the walls of an illuminated building.

With adhesives, actual material compatibility matters. An adhesive for polystyrene kits is not automatically suitable for every PLA or PLA+. Test a small joint after the specified curing period. Locating pins and adequate contact surfaces also make assembly easier.

Assess the cost of the finished part

First compare the price per kilogram at the same net quantity, and check whether the offer includes a full spool or refill material. PLA+ is not necessarily more expensive in every offer; current product prices and pack sizes determine the difference. A blanket surcharge therefore makes little sense.

Illustrative calculation: With a price difference of €6 per kilogram, a print job using 30 grams of material costs an extra €0.18. The calculation is: 30 ÷ 1,000 × €6. These are example figures, not current shop prices.

Include supports, brims and failed prints in material consumption. Avoiding a reprint or reducing repairs may outweigh the material cost difference. If there is no clear benefit, PLA remains an economically sensible choice. The 3D printing cost calculator helps you consider material and other costs together.

Check the cause before changing material

Examine break points carefully

If a pin always breaks at the same transition, check its shape and print orientation. If a roof fits too tightly, correct the fit. If layers separate, check the material condition and profile. Only then can you assess whether a tougher grade solves the remaining problem.

Distinguish moisture problems from stringing

Rough surfaces, bubbles or pronounced stringing may be linked to moisture, but can also have other causes. Store spools in sealed containers with a suitable desiccant. Dry only according to the instructions for the material and spool; a higher temperature is not automatically more helpful.

Change and record just one setting per trial. This keeps it clear whether the improvement came from the material, temperature or design. Store successful samples with their profile details as a reference for later additions.

Limitations in heat and outdoor use

For garden railway projects, explicitly factor UV exposure, moisture and temperature into the choice. When printing PLA and PLA+, follow the manufacturer's instructions and provide a suitable workspace.

Suitable products for your comparison

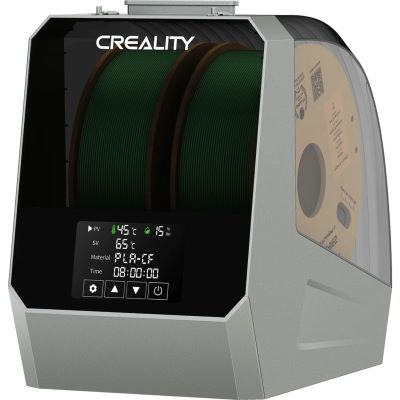
Two grey filaments make it easier to compare similar colours. A printer and dryer complete the workshop; check compatibility with the equipment and materials concerned.

Manufacturers and material ranges

Visit the shop's manufacturer pages for filaments, printers and accessories.

Find materials and equipment

Browse PLA, PLA+ and suitable printing equipment

The search loads current products from the linked categories when you reach this section. Filter by material category and manufacturer, or search by colour, product name and item number. The printer selection focuses on filament printers, while accessories are limited to filament dryers and filament systems.

The product search will load when you reach this section.

Frequently asked questions about the material comparison

Is PLA+ always better for model making?

No. It may offer benefits in toughness and frequent handling. Standard PLA may already do everything you need for an indoor model subject to light loads. Compare the specific formulation and intended use.

Will PLA+ produce sharper masonry joints?

The plus sign does not tell you that. Model geometry, nozzle, line width and profile also matter. Compare the same small façade section and check which features the slicer actually prints.

Can I keep using my existing PLA profile?

Only as a starting point if it is compatible with the manufacturer's specifications for the new grade. Check temperature, cooling and flow. Save the adjusted version under an unambiguous material name.

Is PLA+ suitable for a model in a hot car?

You cannot assume this as a general rule. A plus sign in the product name does not guarantee the required heat resistance. Assess the actual environment and choose another material if necessary.

Do I need a different printer for PLA+?

Not automatically. Filament diameter, temperature range and printer and material approvals determine this. For help choosing equipment, see the 3D printer buying guide for railway modellers.

Choose the material your model needs

Start with a small sample, compare the practical benefits and apply the successful settings to your project.

Explore the model railway guide