Forested Stream Gorge
Grey and brown rocks, a narrow stream, damp darker areas, ferns, bushes and trees create a Central European scene. This works especially well with a branch line, hiking trail and small stone bridge.


Deep rock walls, a narrow stream, scree on the valley floor and a railway bridge high above it: a gorge adds height, visual depth and a particularly exciting railway route to a model railway layout.
A gorge is a narrow valley with steep or rocky sides. A stream or river often runs along its bottom after cutting into the rock over a long period of time. This clear vertical structure is especially interesting for model building: the upper landscape edge is followed by rock walls and scree zones, while the narrow valley floor lies at the lowest level.
Designing gorges on a model railway works particularly well when the scene is not simply created by placing two vertical rock panels opposite one another. Different wall heights, projections, recesses, visible geological layers and small channels create a much more natural impression. Fallen stones accumulate at the base of the rock, while plants grow mainly on flatter ledges and in protected crevices.
A gorge creates attractive situations for the railway itself. A line can cross the gap on a bridge or viaduct , run along a rock wall or disappear immediately into a tunnel portal . This can make even a short section of railway appear much longer and more spectacular.
The position of the gorge on the layout is also important. A gorge close to the front edge is especially effective because the viewer can look directly down into it. At the rear of the layout, it can instead provide a convincing visual separation between two different scenic areas.
Terrain form, colouring and vegetation should be planned together. Selecting one clear gorge type prevents an accidental mixture of unrelated rock structures and vegetation styles.
Grey and brown rocks, a narrow stream, damp darker areas, ferns, bushes and trees create a Central European scene. This works especially well with a branch line, hiking trail and small stone bridge.
Light to grey rock walls, coarse scree and a fast mountain railway suit Alpine scenery. A viaduct, tunnel and waterfall can be combined within a relatively small area.
Ochre, beige and reddish brown define the colour palette. Visible horizontal layers, dry ground and sparse vegetation distinguish this scene clearly from a green European gorge.
Instead of permanent water, the valley floor contains gravel, scree and deposited material. This form is ideal for Mediterranean, dry and rocky landscapes.
The track follows one rock wall on a narrow ledge. Short tunnels, retaining walls and small bridges create an especially varied mountain railway section.
The railway remains far above the valley floor. This emphasises the height of the structure and allows even a comparatively short bridge to become the dominant focal point.
Design tip: The two sides of a gorge should belong to the same geological formation without looking identical. Similar rock direction and colouring connect both sides, while different projections, heights and vegetation prevent artificial symmetry.
The most important point of a gorge is initially not the rock wall but its lowest point. This is where the stream bed, scree channel or valley path will later be located. Rock walls, bridge height and railway route are then developed upwards from this level. This creates believable topography.
In a bridge scene, first determine the span, abutments and track height. The gorge is then constructed beneath them. This avoids the common problem of building a finished rocky gap first and later trying to adapt it somehow to an existing bridge.
If water is to flow through the gorge, its route must also be established early. A stream cannot simply run over arbitrary rises in the terrain. The ground falls towards the water, smaller side channels join the valley floor and scree accumulates at plausible locations. Suitable products for streams, rivers and moving water can be found in the English Model Water & Water Effects category.
High rock walls can make track and technical equipment difficult to reach. Hidden tracks, bridge approaches and tunnels should be fully tested before the terrain skin is permanently closed. Removable rock sections or access from below can make later maintenance considerably easier.
Rock forms, filling compounds, scree and many water products can be used across different model railway scales. Bridges, tunnel portals, railings and figures must, however, match the respective model size.
| Gauge / Scale | Particular Strength | Recommendation for the Gorge |
|---|---|---|
| Z · 1:220 | Strong landscape effect within very little space | Use fine rock structures, very small scree and narrow streams. |
| N / Nm · approx. 1:160 | High viaducts and long mountain railway routes | Develop the gorge generously while keeping individual details deliberately fine. |
| TT · 1:120 | Good balance between scenery and railway | Bridges, tunnels and wooded rock slopes can be combined compactly. |
| H0 / H0m / H0e / H0f · 1:87 | Very wide choice of materials and accessories | Detail rock walls, stream beds, hiking paths and railway routes extensively. |
| 0 / 0m / 0e · approx. 1:45 | Strong surface texture and visible depth | Add larger individual stones, roots and clearly visible geological layers. |
| 1 / Im / Ie · 1:32 | Extremely three-dimensional landscape detail | Plan the gorge as a distinctive individual scene or module. |
| G / IIm · often approx. 1:22.5 | Natural stones and real plants can be used | On outdoor layouts, take drainage and weather exposure into account during construction. |
Draw the valley floor, upper rock edges and railway route. A slightly curving gorge usually creates greater visual depth than a completely straight gap between two parallel walls.
Track height, abutments, clearances and tunnel openings should be tested before scenery construction begins. Only once long vehicles operate safely should the final rock construction start.
Rigid foam, open-frame supports, mesh or suitable construction boards create the basic volume. Large areas should remain as light as possible and must not block maintenance openings.
Casting moulds, rock filler, rigid-foam rock panels and crinkle rock can be combined. Repeated shapes should be rotated and the transitions filled so that the different pieces read as one continuous formation.
Thin darker colour collects in cracks and recesses. Projecting edges are then highlighted. Several restrained shades look more natural than one completely opaque grey wall.
Fine ground material forms the base. Add smaller and larger stones irregularly. Material can become coarser directly below exposed rock faces because natural rock fragments would collect there.
Colour and decorate the entire stream bed before adding model water. Rapids and spray can then be created on the finished water surface with suitable water-effect products.
Trees usually stand above the steepest rock faces, while grass and small bushes grow on ledges. Vegetation on a damp valley floor can be denser and darker than on exposed rock edges.
A gorge combines several product groups. The basic structure and rock formation define its geometry, scree connects the steep walls with the valley floor, and water and vegetation complete the visible scenery.
Granite, sandstone, texture materials and reusable rock moulds.
Rock structures, retaining walls and panels for quickly creating steep surfaces.
Several grain sizes for valley floors, the base of rock faces and dry channels.
H0, TT, N and G bridges for spectacular crossings above gorges and valleys.
Materials for streams, rapids and waterfalls.
Single- and double-track portals for railway routes immediately beside rock walls.
Vegetation for ledges, rock edges and damp valley areas.
Vegetation for rock crevices, stream banks and forested gorges.

Hand-coloured rigid-foam panel for rock walls, gorges and mountain railway routes.
View Product →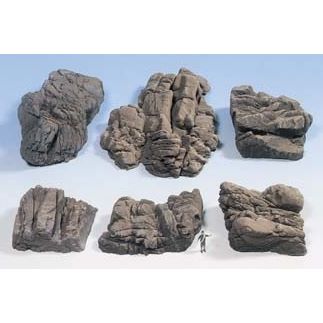
Six adaptable rock pieces for warm-coloured rock walls and canyon scenes.
View Product →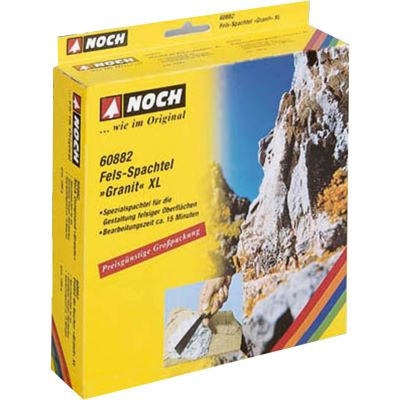
Grey structural material for Alpine gorges, cliffs and steep rock slopes.
View Product →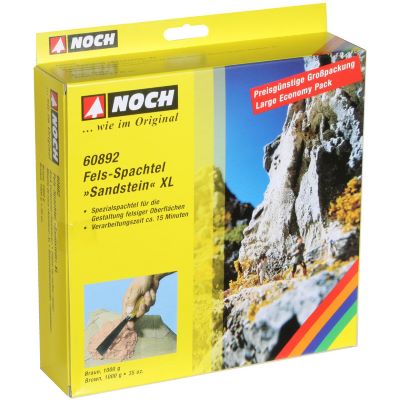
Warm-coloured structural material for layered rock walls and dry gorges.
View Product →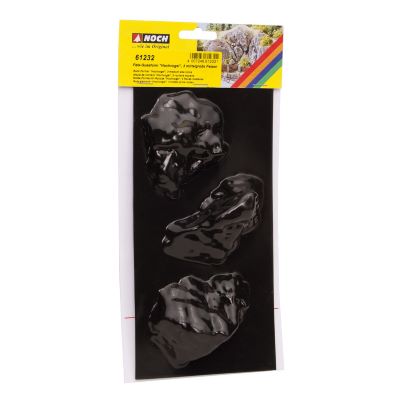
Reusable mould for creating individual rocks and larger rock formations.
View Product →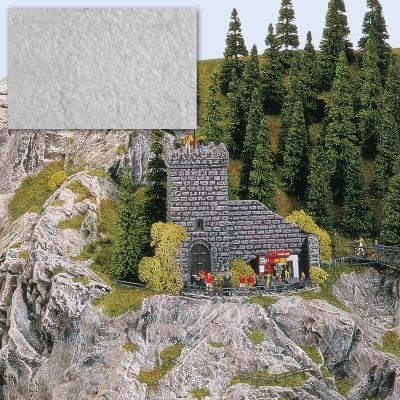
Shapeable material for individual rock faces, slopes and transitions.
View Product →
Suitable for spray, rapids and moving water surfaces.
View Product →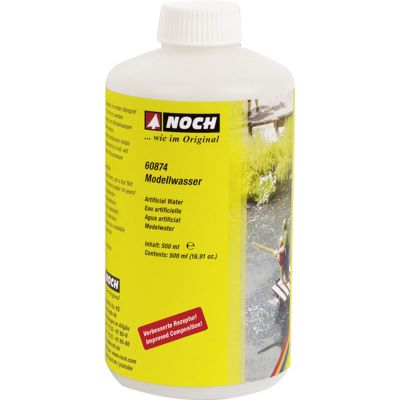
Ready-to-pour material for larger stream and water surfaces.
View Product →
High quarry-stone viaduct for a distinctive H0 gorge crossing.
View Product →
Compact N-gauge viaduct for deep mountain and stream gorges.
View Product →
Long single-track bridge for large terrain cuttings and valley crossings.
View Product →
Slender TT bridge for a stream, cutting or smaller gorge.
View Product →When this section approaches the viewport, the product finder loads suitable current products from English Modellbahnshop categories for rocks, scree, bridges, tunnels, water and vegetation. Results can then be filtered by search term, gauge, manufacturer and construction stage. Detected archived products are excluded and availability information is not shown on the product cards.
Suitable current products will be loaded when this section approaches the viewport …
Terrain materials, rocks, water products and structures from different manufacturers can easily be combined into one coherent gorge landscape.





The bridge category contains many steel, arch and viaduct structures for H0, TT, N and other gauges. The bridge type should be selected before the rock walls beneath it are permanently modelled.
These answers cover rock formation, the impression of height, water, bridges, gauges and realistic transitions into the surrounding landscape.
There is no fixed minimum depth. What matters is the visible relationship between the upper landscape edge, railway route and valley floor. Even a relatively small height difference can look convincing when the rock walls are sufficiently varied and arranged with effective perspective.
Cast rocks, rock filler or rock panels should show a consistent fracture or stratification direction. Fill the transitions and then add a base colour, a thin darker wash, highlighted edges and scree at the base of the rock.
Lightweight structures such as rigid foam, open-frame supports or mesh are suitable for creating the volume. Heavy plaster and rock filler are better used mainly for the visible surface and individual rock areas.
First create and colour the complete stream bed using fine material, gravel and individual larger stones. Add model water only afterwards. Rapids and white spray are then applied to the finished water surface.
The choice depends on gauge, era and required span. Stone viaducts create a classic railway atmosphere, while steel bridges have a more technical and delicate appearance. Abutments and piers must stand plausibly in the terrain so that the bridge does not look as though it was simply placed on top of the finished rocks.
A short exposed section of railway along a rock wall between two tunnel portals is especially convincing. The rock structure should continue around the portals while wing walls and scree connect the engineered structures with the natural slope.
Common causes include parallel rock walls, identically oriented casting shapes, evenly distributed scree and a single uniform grey colour. Different depths, fracture edges and deliberately grouped vegetation create a much more natural appearance.
Yes. Many rock and terrain materials are universal. Smaller gauges require finer surface structures, while gauges 0, 1 and G allow individual stones, plants and rock cracks to be modelled much more prominently.
Content updated on . The processing, material and safety instructions supplied by the respective manufacturer remain authoritative during practical use.
Further detailed guides covering mountains, rocks, water, railway embankments, tunnels and complete layout construction can be found in the central Modellbahnshop guide.