Modellbahn Keks
Welcome!
Our cookies offer you a fast, relaxed and full-featured shopping experience. Some are necessary to operate the website and its functions. Others help us to improve our services. If you agree to this, simply consent to the use of cookies for preferences, statistics and marketing by clicking on "OK". Alternatively, you can deactivate individual cookies under "Customise cookies" or all cookies, except those required for the function of our website, under "Reject all".
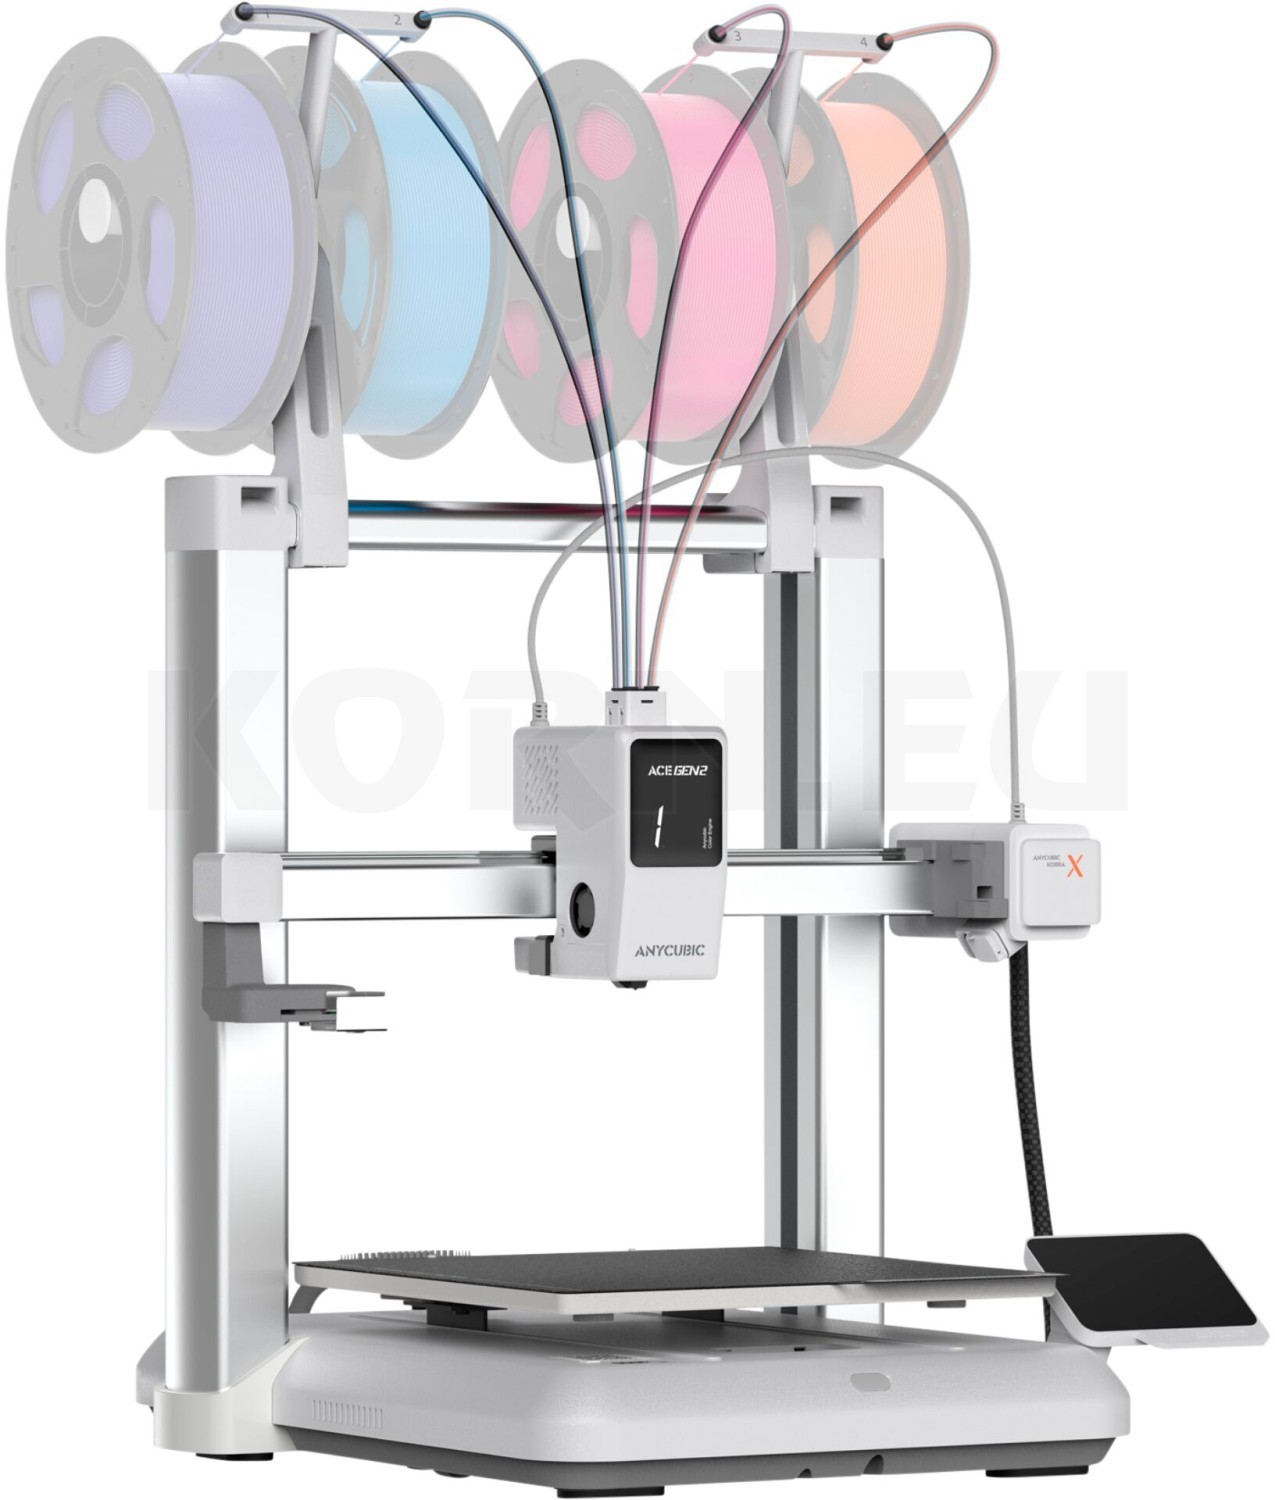
Anycubic Kobra X FDM 3D Printer
Turning ideas into models

3D Printing & Digital Fabrication

From your first wagon load to a building you have designed yourself: discover suitable processes, materials and projects for your model railway. This overview connects 13 guides with the shop categories for 3D printing, 3D scanning and laser engraving.

Your route to a custom model

Digital tools for a layout of your own

3D printing & digital fabrication begin with an idea, a drawing or a scanned real-world object. These become data that a machine turns into a physical component. In 3D printing, an object grows layer by layer. A laser works on suitable surfaces or cuts compatible sheet materials. A scanner initially produces digital geometry that requires further processing.

This opens up many possibilities for railway modellers: adapting building parts to unusually shaped plots, producing batches of wagon loads, designing brackets to fit a layout or adding to existing kits. The task determines the requirements. A flat facade, a tiny figure and a mounting bracket under load each call for different properties.

Start by choosing a manageable application. The topic cards below take you from the initial decision through your chosen scale to practical implementation. You can go straight to the question currently holding up your next project.

3D Printing for Model Railways – The Central Knowledge Hub

This in-depth introductory guide brings together printing processes, materials, scales and the journey from file to finished model. It helps you understand technical terms and recognise typical applications. Start here if you would like a coherent overview first. The specialist guides then explore purchasing decisions, practical printing and post-processing in greater depth.

Visit the knowledge hub →
Processes, equipment and budget

Find the right solution before you buy

A printer is part of a workflow. File preparation, workspace, consumables and finishing all belong in the decision. These four guides help you organise your requirements and realistically assess the work involved. Start with the model you want to make before comparing individual machines.

Which 3D Printer for Model Railways?

Large building walls need different capabilities from fine detail parts. This guide explains build volume, detail reproduction, operation and ongoing costs. Find out which questions matter before buying and how to compare printers against your model railway projects. Particularly useful if you are weighing up different printer types or planning your first workshop.

Prepare to choose a printer →

FDM or Resin for Model Railways and Scale Modelling?

FDM printing processes filament, while resin printing exposes liquid resin to light. This comparison looks at typical tasks, from buildings to tiny details, and connects print quality with material properties and post-processing. It helps you identify the process that suits your component, working environment and intended result.

Compare printing processes →

Buy a 3D Printer or Use a Printing Service?

A printing service can be worth considering for individual specialist parts; regular projects may justify your own machine. Your willingness to learn, available space and time also influence the decision. This guide shows how to assess quotes, running costs and your own preparation work. Ready-made accessories remain a useful option to compare as well.

Weigh up home printing and services →

3D Printing Cost Calculator for Modellers

How much will a usable model cost? Enter your figures for material, printing time and other costs. The calculator helps you compare projects and allow for failed attempts. Use it before a larger production run, then update your assumptions with measured figures after the first successful print.

Calculate project costs →
From Z scale to garden railways

Balance scale with printable detail

A file can be scaled down mathematically, but that does not automatically make its smallest features printable. Wall thicknesses, handling and connections must suit the model. Choose the guide for your scale; with narrow-gauge railways such as H0e or H0m, also distinguish between the model scale and the track gauge represented.

3D Printing for H0 Scale: Projects and Settings

Buildings, platform accessories and scenic details offer plenty of projects in 1:87 scale. The H0 guide combines suitable projects with material selection, settings and design limitations. A small practical example shows the route to your own model. It is also a useful starting point for H0 narrow gauge when buildings and accessories are likewise made in 1:87.

Plan for H0 →

3D Printing for TT Scale: Fine Models in 1:120

In TT scale, small features need to remain clearly visible without the part breaking during handling. This guide covers fine geometry, suitable printing strategies and post-processing. A compact detailing project helps you assess detail and strength together, so you can develop your own benchmarks for repeatable results on your TT layout.

Create details for TT →

3D Printing for N and Z Scales: Printing Tiny Parts

Tiny components need particular attention to wall thicknesses, supports and handling. This guide explains why selectively reinforcing details often makes more sense than simply reducing a model unchanged. It takes you from preparation through careful finishing and shows the limitations of very small models.

Prepare tiny parts reliably →

3D Printing for 0 Gauge, 1 Gauge and Garden Railways

With large models, build volume, splitting parts and material requirements become more important. Garden railways add outdoor use to the equation. This guide covers large components, connections and suitable project approaches. Check the actual scale of your project: garden railway vehicles and buildings in particular do not all use the same scale ratio.

Plan large models →

The same principle applies to other gauges and non-standard scales: adapt the approach to your actual dimensions and test a representative section. Printability depends on the geometry of each individual component.

Expand your digital workshop

What scanners and lasers add to scale modelling

From a physical object to digital geometry

A 3D scanner captures visible surfaces. Hidden areas, very thin structures or difficult surfaces may require further work. The result is therefore not automatically a print-ready file. Check completeness, scale and geometry before editing the model further. For simple boxes or brackets, designing directly in CAD can be quicker than processing a scan.

Engrave surfaces and cut outlines

A laser engraver can produce lettering, surface textures or cut components, depending on the machine and approved material. For buildings and signs, these flat-sheet processes complement three-dimensional printing. Use only suitable, known materials in accordance with the manufacturer's instructions; PVC and unknown plastics must not be used in a laser. Follow the requirements for protective measures, extraction and fire safety, and never leave the process unattended.

A small building as a combined project

A simple tool shed makes a useful planning example: walls made from suitable sheet material, printed vents and a separately made sign. Start by defining the external dimensions. Then decide which process will produce each component's intended structure with a reasonable amount of work.

Coordinate components and connections

Plan openings, material thicknesses and gluing surfaces together. A printed window must fit its actual opening. Allow for primer and paint as well, rather than waiting until assembly to make the finished parts fit together.

Test a connection before making a batch

First make a small wall section with a window opening and its matching insert. This reveals fit problems early and saves material.

Document dimensions and changes

Record the dimensions used and any correction required. Then apply the tested connection to the remaining components. Suitable tools, adhesives and paints complement digital fabrication during assembly and finishing.

From an idea to repeatable results

Five steps for your next project

You can combine the guides into your own workflow. Keep a short project note: what are you making, where will the component be used and how will you know it fulfils its purpose? This provides a clear basis for decisions and later changes.

  1. Define the task. Record the scale, external dimensions and most important visible details. Distinguish a purely decorative item from a moving part or a component under load. A display-cabinet model has different requirements from a part handled every time the layout is assembled.
  2. Choose the production method. Read the process comparison and decide which tasks you want to do yourself. Include design, file preparation and post-processing. For a single specialist part, it is also worth considering a printing service.
  3. Assess the material and environment together. Compare the filament guide with your model's requirements. Allow for its intended location and suitable workshop equipment. Record the exact material designation so that successful results can be reproduced as consistently as possible.
  4. Test the most difficult area first. Choose a small section containing the finest feature, an important fit or a problematic overhang. Assess it in its intended installed orientation. A test piece is especially useful when it answers the precise question that matters for the complete model.
  5. Record the result and the work involved. Enter actual material consumption and printing time into your cost calculation. Record the manual work required as well. Save a clearly named file version together with the settings before starting a larger production run.

If an attempt fails, try changing just one identifiable factor and compare again. A better part orientation or an adjusted connection may be more useful than immediately looking for another machine. The linked practical and scale-specific guides help you make these decisions for the model in question.

Equipment and consumables

Products for your digital modelling workshop

Search printers, filaments, resin, accessories, scanners and laser engravers by product name, colour or item number. The selection loads from the linked product categories when you reach this section. Combine a search term, category and brand to narrow the results. Select “Show more products” to reveal further matches within each group.

Product search will load when you reach this section.

Check the information on each product page before making your selection. Filament diameter, temperature range, approved resins and accessory compatibility must match your equipment. The category links remain available independently of the embedded search.

Explore brands and their ranges

Open the brand pages at Modellbahnshop to view machines alongside their associated materials. Compare specific models using their product information and your planned workflow.

Frequently asked questions about making your own models

Do I need CAD skills to make my own models?

You can start with suitable ready-made files. CAD offers more control over custom dimensions and connections. Check the licence for files created by others, especially before sharing them or using them commercially.

Can I use one file for every scale?

Scaling is a starting point. Afterwards, check wall thicknesses, openings and fits. Very small details may need to be reinforced, simplified or made separately. The linked scale-specific guides help you assess these requirements.

Does a scanner replace design work?

It captures existing surfaces. Missing areas, unsuitable dimensions and unprintable geometry may need further editing. For simple technical shapes, direct CAD design often remains the clearer approach.

Which project is suitable for a beginner?

Choose a small part that is easy to work on, such as a wagon load or a simple scenic accessory. A short printing time makes comparisons easier. The collection of ten projects offers suitable ideas for your first attempt.

How can I combine printed parts with traditional kits?

Measure the connection points on the existing model and make a test piece first. Allow for gluing surfaces and surface treatment. A coordinated paint finish brings different materials together into a consistent overall appearance.

Further introductory reading: Designing for 3D printing at Prusa, Scanner FAQs at Creality and Laser safety at Creality Falcon.

Your next idea is waiting

Combine custom components with scenery, buildings and rolling stock. Explore more topics on planning, building and detailing your model railway in our guide.

Explore the model railway guide →