Modellbahn Keks
Welcome!
Our cookies offer you a fast, relaxed and full-featured shopping experience. Some are necessary to operate the website and its functions. Others help us to improve our services. If you agree to this, simply consent to the use of cookies for preferences, statistics and marketing by clicking on "OK". Alternatively, you can deactivate individual cookies under "Customise cookies" or all cookies, except those required for the function of our website, under "Reject all".
Different model railway couplings for adjusting and reliably coupling locomotives and wagons
Reliable connections throughout the train

Adjust Model Railway Couplings | Couple Wagons Correctly

Check coupling height, NEM pockets, close-coupling kinematics and vehicle spacing step by step. This guide helps you diagnose unwanted uncoupling, poor centring and insufficient clearance before replacing or modifying components.

Reliable connections throughout the train

What Does Adjusting Model Railway Couplings Mean?

A model railway coupling must connect two vehicles securely while still allowing sufficient movement through curves, turnouts and transitions. Even small differences in height, alignment or freedom of movement can prevent wagons from coupling, cause them to separate during operation or make vehicles press against each other on tight curves.

Adjusting a coupling therefore does not mean simply bending every plastic component upwards or downwards. The first task is to determine where the problem actually lies: in the coupling head, its mounting, the return spring, a close-coupling mechanism, the bogie or even the vehicle height or an incorrect wheelset.

Modern H0 vehicles often have an interchangeable coupling pocket into which different coupling heads can be inserted. In H0, the mounting defined by NEM 362 is particularly widespread. Different standardised mountings are relevant for TT, including NEM 358. Older vehicles may instead use slotted mountings, coupling boxes or manufacturer-specific fastening systems.

A close coupling also works correctly only when its close-coupling kinematics move freely. On straight track, the vehicles sit close together. In curves, the mechanism guides the coupling shaft outwards to create the necessary clearance between buffers, gangway bellows or vehicle bodies.

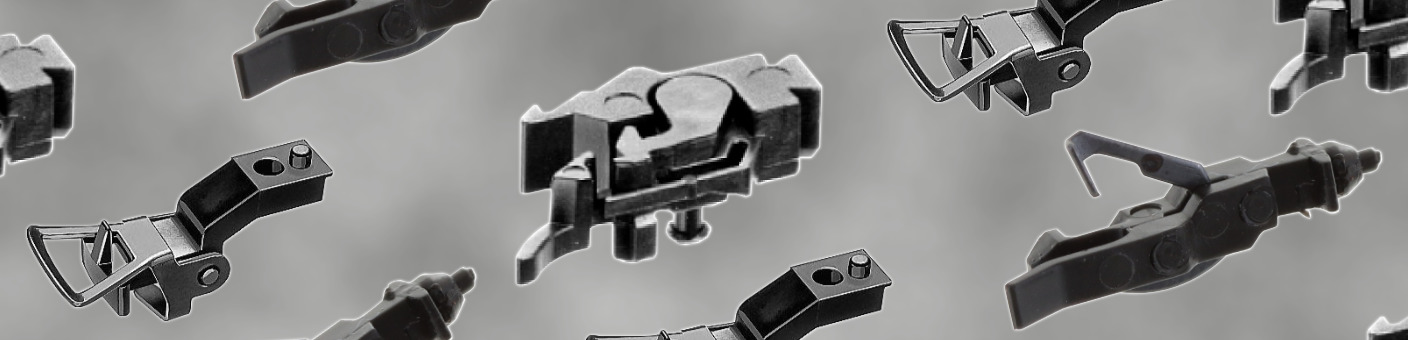
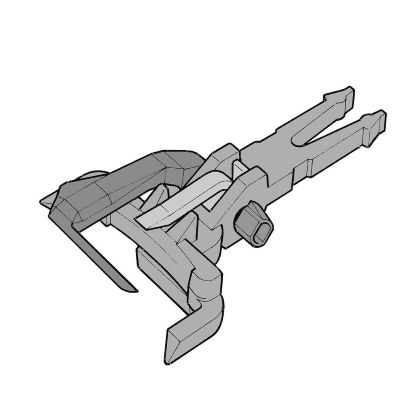
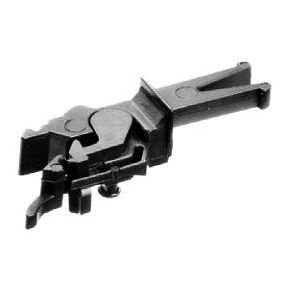
This guide covers the complete inspection process from the coupling head to the final test run. Suitable close couplings, universal couplings, adapters, coupling pockets and current-conducting versions are available in the Couplings & Accessories category.

Do not bend the coupling immediately

Why Do Model Railway Wagons Fail to Couple Correctly?

Start by observing exactly when the problem occurs. A height difference, blocked close-coupling mechanism or unsuitable vehicle spacing can produce very different symptoms.

Problem Possible Cause First Check
Couplings pass over or under each other Different coupling heights Compare both vehicles side by side on straight track.
Train separates at the beginning of a gradient Vertical play or height difference Observe the transition and coupling heads at low speed.
Coupling remains displaced to one side Kinematics or centring mechanism is binding Move the coupling sideways by hand and check whether it returns.
Wagon derails in a curve Vehicle spacing is too short or the kinematics are blocked Check buffers, gangway bellows and coupling movement in the tightest radius.
Distance between wagons is very large Long coupling or incorrect mounting Check for a suitable close coupling, mechanism or adapter.
Uncoupler does not work correctly Lever is too high, too low or incompatible with the coupling system Observe uncoupling over a straight test track.
Mounting, coupling head and guidance

Understanding NEM Coupling Pockets and Close-Coupling Kinematics

1

NEM 362 for H0

Many H0 locomotives and wagons have a mounting for interchangeable coupling heads. This allows universal, PROFI or close-coupling heads, for example, to be exchanged without completely modifying the running gear.

Important

The coupling pocket itself must be correctly positioned and securely mounted.

2

NEM 358 for TT

TT has its own standardised coupling mounting. Modern TT close couplings therefore cannot simply be treated in the same way as H0 couplings.

Older Vehicles

Slotted mountings and manufacturer-specific coupling boxes are also common on older TT wagons.

3

NEM 352 – Close-Coupling Guidance

The close-coupling kinematics keep vehicles close together on straight track while moving the coupling outwards in curves. The coupling must therefore be connected comparatively rigidly and the mechanism must return smoothly to its centre position.

A Standard Coupling Pocket Is Not Automatically the Cause

If a coupling sits too high or too low, first inspect the vehicle height, wheelsets, bogie, coupling mounting and close-coupling mechanism. Do not force a fixed plastic pocket into another position. Some coupling systems provide height-adjustable heads or suitable adapters, allowing the height to be corrected in a mechanically cleaner way.

Step by step

Adjust Coupling Height, Vehicle Spacing and Kinematics

1

Select a Reference Vehicle

Starting Point
Use a reliably working coupling for comparison

Place a proven wagon with the same coupling system on straight, level track. Couple the problematic vehicle to it. This makes it immediately apparent whether the coupling head is higher, lower or laterally displaced.

2

Inspect the Coupling Head

Check for bent loops, broken retaining tabs, damaged hooks and foreign objects. The coupling head must sit fully in its mounting. With a plug-in head, a suspicious component can easily be replaced temporarily with a known working example for comparison.

3

Check the Standard Pocket for Secure Seating

The pocket must not visibly hang down or be twisted. If only the coupling head is crooked, reinstall it correctly. If the entire mounting is loose or damaged, the cause must be corrected at the holder or close-coupling mechanism.

4

Test the Centring Action

Move the coupling carefully to the left and right. It should return to the centre of the vehicle without binding. If it remains to one side, inspect the kinematic guide for dirt, a displaced spring or mechanical damage.

5

Compare Coupling Height

Compatible coupling heads must meet cleanly on straight track. If there is a clear height difference, do not immediately bend the coupling head. First check whether an incorrect wheelset, faulty mounting or specific height adapter is responsible.

6

Determine the Vehicle Spacing

A shorter distance looks particularly realistic on passenger coaches, but it requires correctly functioning close-coupling kinematics. On older wagons without such a mechanism, a longer coupling may be more reliable than an excessively short connection.

7

Test the Tightest Track Curve

Slowly run two coupled vehicles through the smallest radius used on your layout and through reverse curves. Buffers, gangway bellows, steps and vehicle bodies must not catch on each other. The close-coupling mechanism must be able to swing visibly outwards.

8

Check Gradient Transitions

Problematic couplings often separate not on level track but at the transition between level track and a gradient. Drive slowly across the transition and observe whether one coupling head is lifted vertically out of the other.

9

Test the Uncoupling Function

Finally test standard loop, universal and close couplings with an uncoupling function over the uncoupling ramp used on the layout. A lever hanging too low can strike turnouts or track components; one that is too high may not respond reliably.

10

Test the Complete Train

Only after the individual test has been successful should the wagon be returned to its normal train formation. Run forwards and backwards through turnouts, curves and gradients. Problems caused by a stiff close-coupling mechanism often become especially apparent during propelling movements.

Select the coupling for its operating purpose

Standard, Close, Rigid and Current-Conducting Couplings

Standard & Universal Couplings

Well suited to mixed wagon fleets and frequent shunting. Vehicle spacing is usually greater than with a true close coupling, but many systems tolerate small geometric differences comparatively well.

Close Couplings

Designed for small vehicle spacing on models with suitable close-coupling guidance. Always test the tightest radius and track transitions before converting a complete train. Not every short coupling operates reliably with every older wagon.

Rigid & Fixed-Train Couplings

Useful for formations that are not separated during normal operation. A rigid connection can support the close-coupling effect but requires properly functioning vehicle kinematics.

Current-Conducting Couplings

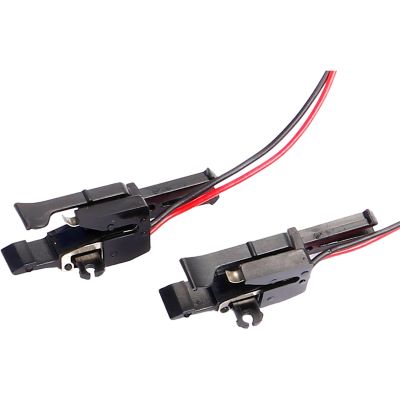
These also transfer electrical power between vehicles, for example for interior lighting. In addition to the mechanical height, the contacts, wiring and freedom of movement must all be correct. Do not bend them like simple plastic couplings.

Magnetic & Digital Couplings

Suitable for specialised shunting and digital functions. Motorised or electromagnetically operated versions additionally require correct decoder functions, wiring and mechanical operating travel.

Narrow-Gauge & Centre-Buffer Couplings

H0e, H0m and large-scale railways frequently use different prototype and model couplings from conventional H0 standard-gauge vehicles. The vehicle family and manufacturer-specific mounting are especially important here.

From Z gauge to garden railways

Matching and Adjusting Couplings by Gauge

Gauge What to Consider During Adjustment Gauge Guide
Z Extremely delicate couplings; do not straighten them by force. Z Gauge
N Small coupling heads and tight tolerances make precise centring particularly important. N Gauge
TT Distinguish between standardised mountings, slotted mountings and older coupling boxes. TT Gauge
H0 Very large selection of NEM, universal, close and current-conducting couplings. H0 Gauge
H0e / H0m Narrow-gauge vehicles frequently have specialised coupling mountings. H0e · H0m
0 / 1 Large-scale models use specialised hook, screw or system-specific couplings. Gauge 0 · Gauge 1
G Robust loop and centre-buffer solutions; pay attention to coupling height and the particular vehicle type. G Gauge
Current selection at Modellbahnshop

Find Suitable Couplings, Heads, Adapters and Mountings

The category includes close couplings, standard and universal couplings, rigid couplings, current-conducting systems, adapters and specialised solutions from numerous manufacturers. When selecting a replacement, check the gauge, coupling pocket, coupling system and intended operating purpose.

192 Couplings and Accessories in the Current Category

Browse close couplings, universal couplings, plug-in couplings, adapters, coupling pockets, springs, rigid couplings and specialised solutions for different gauges and vehicle types.

View All Couplings
Coupling systems by brand

Manufacturers for Couplings and Wagon Accessories

When converting a vehicle, consider not only the coupling head but also the existing mounting, vehicle geometry and the coupling system used throughout the train.

Reliable operation instead of force

The Most Common Mistakes When Adjusting Model Railway Couplings

1

Forcefully Bending a Plastic Coupling Pocket

This can permanently distort or break the mounting. First identify the cause and check adapter options and interchangeable coupling heads.

2

Looking Only at Coupling Height

A coupling at the correct height can still bind if the close-coupling mechanism does not return to centre or the shaft cannot move freely.

3

Reducing Vehicle Spacing Too Much

Buffer-to-buffer appearance works only with suitable kinematics. Without sufficient movement, vehicles can derail in curves.

4

Oiling the Close-Coupling Mechanism

Plastic guides do not automatically require lubrication. Oil can bind dust and make the mechanism increasingly stiff over time.

5

Mixing Different Systems Without Testing

A common standard coupling pocket does not automatically mean that every coupling head will couple reliably with every other coupling system.

6

Testing Only on Straight Track

The smallest radius, reverse curves, turnouts, gradients, descending transitions and propelling movements are equally important. Only after these tests is the adjustment genuinely reliable in operation.

Frequently asked questions about coupling technology

FAQ About Adjusting Model Railway Couplings

How Do You Adjust a Model Railway Coupling Correctly?

First compare the coupling height with a vehicle that works reliably. Then inspect the coupling head, mounting, centre position and close-coupling kinematics. Finally test curves, turnouts and gradient transitions.

Why Do Two Wagons Not Couple Automatically?

The coupling heads are often at different heights, laterally displaced or unable to move freely. Incompatible coupling systems are another possible cause.

Why Do Wagons Uncouple While Running?

A height difference, excessive vertical play or an abrupt transition onto a gradient can lift one coupling head out of the other. A damaged hook or loop may also be responsible.

What Is a NEM Coupling Pocket?

It is a standardised mounting for interchangeable coupling heads. Compatible couplings can therefore be replaced without completely modifying the vehicle's running gear.

What Does NEM 362 Mean?

NEM 362 describes a widely used mounting for interchangeable coupling heads on H0 vehicles. The actual coupling head must still be compatible with the coupling system you want to use.

What Does Close-Coupling Kinematics Do?

It keeps the distance between vehicles small on straight track and moves the coupling outwards in curves. This creates the necessary clearance between the vehicles.

Can a Coupling Head That Sits Too Low Simply Be Bent Upwards?

This is not recommended with plastic couplings and standard coupling pockets. It is better to identify the cause and inspect the mounting, or use a purpose-designed height-adjustable system or suitable adapter.

Which Coupling Is Suitable for Short Vehicle Spacing?

Close couplings are designed for this purpose. For genuinely close spacing, the vehicle should additionally have correctly functioning close-coupling kinematics.

Can I Couple Roco, Fleischmann, PIKO and Märklin Wagons Together?

This is often possible with compatible coupling heads. The decisive factors are the gauge, mounting and actual coupling system being used, rather than the vehicle manufacturer alone.

What Else Must Be Considered with Current-Conducting Couplings?

In addition to the mechanical connection, the contacts, cables and polarity or electrical wiring must be correct. Wiring must not prevent the coupling from swinging sideways.

Why Does the Coupling Remain to One Side After a Curve?

The centring mechanism or close-coupling kinematics are probably not moving freely. Foreign objects, a displaced spring or a damaged guide may be responsible.

When Should a Model Railway Coupling Be Replaced?

If the hook is broken, the loop is damaged, the plug-in shaft is worn or the coupling head is permanently deformed, a suitable replacement is generally more reliable than a repair.

Couple, Shunt and Run Trains Reliably

Find further guides covering wagon axles, wheelsets, vehicle cleaning, spare parts, digital technology, gauges and layout planning in the central Modellbahnshop model railway guide.

Open the Main Guide