Modellbahn Keks
Welcome!
Our cookies offer you a fast, relaxed and full-featured shopping experience. Some are necessary to operate the website and its functions. Others help us to improve our services. If you agree to this, simply consent to the use of cookies for preferences, statistics and marketing by clicking on "OK". Alternatively, you can deactivate individual cookies under "Customise cookies" or all cookies, except those required for the function of our website, under "Reject all".
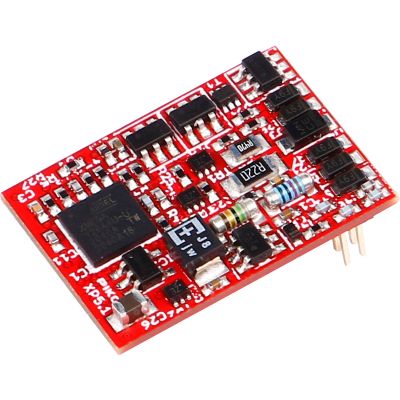
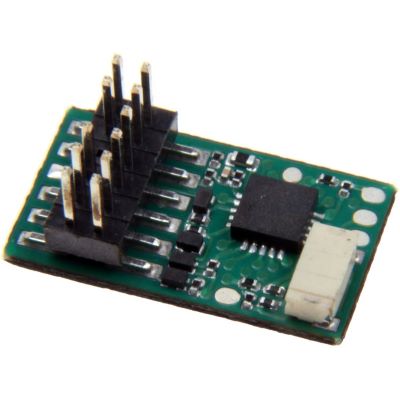
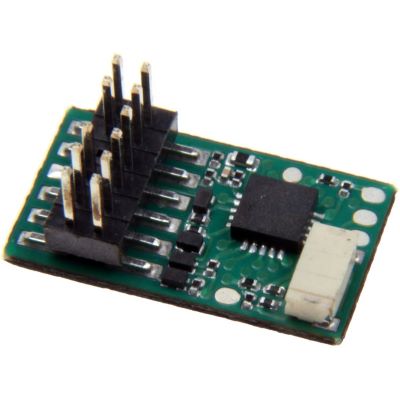
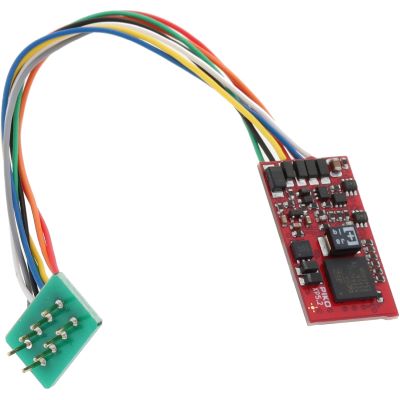
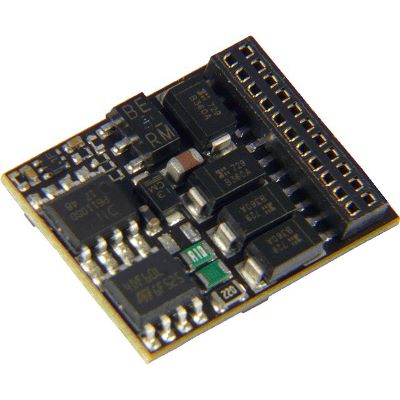
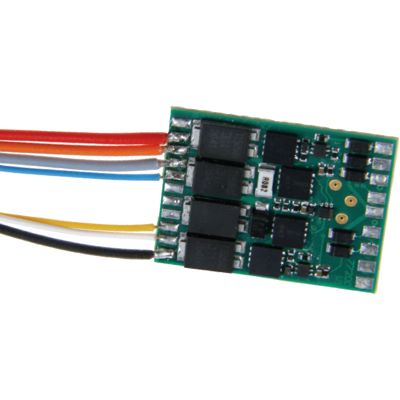
PIKO SmartDecoder XP 5.1 with a PluX22 interface
Identify the interface, motor current and protocol with confidence

Choosing Locomotive Decoders: Interfaces & Gauges

The right locomotive decoder improves slow-speed running, motor control, lighting and special functions. This selection guide takes you from opening the locomotive and identifying its interface and available space to choosing a suitable decoder for Z, N, TT, H0, 0, 1 and G gauges.

The controller inside the vehicle

What Does a Locomotive Decoder Do?

A locomotive decoder receives digital commands from the track and controls the motor, direction, lighting and other vehicle functions. Every locomotive is assigned its own address and can therefore be operated independently of other vehicles on the same electrical circuit.

A driving decoder or locomotive decoder includes a regulated motor output stage. This distinguishes it from a function decoder, which only switches lighting or auxiliary functions. A sound decoder additionally combines motor control with sound memory, an audio amplifier and a loudspeaker connection.

Selection should never begin with the manufacturer alone. First check the existing interface, available installation space and motor-current consumption. Then consider the digital protocol, number of function outputs, RailCom, braking methods, energy-storage connection and required programming options.

Installation is often straightforward in a modern locomotive with an interface: remove the blanking plug, insert the correct decoder in the proper orientation and test the locomotive on the programming track. An older analogue locomotive requires a complete electrical inspection. The motor must be isolated from the track and vehicle chassis.

Seven decisions leading to the right decoder

Choose a Locomotive Decoder Step by Step

1. Purpose

Driving Without Sound or with Sound?

A locomotive decoder without sound is sufficient for the motor, lighting and basic functions. Motor sounds, horns and operating noises require a sound decoder with a suitable sound project and loudspeaker.

2. Connection

Identify the Interface Precisely

Next18, PluX12, PluX16, PluX22, 21MTC, NEM 651 and NEM 652 are not interchangeable. The number of contacts, connector shape and installation orientation must match the locomotive circuit board exactly.

3. Space

Measure the Installation Space in Three Dimensions

Length and width alone are not sufficient. Component height, cable routing, body supports, the flywheel and heat dissipation also affect the space that is actually available.

4. Power

Choose Motor Current with a Safety Margin

The decoder's continuous-current rating must exceed the measured motor consumption. Older motors and large vehicles often require considerably more reserve than modern coreless motors.

5. Language

Match the Digital Protocol

The decoder and command station must support at least one common format. DCC is widely used, while mfx or M4 makes registration easier with compatible Märklin command stations.

6. Outputs

Count Lighting and Special Functions

Headlights, tail lights, cab lighting, couplers, smoke and shunting lights may each require separate outputs. Logic-level outputs must not be confused with amplified outputs.

7. Additional Functions

Plan RailCom, ABC and Energy Storage

RailCom enables feedback, ABC supports automatic braking sections and a suitable energy-storage module bridges brief interruptions in electrical contact.

Connector shape and functions compared

Which Locomotive-Decoder Interface Does My Locomotive Have?

Interface Identifying Feature Typical Gauges Special Feature Check Before Installation
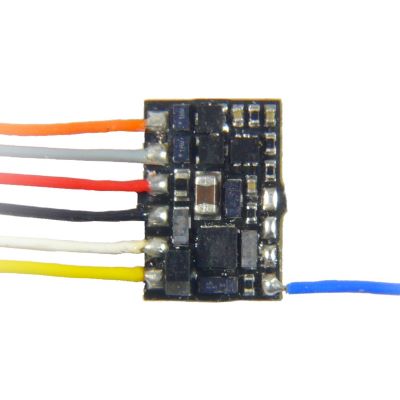
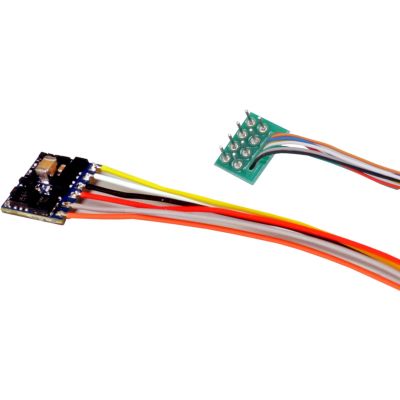
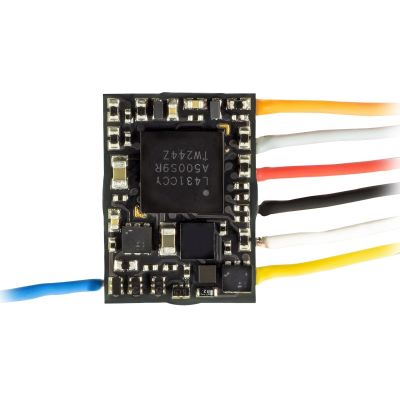
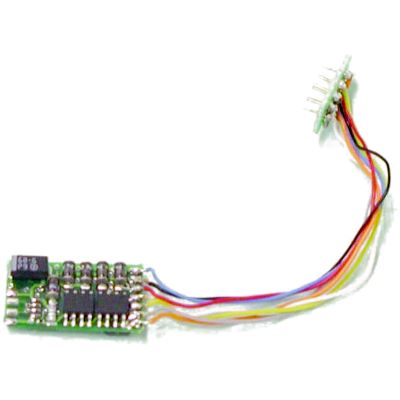
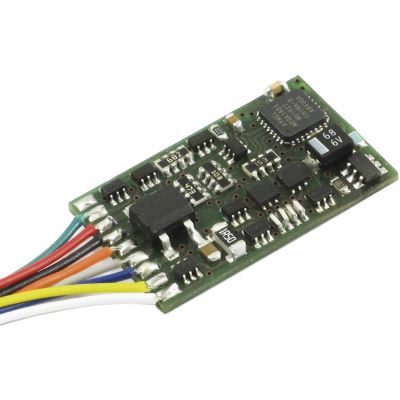
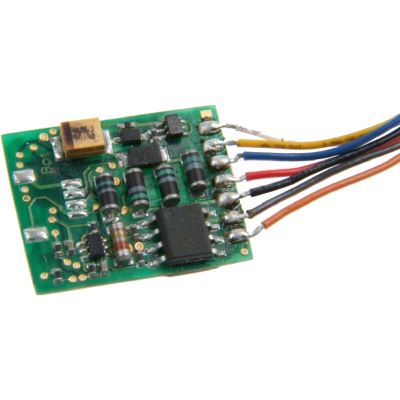
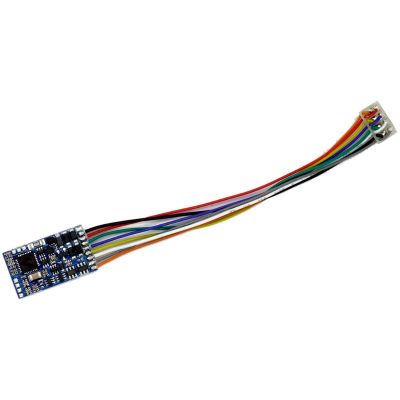
Wires Loose connection wires without a plug Z to G Flexible solution for older analogue models Completely isolate the motor from the track
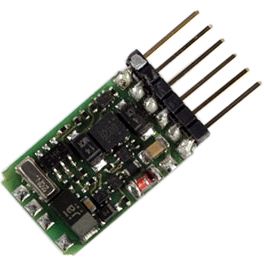
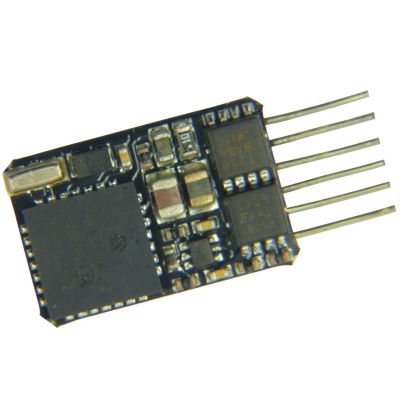
NEM 651 Six pins in one row N, TT and older H0 models Compact, usually with two lighting outputs Check whether a direct, right-angle or wired version is required
NEM 652 Eight pins in two rows H0 and some larger models Widely used older standard interface Check the marking for pin 1
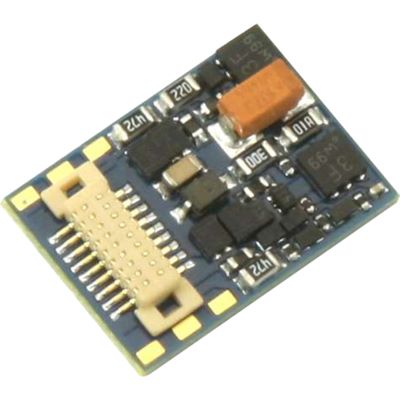
Next18 Small double-sided connector N, TT, H0e and compact H0 locomotives Compact design with more functions Distinguish between Next18 and Next18-S
PluX12 Pin header on the decoder TT and compact H0 vehicles More functions than NEM 651 Check the orientation and decoder height
PluX16 PluX design with 16 contacts TT and H0 A compromise between size and output count Do not automatically replace it with PluX22
PluX22 22-pin header Primarily H0 Numerous function and auxiliary connections Check the locomotive circuit-board pin assignment
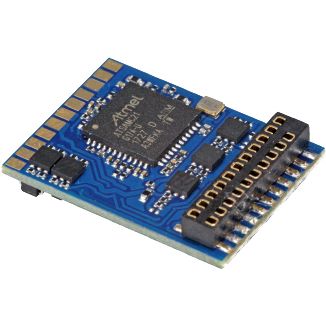
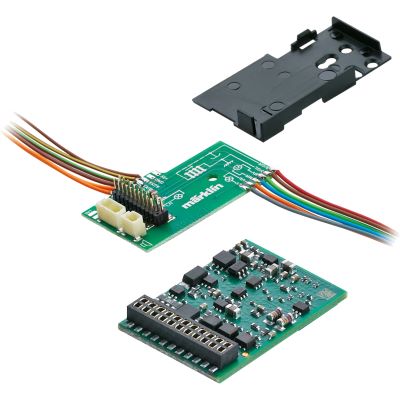
21MTC Pins on the locomotive board and sockets on the decoder H0 and Gauge 0 Numerous functions and manufacturer-specific variants Distinguish between logic-level and amplified outputs
Large-Scale Connection Wires, terminals or large pin headers 0, 1, G and IIm High currents and numerous electrical consumers Calculate motor, lighting and smoke-generator current separately
Important: The locomotive designation is not reliable proof of the interface. Manufacturers may supply the same model with different circuit boards in different production runs. Check the instructions or carefully open the body.
Three details for an initial selection

Which Locomotive Decoder Fits My Locomotive?

Which gauge?
Which interface?
Which system?

Your Recommendation

View Suitable Decoders →
Do not estimate power from the gauge alone

Size Motor Current and Function Outputs Correctly

Motor

Measure the Actual Current

Current consumption should be measured under load. A freely running motor requires considerably less current than a locomotive pulling a heavy train or operating with a dirty gearbox or stiff bearings.

Safety Margin

Do Not Use the Full Continuous-Current Rating

Choose a decoder with a safety margin. Older disc-commutator, round-motor and large-scale drives may draw considerably more current when starting.

Functions

Calculate Electrical Consumers Separately

Incandescent lamps, LEDs, couplers and smoke generators load the function outputs. The permitted total load may be lower than the sum of the individual output ratings.

Motor Type

Adjust Motor Control Correctly

Conventional DC motors, coreless motors and older Märklin drives require different control parameters or a motor conversion before decoder installation.

Temperature

Allow Heat to Dissipate

Do not seal the decoder in foam or press it directly against hot motor components. A small decoder is not automatically more durable than a larger version.

Contact Reliability

Connect Only a Compatible Energy-Storage Module

Buffer capacitors and power packs require suitable connections, charging circuitry and programming. A direct connection without current limiting can overload the decoder or command station.

The command station and decoder must speak the same language

DCC, mfx, Motorola, Selectrix and RailCom

DCC

DCC is widely used on two-rail layouts and with many modern multiprotocol systems. Settings are configured using CV values. Many decoders support both short and long locomotive addresses.

Best Suited To

Roco, PIKO, Lenz, ZIMO, Digitrax and numerous other command stations.

mfx and M4

Suitable decoders automatically register with compatible command stations. M4 is ESU's designation for an mfx-compatible implementation.

Best Suited To

Märklin Central Station and Mobile Station.

Motorola

The older Märklin format remains relevant to many existing layouts. Multiprotocol decoders can often process Motorola in addition to DCC or mfx.

Best Suited To

Older Märklin systems and mixed centre-stud layouts.

Selectrix

Selectrix is particularly common on older N layouts and specialised systems. Before changing the decoder, check whether the command station also supports DCC.

Best Suited To

Existing fleets of Selectrix vehicles.

RailCom

RailCom adds a feedback channel to DCC. A decoder can transmit information, while location-specific detection requires suitable detectors and separate detection sections.

Best Suited To

Automation, locomotive identification and convenient registration.

Multiprotocol

A multiprotocol decoder is useful when vehicles operate on different layouts or a future change of command station should remain possible.

Important

Additional formats do not replace the correct interface or motor rating.

From subminiature to high-current

Choose Locomotive Decoders by Gauge

Gauges Z and N

Minimum dimensions, low component height and limited heat generation are decisive. Wired versions, NEM 651, Next18 and small PluX designs are frequently used.

Typical Motor Current

A rating of 0.5 to 0.8 A is often sufficient, but the specific locomotive must still be measured.

Gauges TT, H0e and H0m

NEM 651, Next18, PluX12 and PluX16 are widely used. The decoder must fit beneath the roof, cab or circuit board without obstructing cables or the flywheel.

Typical Motor Current

Usually 0.5 to 1 A, depending on the motor and gearbox condition.

Gauge H0

H0 offers the widest selection. NEM 652, 21MTC, PluX16, PluX22, Next18 and wired versions cover both older and modern vehicles.

Typical Motor Current

Often approximately 1 A; older drives may require considerably more.

Gauges 0 and 1

Larger vehicles require more motor power and additional outputs for cab lighting, couplers, smoke and vehicle-specific functions.

Typical Motor Current

Choose a high-power decoder with a substantial safety margin and suitable cooling.

Gauges G and IIm

Garden railway locomotives may contain several motors, smoke generators, powerful lamps and other electrical consumers. Large-scale decoders must therefore be selected by the total load.

Typical Motor Current

Measure and document the motors and auxiliary consumers separately.

Cross-Gauge Rule

The gauge stated on the packaging is only a guide. The connection, dimensions, motor current, track voltage and actual wiring remain decisive.

Safest Approach

Open the locomotive, measure it, check the instructions and only then place the order.

From an analogue model to safe digital operation

Install a Locomotive Decoder in Six Steps

Step 1

Check Analogue Operation

The gearbox, current collection, lighting and motor must operate correctly.

Step 2

Open and Document the Locomotive

Photograph the wires, circuit board, motor connections and installation position.

Step 3

Check the Interface

Identify the blanking plug, pin marking and available installation height precisely.

Step 4

Install the Decoder with the Power Off

Never insert or remove the connector while the layout is powered.

Step 5

Use the Programming Track

Read the address and initially test the motor and lighting at a low load.

Step 6

Adjust the Driving Characteristics

Configure the starting voltage, maximum speed, acceleration, braking delay and function outputs.

Avoid damage and unsuitable purchases

Common Mistakes When Choosing a Decoder

Buying by Gauge Alone

Motor current and interfaces differ even within the same gauge.

Confusing PluX with 21MTC

The connector design and electrical pin assignment are fundamentally different.

Choosing a Decoder Without Measuring Current

An insufficient current rating can cause shutdowns or damage.

Loading Logic-Level Outputs Directly

Unamplified outputs require suitable external circuitry.

Failing to Isolate an Older Motor

A motor connection to the vehicle chassis can destroy the decoder.

Buying a Sound Decoder Without Planning the Loudspeaker

The sound project, impedance, enclosure and installation space must be considered together.

Locomotive decoders by size and interface

Suitable Locomotive Decoders for All Gauges

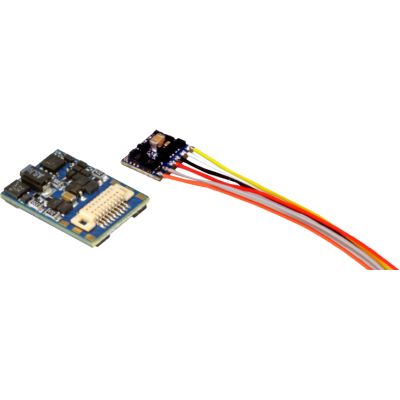
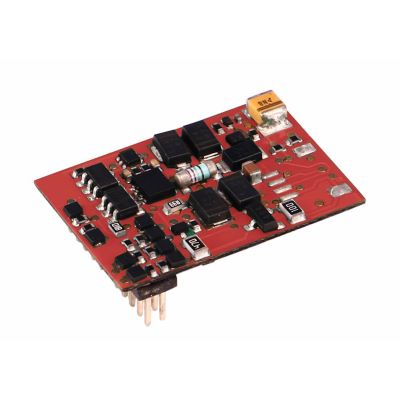
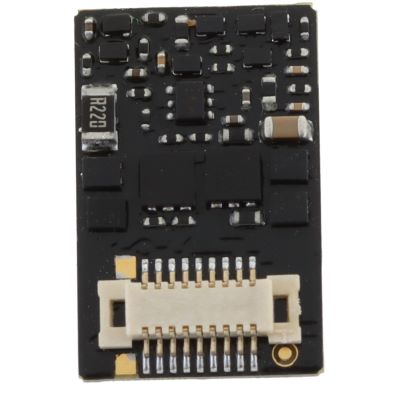
This selection presents non-sound decoders for small, medium-sized and large vehicles. Suitability must always be checked using the interface, installation dimensions, motor current and locomotive circuit board.

Answers before ordering and installation

Frequently Asked Questions about Choosing Locomotive Decoders

Which locomotive decoder fits my locomotive?

Check the interface, installation dimensions, motor current, protocol, function outputs and the instructions for the specific locomotive series.

Can I use a larger decoder?

Yes, provided it fits mechanically, is suitable for the track voltage and has the correct interface and electrical pin assignment.

Is a smaller decoder automatically better?

No. A larger decoder may provide greater power reserves, more function outputs and better heat dissipation.

Can Next18 be replaced with PluX16?

No. The two interfaces have different connectors, dimensions and electrical pin assignments.

Which is better: DCC or multiprotocol?

DCC alone is sufficient on a DCC layout. Multiprotocol operation provides advantages for Märklin use, changing command stations or mixed systems.

Can a DCC decoder operate with a Märklin command station?

Yes, when the command station transmits DCC. The motor must be suitable for the decoder and completely isolated.

How do I measure the motor current?

Measure the locomotive in analogue operation under a realistic load. Uncertain or older motors should be checked by a specialist.

What does a 1 A continuous-current rating mean?

Under the specified conditions, the decoder may continuously supply the motor with up to this value. Short-term peak ratings are stated separately.

What does RailCom provide in a locomotive decoder?

The decoder can transmit information back to the system. The command station and any local detectors must also support RailCom.

Do I need a sound decoder?

Only when the locomotive should reproduce sounds. A non-sound locomotive decoder is sufficient for driving, lighting and special functions.

Can I retrofit an energy-storage module?

Yes, when the decoder has a suitable connection and the storage module, charging circuit, voltage and programming are compatible.

Can I install a locomotive decoder myself?

Installation is often straightforward when a suitable interface is present. Older locomotives without an interface require experience with motor isolation, soldering and electrical testing.

Selection Principle

This page classifies locomotive decoders by purpose, interface, installation space, motor current, protocol, functions and gauge.

Update Date

Content status: 17 July 2026. Check the current manufacturer instructions and locomotive circuit-board pin assignments before installation.

Locomotive Decoder Found – Continue Planning the Complete Digital Project

The main guide covers command stations, sound decoders, digitisation, wiring, gauges, maintenance and layout construction.

Go to the Main Guide