Modellbahn Keks
Welcome!
Our cookies offer you a fast, relaxed and full-featured shopping experience. Some are necessary to operate the website and its functions. Others help us to improve our services. If you agree to this, simply consent to the use of cookies for preferences, statistics and marketing by clicking on "OK". Alternatively, you can deactivate individual cookies under "Customise cookies" or all cookies, except those required for the function of our website, under "Reject all".
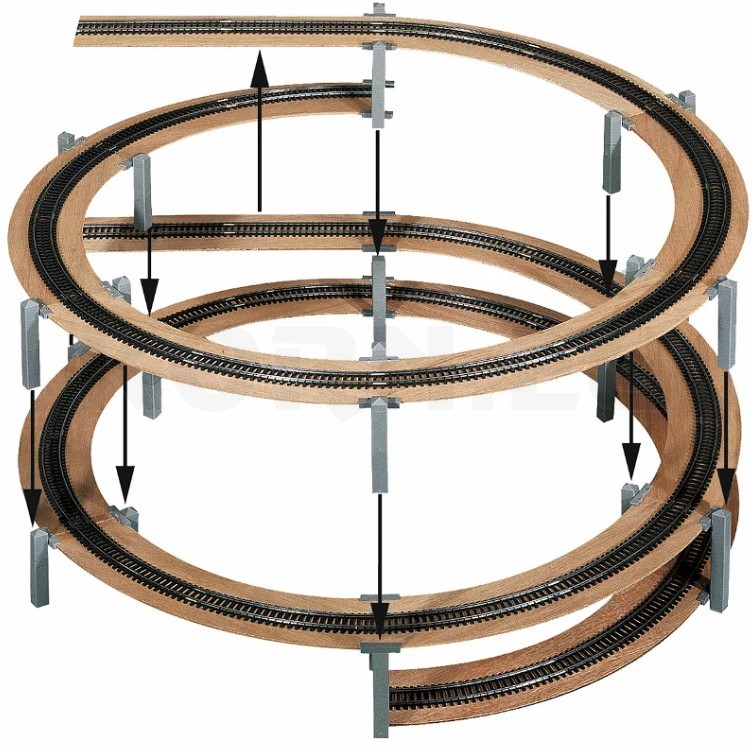
NOCH helix base circle with a curved model railway trackbed
Plan, check and enjoy reliable running

Minimum Curve Radii by Gauge and Rolling Stock Type

The right radius depends on the specific model, its couplings and the track alignment. Gauge alone is not enough. Check the manufacturer’s requirements first, then allow space for overhang, adjacent tracks and reliable train operation.

The most important decision

Technically possible does not mean generously planned

A minimum radius defines a lower limit under particular conditions. It does not tell you how realistic a long express train looks on a curve, or how reliably a propelled train will pass through a turnout immediately afterwards. A larger radius is therefore worthwhile on visible routes; in hidden areas, easy access also matters.

Minimum Curve Radii for H0, TT, N and Other Gauges can be compared meaningfully when all values are measured to the track centreline. The diameter of a circle measured along the track centreline is twice its radius. Track bedding, vehicle overhang and clearance to the edge of the layout must be added when calculating the actual space required.

Start with the most demanding model in your planned collection. A short goods wagon should not be the sole basis for the layout if you intend to run full-length passenger coaches, large steam locomotives or permanently coupled multiple units later. Detail parts fitted afterwards can also change the required clearance.

Guidance rather than blanket approval

What the gauge table actually tells you

The following calculation uses the factors 21.5 / 25 / 30 from MOROP standard NEM 111, section 3.1 . It applies to the model couplings or close-coupling mechanisms described there. These figures are not universal approvals for all locomotives, coaches and wagons of a particular gauge.

Calculated lower limits under NEM 111 for standard-gauge rolling stock groups – not a general approval for every model
Scale / track gauge Group A Group B Group C
Z / 6.5 mm 140 mm 163 mm 195 mm
N / 9 mm 194 mm 225 mm 270 mm
TT / 12 mm 258 mm 300 mm 360 mm
H0 / 16.5 mm 355 mm 413 mm 495 mm
S / 22.5 mm 484 mm 563 mm 675 mm
0 / 32 mm 688 mm 800 mm 960 mm
I / 45 mm 968 mm 1125 mm 1350 mm
II / 64 mm 1376 mm 1600 mm 1920 mm

Values rounded up to the nearest whole millimetre. Rolling stock groups A, B and C under NEM 301 are based primarily on the effective bogie pivot spacing; the corresponding full-size limits are 14.0 / 17.2 / 19.5 metres. Additional width conditions apply. Classification based solely on length over buffers would be inaccurate.

Manufacturer geometry is a separate specification

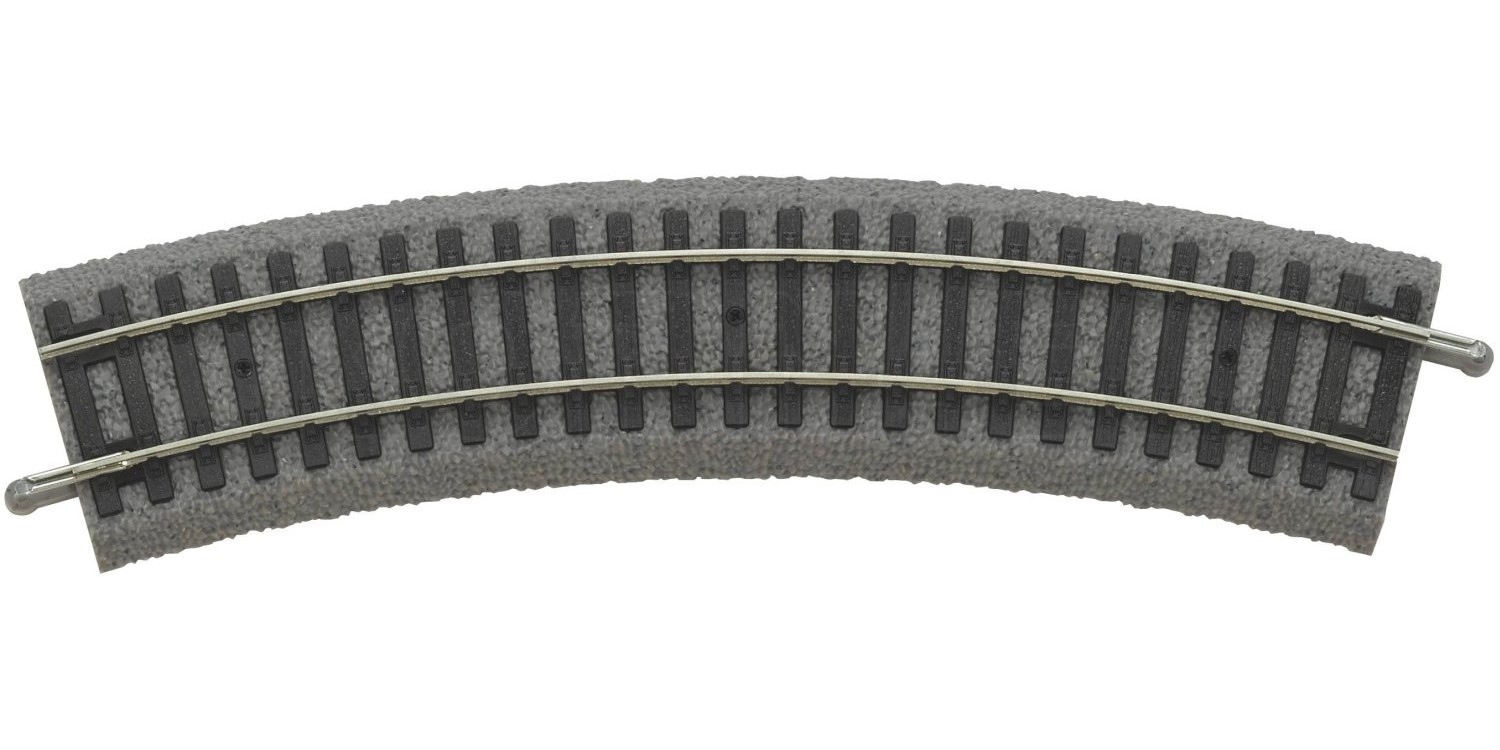
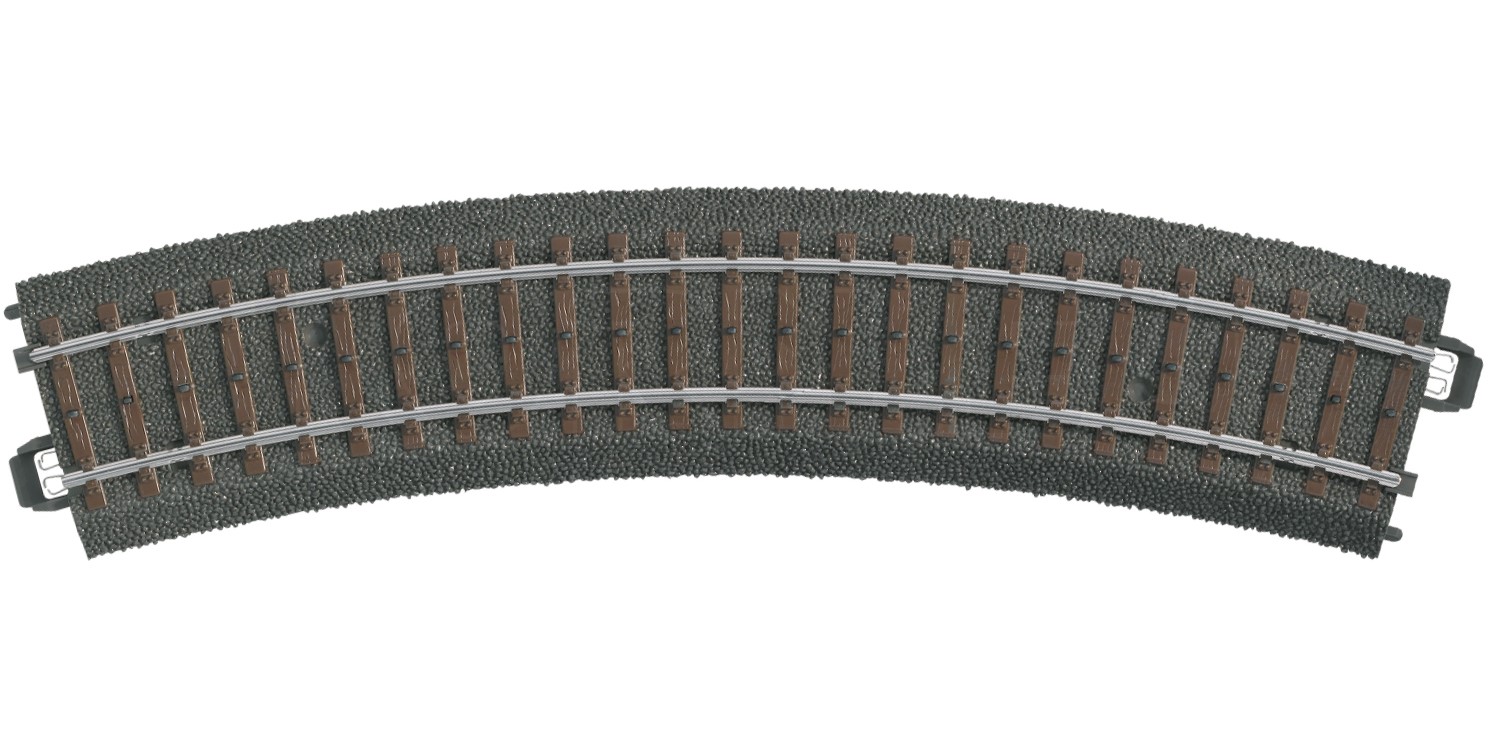
Märklin C Track R1 has a radius of 360 mm, whereas Roco Line R2 has a radius of 358 mm. In Fleischmann’s N gauge track system with roadbed, the 192 mm curve is called R1. The number after R is therefore not a dimension shared across manufacturers. Also compare the curve angle: it determines how many pieces make a complete circle, not how tight the curve is.

Approval for a specific model may differ from the standard’s classification because manufacturers use particular design solutions. A larger radius requirement for a model must not be replaced by a smaller table value. Even an explicitly permitted tight curve still needs separate assessment for appearance, coupling movement and train operation.

Narrow gauge, garden railways and special scales

H0e on 9 mm track and N on 9 mm track share the same track gauge but have different vehicle envelopes. Similarly, H0m and TT on 12 mm track, and H0f and Z on 6.5 mm track, are not equivalent. NEM 111 treats narrow gauge separately; the model’s design and instructions remain decisive.

Garden railways on 45 mm track cover different scales and prototypes. Do not therefore apply the standard-gauge I row indiscriminately to LGB or other G scale models. For T, TTm, TTe, Nm, 0m, 0e and other special systems, the specific track and model data are decisive. S and II are included in the table for completeness.

From an individual vehicle to the complete train

Six rolling stock types with different limits

Short two-axle vehicles and shunting locomotives

Short vehicles look at home on small branch-line and industrial layouts. Even so, fixed wheelbase, lateral axle movement and coupling swing limit their ability to negotiate curves. A short body does not automatically mean a particularly small permissible radius. Also check combinations of different coupling heads.

Long passenger coaches

On long bogie coaches, the centre of the body swings inwards and the ends outwards. A full-length model of a 26.4-metre coach is approximately 303 mm long in H0. Shortened models behave differently. Platform edges, tunnel walls and overhead line masts must therefore be checked using the actual model you intend to run.

Large steam locomotives

Multiple coupled axles, leading and trailing trucks, cylinders and the locomotive-to-tender connection can limit the radius. Observe guidance on piston rod protective sleeves, brake hoses and other fitted details. A test run without these parts does not replace a check in the model’s final operating condition. The locomotive must not bind, particularly on turnouts.

Bogie locomotives and multiple units

Even a bogie locomotive with freely moving bogies may be restricted by skirts or couplings. On multiple units, gangways, connecting cables and special articulations also determine movement. Test the complete formation in both directions. An end vehicle running alone does not reproduce the forces in the coupled train.

Long goods wagons

Car transporters, pocket wagons and articulated goods wagons require attention at pivots, joints and couplings. Loads may project beyond the normal outline. In mixed trains, also test short and long vehicles coupled directly together, especially when propelling them through a turnout ladder.

Trams and narrow-gauge stock

A tram’s ability to negotiate tight curves in real life does not automatically apply to the model. Articulation, drive arrangements and couplings vary considerably. The same applies to short industrial narrow-gauge locomotives and long narrow-gauge panoramic coaches. Plan around the specific model and use the track geometry it requires.

Millimetres make the difference

Calculate radius and required layout width

The calculator compares your planned radius with a manufacturer’s requirement that you enter yourself. It also calculates the space required for a circle. The side allowance is measured from the outermost track centreline to the planned edge of the layout and must already include the track bedding, vehicle overhang and your edge clearance.

For a single track, leave the parallel-track spacing at zero. The example values are freely chosen planning dimensions, not approval for any particular train.

Example: a 500 mm radius + 60 mm track spacing + 50 mm side allowance require a width of 1,220 mm. Enable JavaScript to enter your own values.

Required width = 2 × (inner radius + distance to the outermost track + side allowance). The circumference along the inner track centreline is 2 × π × radius. Sufficient width does not confirm adequate track spacing or unrestricted coupling movement.

The sections between the curves

Turn a circle into a reliable route

Check overhang and parallel tracks together

A vehicle may negotiate a curve on its own yet still collide with an oncoming train. NEM 112, 2024 edition , covers track spacing according to inner radius and rolling stock group. The increased spacing must already be in place at the beginning of the curve. NEM 103 adds the required clearance on curves.

Move two long vehicles slowly past each other. Check the vehicle ends, steps, loads and couplings as well. Only then should platforms, bridge sides or tunnel portals be fixed permanently. General standard tables may be insufficient for unusually wide models.

Ease reverse curves and transitions

When a left-hand curve changes directly into a right-hand curve, adjacent vehicle ends move sharply relative to each other. A suitable intermediate straight or a properly formed transition curve eases this section. Its length depends on the rolling stock and coupling type; an arbitrary short straight is not a universal solution.

NEM 113 describes transition curves with a continuously changing radius. With flexible track, take particular care to avoid kinks at the rail joiners. Curved turnouts must also be included: the system name printed on them does not replace checking the actual running radii and connecting track geometry.

Gradients and tight radii increase the demands

In a Track helix continuous curved running combines with a gradient. For a rise of 90 mm per turn, a 360 mm radius gives a calculated gradient of approximately 3.98%; a 600 mm radius gives approximately 2.39%. These are calculation examples, not operational limits.

Tractive effort also depends on locomotive weight, traction tyres, rolling resistance and train length. A larger radius can reduce the gradient and make curves easier to negotiate at the same time. Test the actual train when starting on the curve; a locomotive already in motion may pass a section where it cannot restart with its train.

Practical project: build an H0 test curve

For a meaningful test, you need the intended track, a level base, a tape measure, a set square, connection materials and your most demanding models. Begin with an easily accessible setup. Fix flexible track temporarily and check the track centreline dimensions along the entire curve.

1. Record the geometry

Note the radius, track components, couplings and fitted detail parts. Mark the transition to the straight and the planned spacing to the adjacent track. Compare the dimensions with every relevant model’s instructions.

2. Run the most demanding combination

Test long coaches or wagons, the largest locomotive and mixed vehicle lengths slowly forwards and backwards. Add the planned turnout and, where relevant, a gradient. Watch for wheels lifting and couplings binding sideways.

Especially when propelling trains

Pushing forces can cause different problems from pulling forces. Test push-pull trains and longer groups of vehicles during shunting as well.

A clear reason to stop

If a wheel lifts or a coupling pushes a vehicle sideways off the track, change the geometry. Increasing speed does not fix the problem.

3. Recreate the complete installation

Position obstacles temporarily at first. Check passing movements and access for maintenance. Only when the final operating arrangement works reliably should you proceed with permanent gluing, ballast and scenery.

When derailments occur despite a suitable radius

Start where the first wheel begins to climb the rail. Check for kinks, changes in rail height, a twisted trackbed and foreign objects. Then check freely moving bogies, close-coupling mechanisms and correctly fitted detail parts. If the fault affects only one vehicle, compare its wheelsets and assembly with the instructions. If the cause remains unclear, an easily accessible test circle helps narrow it down.

Choose suitable track materials

Products for curves, transitions and layout planning

This selection provides a starting point with track and planning materials. Use the product categories to find more items. After loading, the gauge selection narrows the shop query; the search field searches the names and MBS item numbers already loaded. Inclusion in this list does not confirm that a product is suitable for your minimum radius.

Checked initial selection. Use “Load shop products” to retrieve more items.

Open the selected category in the shop →

Common planning questions

Answers before you buy track

Is a 360 mm radius sufficient for all H0 models?

No. Some models are designed for it; others require more. The exact version, couplings and fitted details are decisive. Even where a model is approved for this radius, adjacent tracks and obstacles must allow for its actual overhang.

Are R1 and R2 the same for every manufacturer?

No. Always compare the dimensions in millimetres for the relevant track system. Even a higher radius number in another system can represent a smaller actual radius.

What radius do long passenger coaches need?

There is no single value. Check bogie pivot spacing, coach width, the coupling mechanism and the manufacturer’s specification. A larger visible curve usually improves the appearance of the train and gives you more planning flexibility.

Can a hidden staging yard have particularly tight curves?

Only if the intended models and complete trains operate reliably on them. Being less visible does not remove mechanical limits. Derailment locations that are difficult to reach are particularly undesirable in hidden areas.

Can a different coupling prevent derailments?

It may solve a specific coupling problem, but does not automatically change a model’s permissible radius. Check the correct coupling pocket height, swing and close-coupling mechanism operation. Prototypical screw couplings with touching buffers involve additional requirements.

Can I use flexible track to build any radius?

Flexible track allows freely designed geometry, but does not allow unlimited vehicle movement. An even curve, suitable rail joiners and smooth transitions remain essential. Check the tightest point, not just the calculated average radius.

How much width does a circle with a 500 mm radius need?

The track centreline diameter is 1,000 mm. With an allowance of 50 mm on each side, a single circle requires a calculated width of 1,100 mm. An additional outer track and its required spacing increase the width further.

Which model should determine the layout plan?

Consider the model with the largest minimum radius requirement and, separately, those with the greatest overhang. These may be different vehicles. Also allow for future purchases you already anticipate.

Plan the train first, then build the curve

Suitable radii, smooth transitions and sufficient clearance create a layout that suits your rolling stock and the way you operate it.

Read the model railway guide