Inspect the locomotive
Check the mechanism, current pickup and motor current before conversion.

Which locomotive decoder suits the interface? How should sound, lighting outputs, motor control and buffer storage be configured? This decoder guide covers product selection, safe installation, programming and systematic troubleshooting.
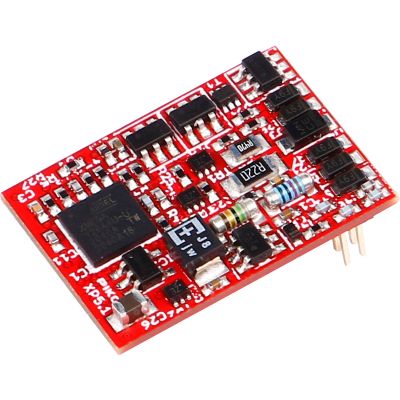
Digital vehicle decoders control a locomotive's motor, lighting, sound and auxiliary functions. Selection begins with the gauge, motor current and digital protocol, continues with the correct interface and does not end when the decoder has been plugged in. The address, driving behaviour, lighting assignment, function mapping and sound must all be matched to the vehicle.
This overview connects all the important topics. Beginners can start with decoder selection and interface comparison. Modellers carrying out conversions will find instructions covering loudspeakers, installation and buffer storage. Experienced digital operators can refine motor control, delays, mapping and sound projects.
Separate troubleshooting guides cover faults such as an overheating decoder, a decoder that does not respond or a locomotive that runs in the wrong direction after installation. This keeps fault diagnosis separate from normal programming.
Physical size alone is not sufficient. Consider the motor current, protocol, number and type of function outputs, loudspeaker connection, buffer-storage connection and vehicle circuit board together.
Select a locomotive, sound or function decoder according to the motor, interface and required range of functions.
Go to the buying guides → 02Distinguish safely between six-pin, eight-pin, Next18, PluX, 21MTC, NEM 651, NEM 652 and SUSI connections.
Go to the interface section → 03Set the address, motor, lighting, delays, mapping, sound and buffer storage step by step.
Go to the programming guides → 04Investigate overheating, a missing response and an incorrect direction of travel systematically.
Go to troubleshooting →Select your current task. The guide finder links directly to the page explaining the next sensible step.
When the interface is unknown, do not guess from the locomotive brand. Open the interface comparison and compare the contact count, shape, circuit-board labelling and standard.
Electrical faults take priority over programming questions. Switch off the track voltage immediately if there is severe heat, smell or smoke.
Select the task that best matches your vehicle.
Compare the motor current, protocol, interface, outputs and dimensions.
Open guideFirst decide whether motor control, sound or only switchable functions are required.
Compare the motor current, protocol, interface and function outputs.
Open buying guide → Driving and soundMatch the decoder, sound project, loudspeaker, audio output and installation space.
Open buying guide → Coaches and driving trailersSwitch lighting, interior lights, tail lights and auxiliary functions digitally.
Open buying guide →The number of contacts and connector design determine which functions are available without soldering.
Compare the common plug systems and their typical applications.
Open comparison → Classic H0 plugUnderstand the pin assignment, orientation and limitations of the eight-pin connection.
Open explanation → Compact vehiclesDistinguish direct and wired versions for N, TT and compact models.
Open explanation → NEM 658Compact PluX connection providing motor, lighting and auxiliary functions.
Open PluX16 guide → Numerous functionsModern H0 interface for extensive lighting and sound functions.
Open PluX22 guide → NEM 662Compact, keyed interface for N, TT, H0e and modern multiple units.
Open Next18 guide → MTC vehicle boardsUnderstand logic levels, amplified outputs and versions of the 21-contact interface.
Open 21MTC guide → Standard specificationUnderstand the standard, pin assignment and typical applications of the six-pin connection.
Open NEM 651 guide → Standard specificationEight-pin standard interface providing motor, track and lighting connections.
Open NEM 652 guide → Expansion modulesData, clock and power connections for sound and expansion modules.
Open SUSI guide →Confirm the motor isolation, installation space, loudspeaker and current pickup before soldering.
Select the impedance, power rating, sound enclosure and installation position correctly.
Open loudspeaker guide → Step by stepConnect the motor, track pickups, lighting and interface correctly.
Open installation guide → Workshop serviceDecoder installation, sound projects, inspection and repairs by the specialist workshop.
Open service overview →Make one change at a time and test it on a programming or test track.
Read, write, document and test CVs safely.
Open programming guide → RecoveryRestore manufacturer-specific factory settings in a controlled manner.
Open reset guide → Locomotive controlManage short and long DCC addresses, mfx and Motorola correctly.
Open address guide → Driving dynamicsAdjust acceleration, braking time, shunting mode and stopping distance.
Open delay guide → Slow-speed operationImprove load control, motor profiles and smooth starting.
Open motor guide → AUX outputsSet the output type, dimming, LEDs, cab lighting and lighting patterns.
Open lighting guide → Button assignmentAssign buttons, AUX outputs, sound slots and operating conditions freely.
Open mapping guide → Sound memoryTransfer ESU, PIKO, ZIMO and Märklin projects safely.
Open sound guide → Operational reliabilityPlan PowerPack, Stay Alive, charging circuitry and bridging time correctly.
Open buffer-storage guide →Switch off the track voltage first if there is a smell, smoke or severe heat.
Check the motor current, short circuits, AUX outputs and installation position safely.
Open troubleshooting guide → No responseCheck the power supply, address, protocol, interface and programming locks.
Open diagnostic guide → Direction of travelCorrect CV 29, motor wires, lighting changes and the definition of the vehicle front.
Open direction guide →Check the mechanism, current pickup and motor current before conversion.
Determine the standard, contact count, circuit board and available space.
Compare the protocol, motor output, functions and sound requirements.
Isolate the motor, check the loads and protect the wiring.
Check the address, direction, motor, lighting and sound individually.
Adjust delays, mapping, volume and bridging time while documenting changes.
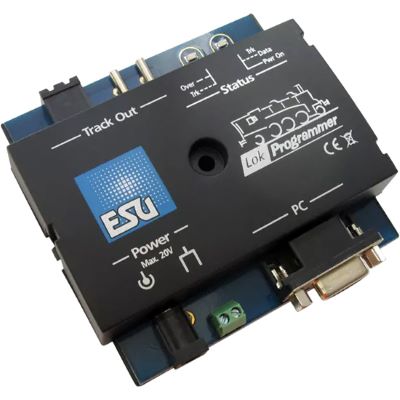
This selection includes typical programming devices and locomotive and sound decoders. The interface, motor current and vehicle instructions remain decisive before purchase.
Edit LokPilot and LokSound projects conveniently.
View product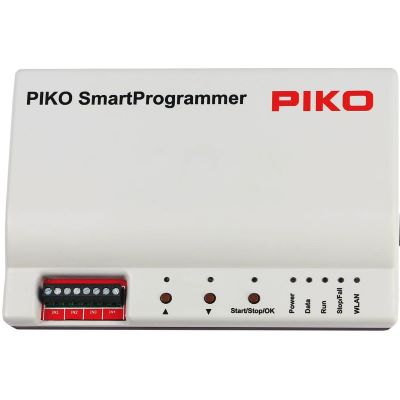
Configure SmartDecoders and transfer sound projects.
View product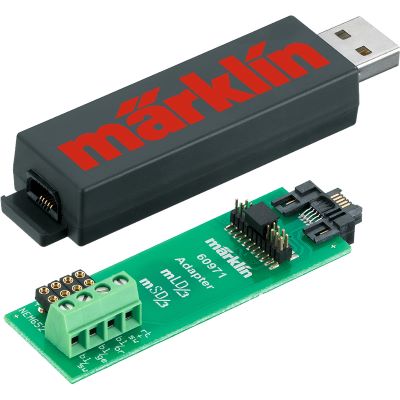
Edit mLD3 and mSD3 projects on a computer.
View product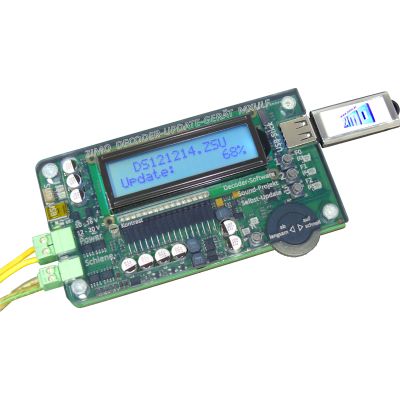
Update and program decoders and load sound projects.
View product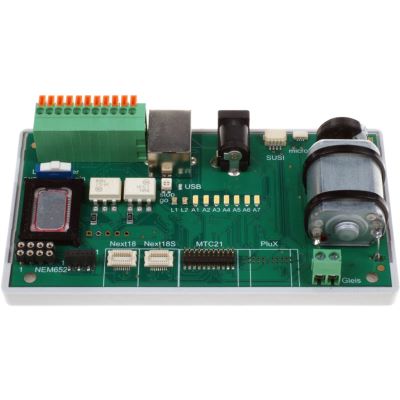
Test the motor and function outputs outside the locomotive.
View product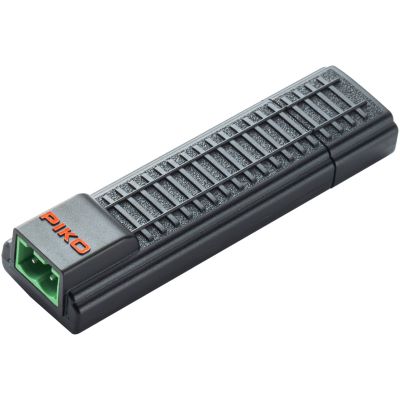
Compact programming interface for compatible XP decoders.
View product
Multi-protocol decoder for modern PluX22 vehicles.
View product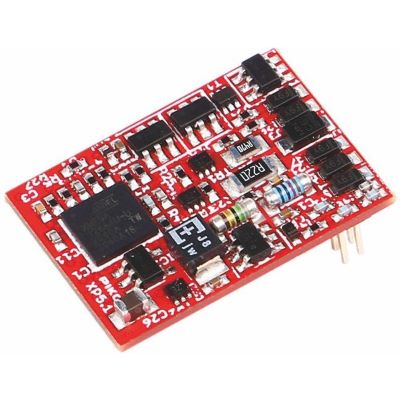
Compact PluX16 version with advanced mapping.
View product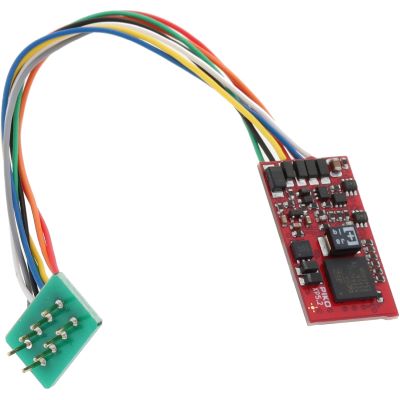
Eight-pin multi-protocol decoder for conventional H0 models.
View product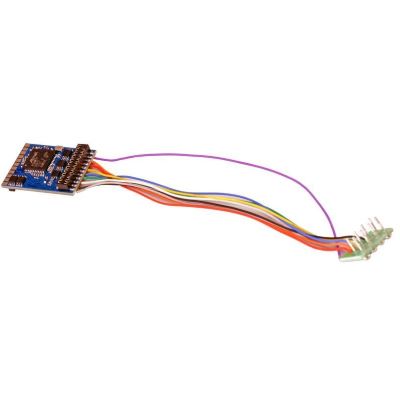
LokPilot with an eight-pin plug and several protocols.
View product
DCC decoder with a PluX22 interface according to NEM 658.
View product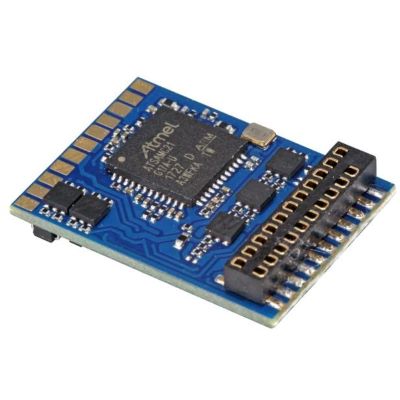
21MTC decoder for suitably prepared vehicle circuit boards.
View product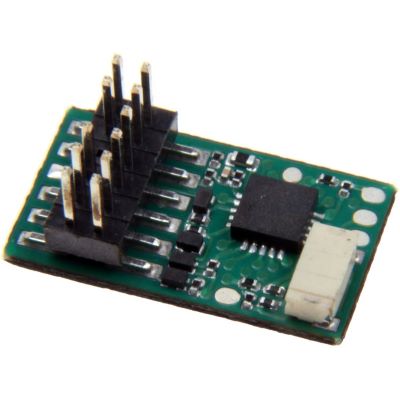
Decoder for TT vehicles with a PluX12 interface.
View product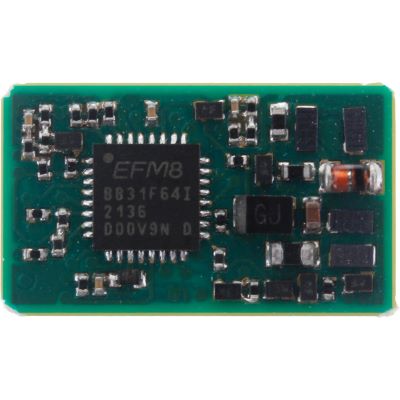
Compact decoder for modern TT and small-scale vehicles.
View product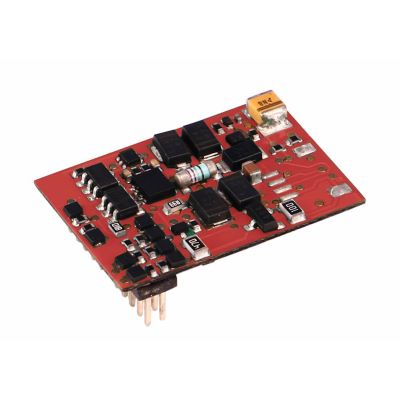
PluX12 multi-protocol decoder for TT gauge.
View product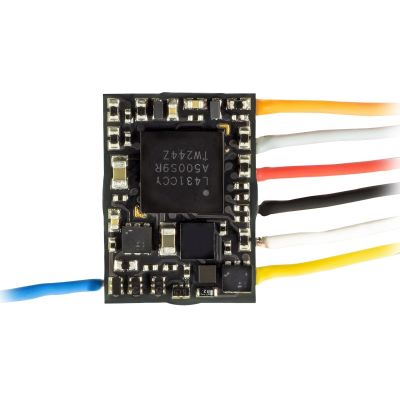
Very compact direct decoder for small vehicles.
View product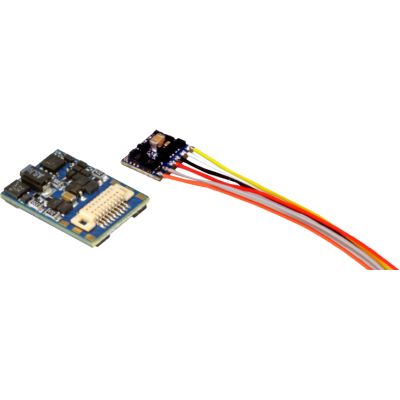
Small multi-protocol decoder with PluX16.
View product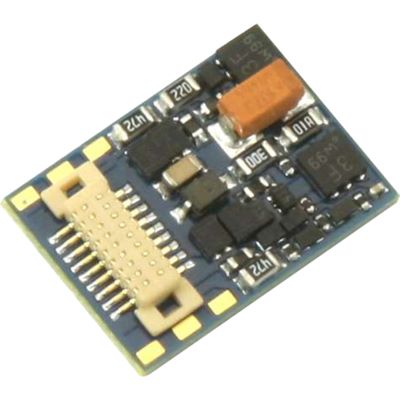
Next18 micro decoder for N, TT and narrow-gauge vehicles.
View product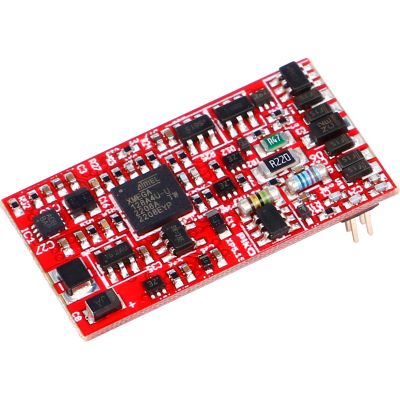
Blank PluX22 sound decoder for custom projects.
View product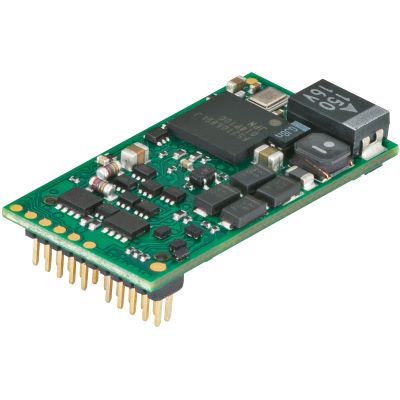
Sound decoder for mfx, DCC and Motorola systems.
View product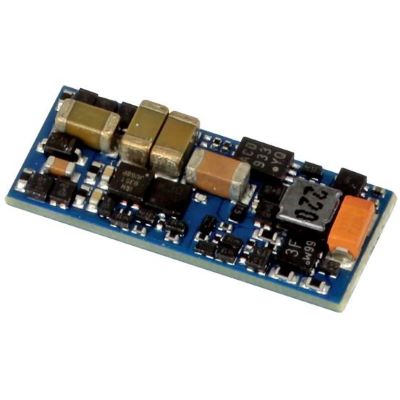
Compact DCC sound decoder for N, TT and small models.
View product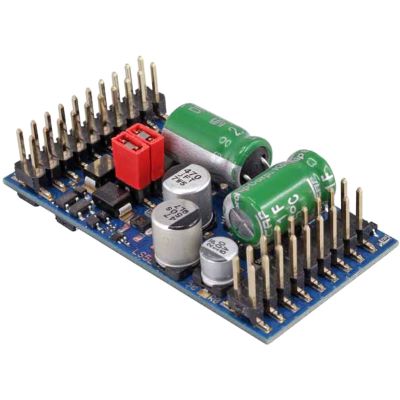
Powerful sound decoder for larger vehicles.
View product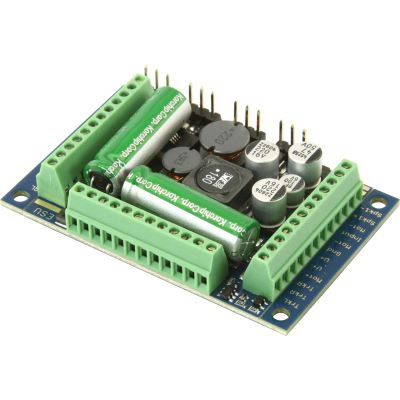
XL sound decoder for high motor currents and numerous functions.
View product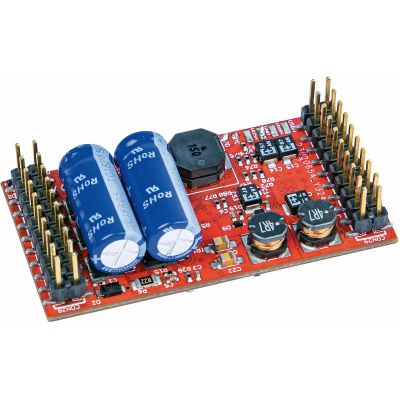
Blank large-scale sound decoder for custom projects.
View productCompare the interface, motor current, digital protocol, installation dimensions and required function outputs. A sound conversion additionally requires a compatible loudspeaker and sound-project format.
A locomotive decoder has a motor output stage. A function decoder switches lighting and auxiliary functions but does not control a locomotive motor.
This depends on the gauge and vehicle. Next18 is compact, PluX22 provides numerous connections and 21MTC is common on many H0 vehicle circuit boards.
No. The locomotive requires a compatible NEM 652 socket or a correctly completed hard-wired conversion. The motor current and available space must also be suitable.
Basic CVs can usually be changed with a digital command station. Sound projects, firmware and complex settings frequently require the programming device supplied by the decoder manufacturer.
Many new or reset DCC decoders respond to address 3. Factory-fitted models may use a different initial address.
It helps bridge brief contact interruptions at turnouts and dirty track sections. The storage module must be explicitly compatible with the decoder.
A sound decoder requires a compatible loudspeaker. The impedance, power rating, dimensions and sound enclosure influence the result.
Switch off the track voltage immediately. Inspect the motor, wiring, connected loads, track voltage and installation position before conducting another test.
No. Check the power supply, address, protocol, interface and possible programming locks first. A reset deletes individual settings.
Further basics, calculators, manufacturer overviews and topic guides are available in the central model railway guide.