
Model Railway Buildings – Stations, Towns, Villages & Industry
Give your layout a sense of place: with distinctive stations, lively streets, rural farms and industries connected to the railway.
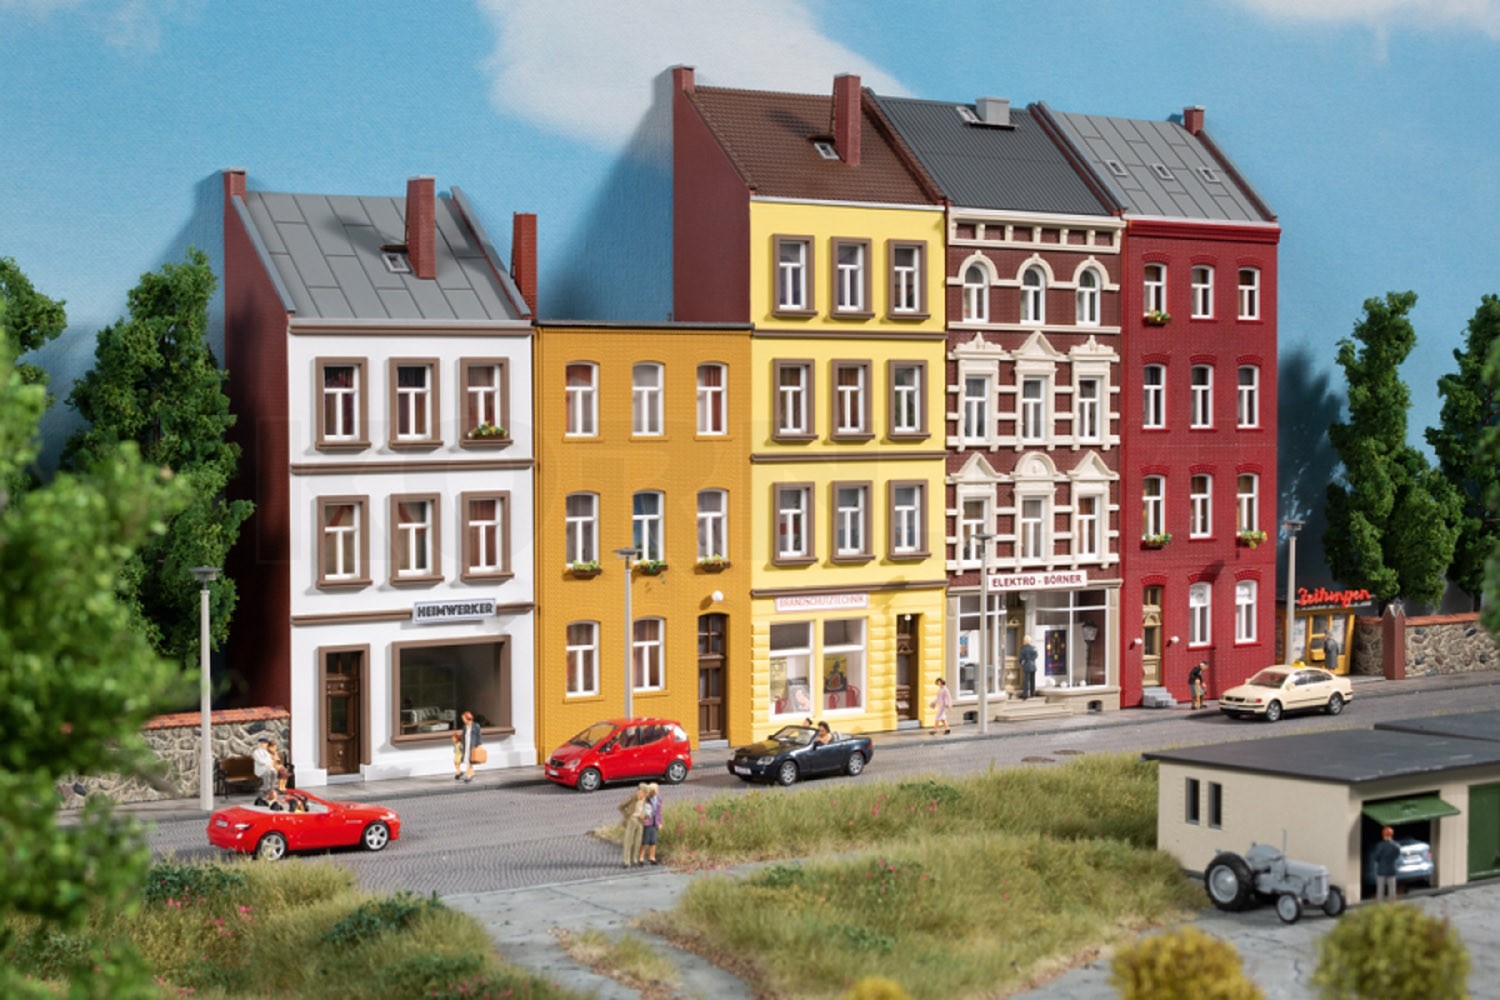
Featured model: Auhagen 11467 Low-Relief Houses, Schmidtstraße 18/20/22/24/26 · MBS product number: MBS171205
Which buildings suit your model railway?
Model railway buildings turn tracks into a recognisable setting. Stations give passenger services a purpose, town houses shape streets, farm buildings define a village and industrial buildings give goods wagons a destination. Choose your models to suit the scale, available space and story of your layout. This creates coherent scenes that look convincing even with just a few buildings.
This overview brings together four building themes, plenty of product photographs, relevant shop categories and further guides. The models shown illustrate scenic possibilities in different sizes. Before choosing, check the specific gauge, model dimensions and items included; figures, vehicles or scenery in a product photograph may be decorative additions.
Manufacturers of houses, railway buildings and details
Explore building ranges and accessories through the original manufacturer logos. Models from different brands can be combined into a coherent scene; compare their actual dimensions, architectural styles and materials. Each product description explains whether the item is a kit, a finished model or an accessory.










Stations and railway facilities with a purpose
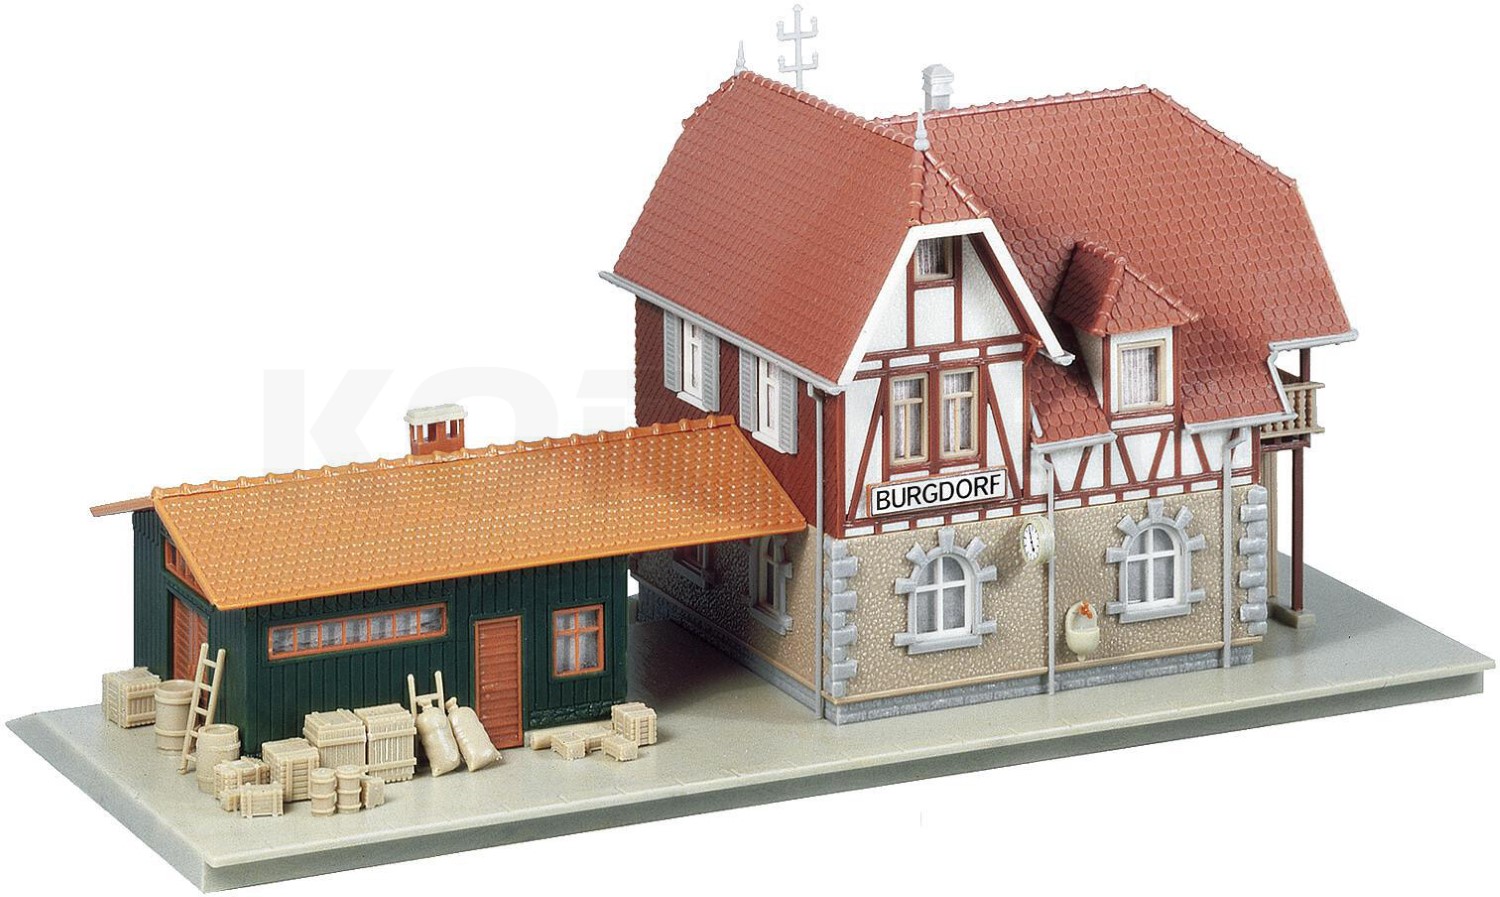
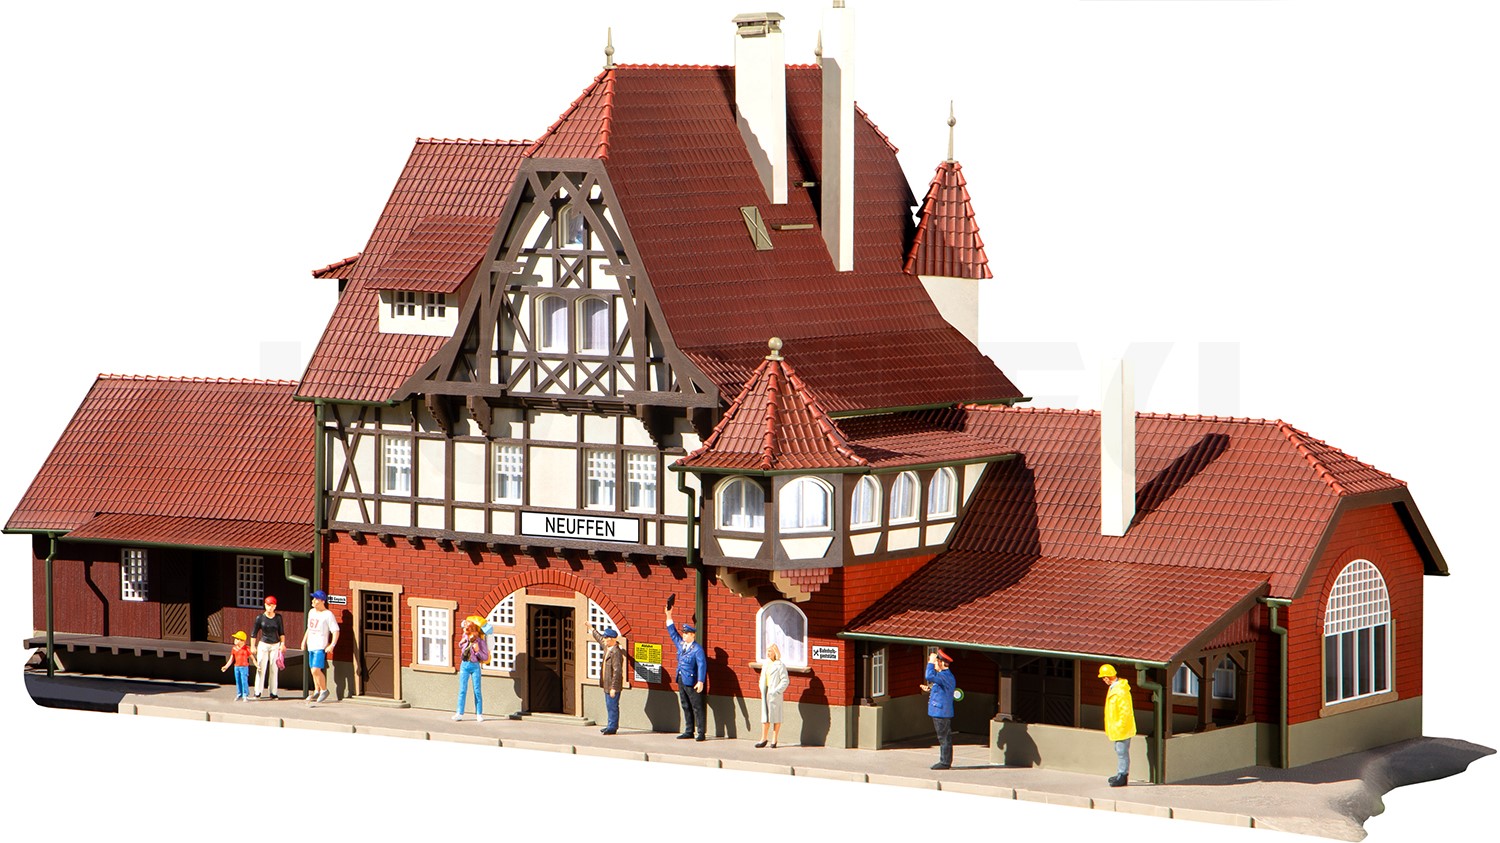
The station is often the centrepiece of a layout. A small station building can define a branch line, while a larger town station needs surroundings to match. Plan the station forecourt, platform access, road connections and passenger routes alongside the building itself. The guide to Stations will help you choose the right approach.
A complete scene may include Signal boxes, Goods sheds and Platforms. Each building should have a clear function. A goods shed is particularly convincing with a loading siding on one side and an accessible delivery area on the other.
For a locomotive depot, consider Locomotive sheds or Roundhouses. Before installation, compare door spacing, track alignment and the space required with your specific track system. Test clearances with the rolling stock you intend to use before fixing buildings and tracks permanently.
The product examples show different sizes and architectural styles. A compact station often leaves more room for railway operations; a large building can become a focal point when the forecourt and track layout complement it. Find further suitable models under Railway buildings.
Town houses, shops and public buildings
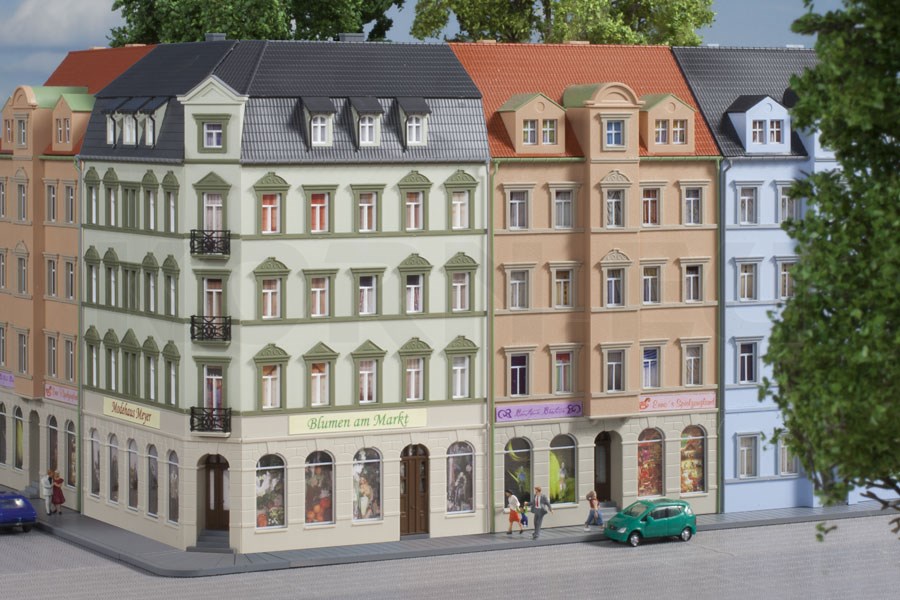
A convincing model town depends on how its buildings relate to one another. Coordinate street widths, pavements, storey heights and roof shapes. A continuous row of Town houses creates a sense of density; individual Residential houses with gardens suit the outskirts. Varied façade colours add interest without making every wall a focal point.
Ground-floor shops, a small square and a bus or tram stop give the scene a sense of direction. The categories Commercial buildings, Public offices and post offices as well as Pubs and restaurants offer buildings with different roles. Include rear elevations, courtyards and delivery access in your planning.
At the edge of the layout, Low-relief buildings can suggest a long street frontage with very little depth. Check the effect from the intended viewing position. Side views and streets that end abruptly are often more noticeable than deliberately reduced building depth.
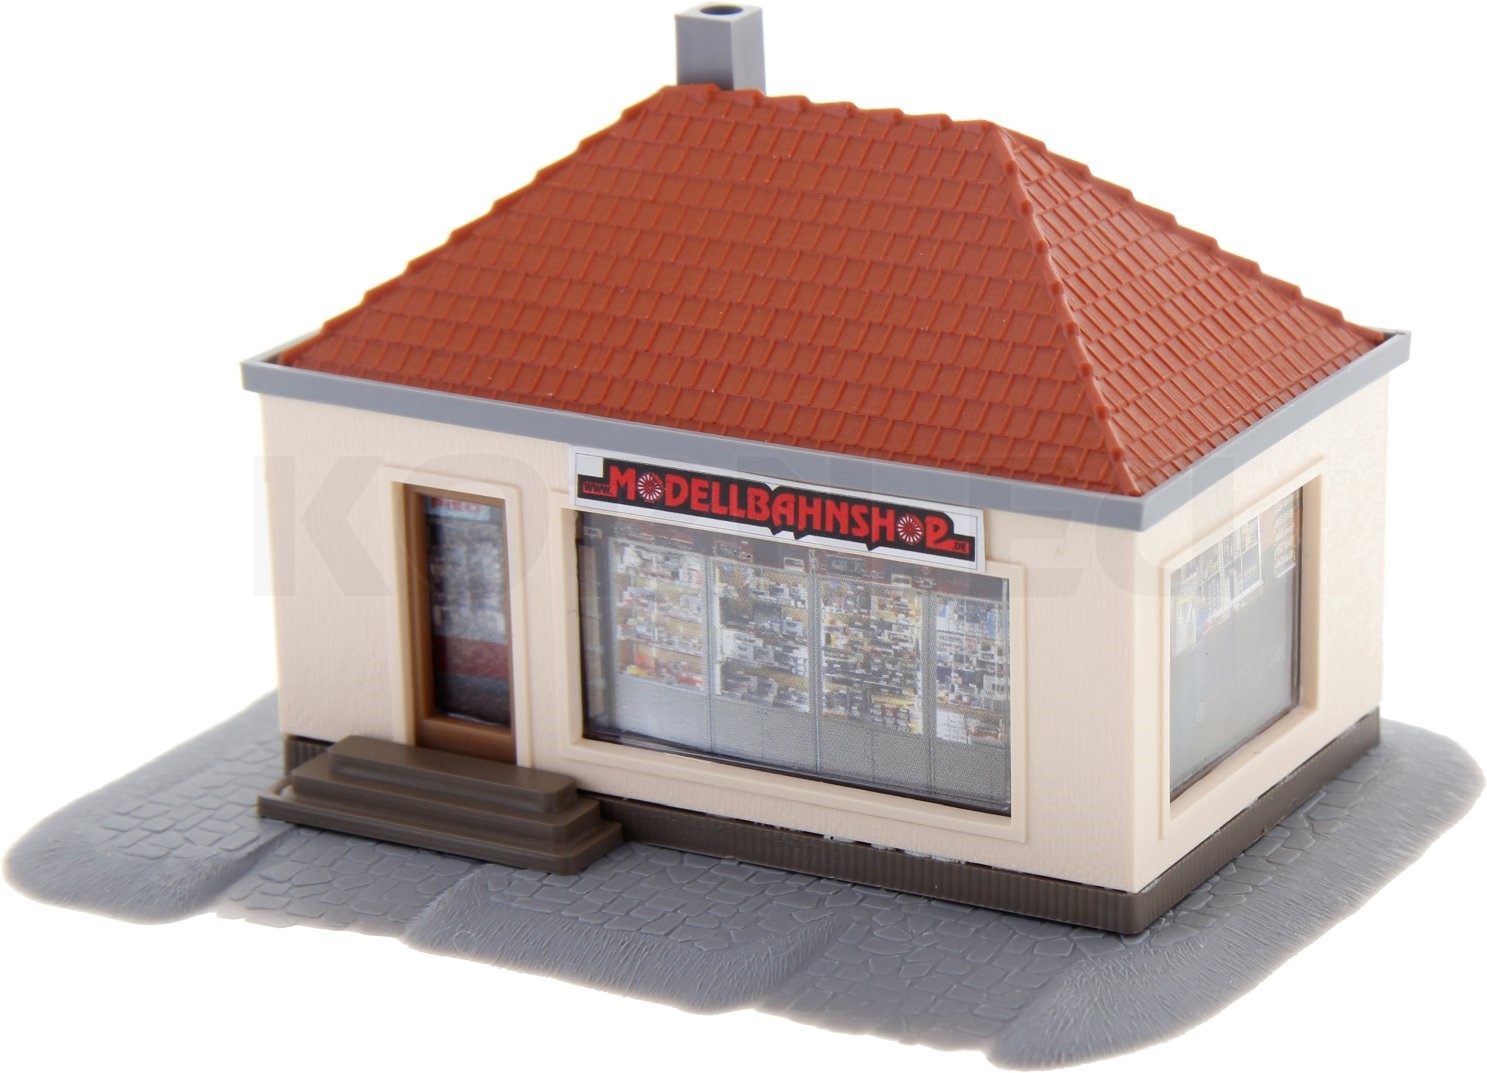
The “Modellbahnshop Korn” kit adds a distinctive shop to your model town, bringing the hobby itself into the street scene. Add a pavement, window displays and a few figures to suit the chosen scale. The photographs also show how a construction site or a striking corner building can add variety to a row of houses.

Villages, farms and small outbuildings
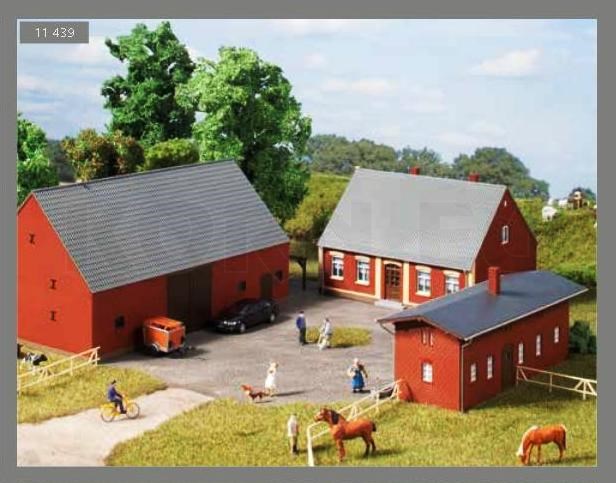
In a village, the space between buildings is particularly important. A farmhouse, barn and stable look as though they belong together when they share a farmyard. Plan entrances, garden fences, fruit trees and working areas as part of the scene. A slightly smaller group can look more believable than numerous buildings packed closely together.
The pages on Farms, Churches and Farming offer a range of ideas. Decide whether the village is mainly agricultural, a visitor destination or home to a small station. Regional architecture and suitable surroundings help bring that character to life.
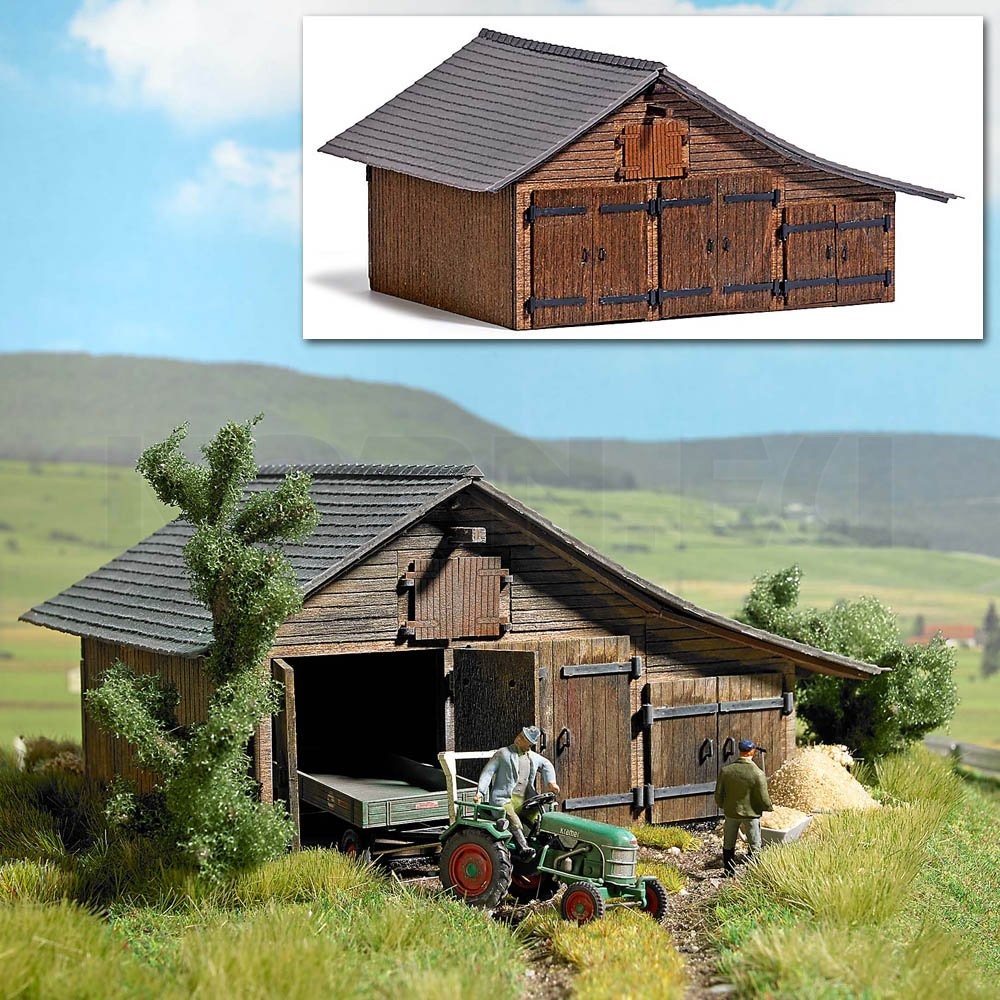
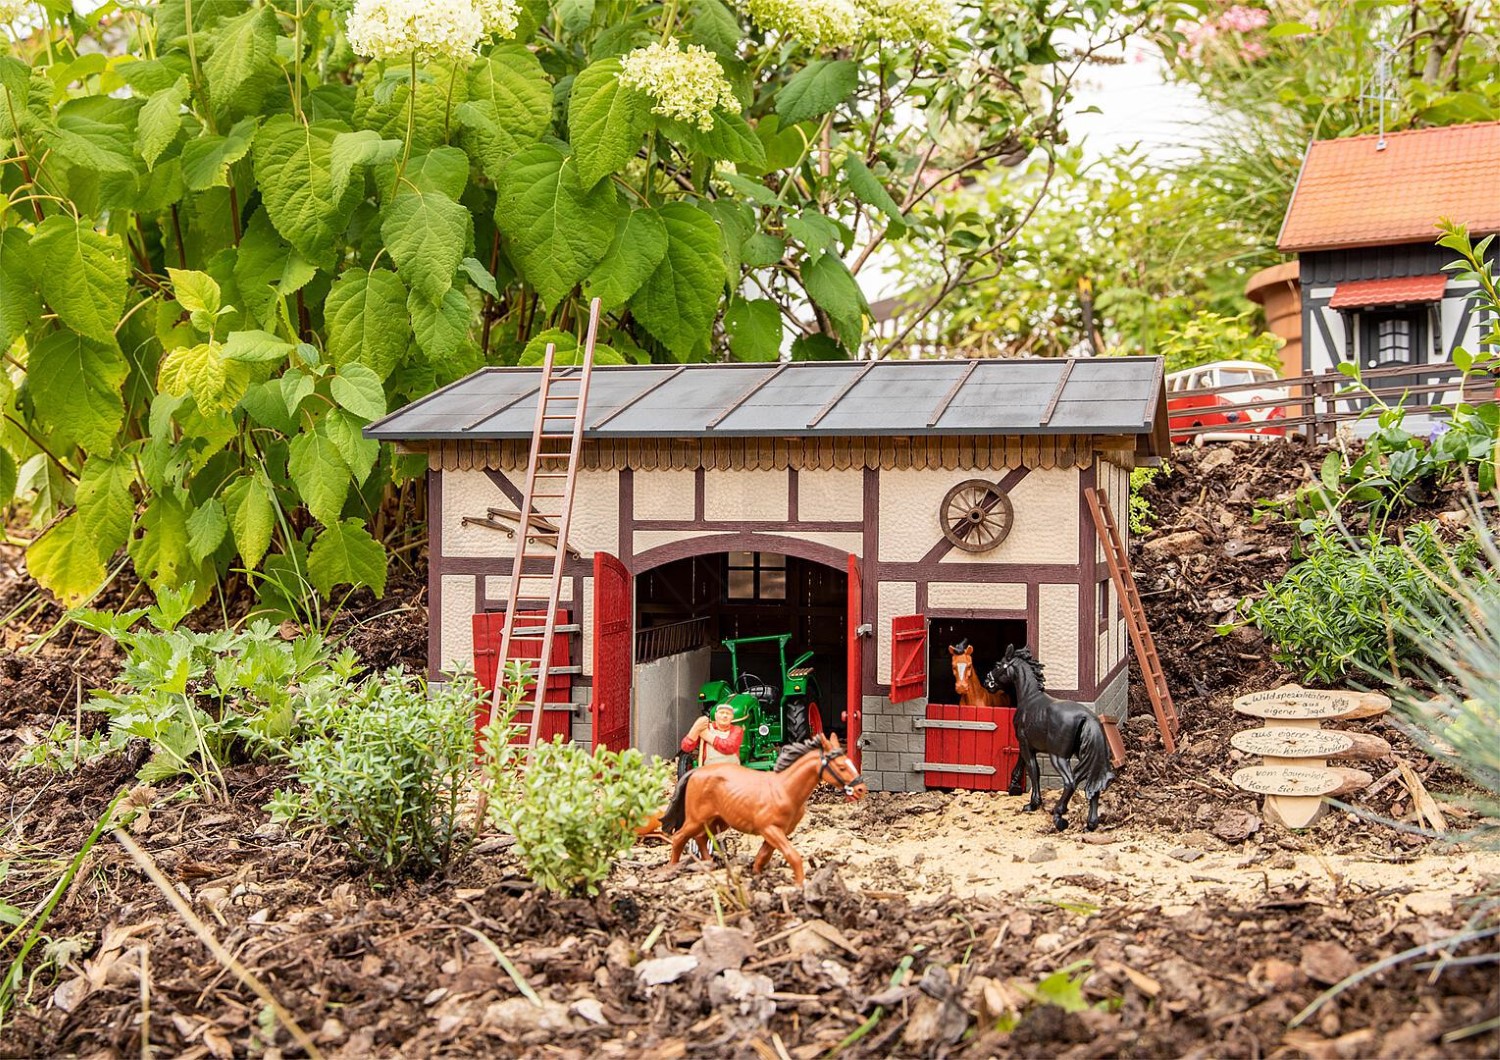
A Farm building scene can be built in stages. Start with the main building, add the yard and paths, then introduce smaller details. Spaces for machinery and accessible doors make the farm’s working life easy to understand. Keep the amount of decoration in proportion to the available space.
For a garden railway, intended operating conditions matter as well as size. Check the manufacturer’s information on outdoor use for buildings and accessories. A G gauge designation alone does not guarantee that every material or lighting component is suitable for permanent outdoor use.
Factories, workshops and industrial sidings
An industrial site tells a stronger story when its processes are clear. Start by considering which goods arrive, where they are processed and how finished products leave the premises. This determines the production halls, storage areas, gates, access roads and possible loading sidings. The guide to Industrial buildings introduces this building theme.
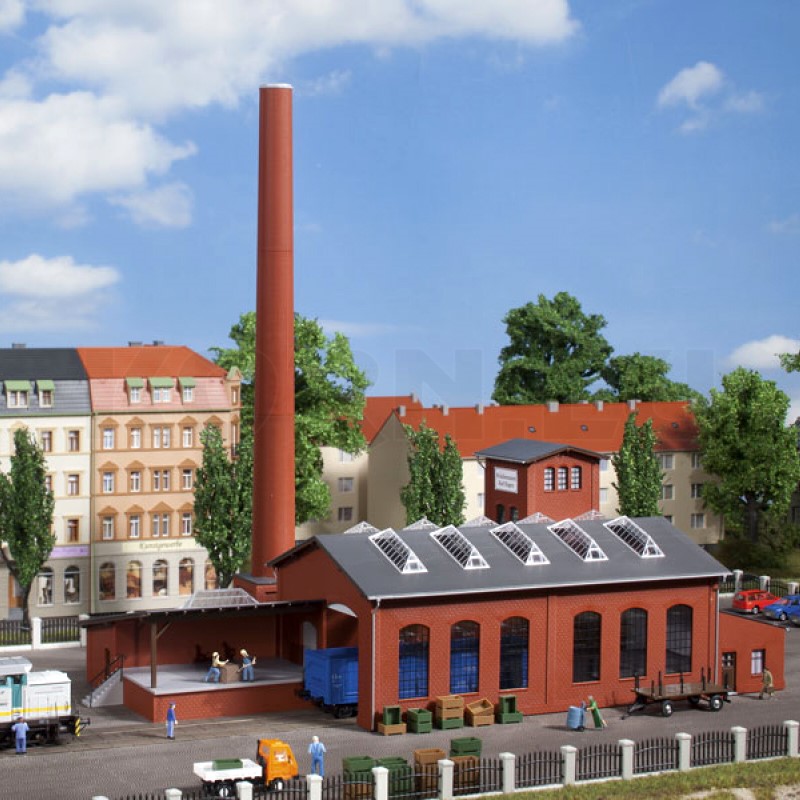
A workshop with a loading platform can be enough for a small layout. Larger Factories may consist of several buildings and define an entire corner of the layout. Make the connections between production, administration and dispatch easy to understand. A tall chimney acts as a landmark without requiring an overcrowded yard.
Plan the railway connection alongside the working area. The loading siding, shunting route and lorry access should not obstruct one another on the model. The page on Industrial areas extends building selection to the design of the surrounding scene. Petrol stations and Infrastructure buildings can provide additional functions.
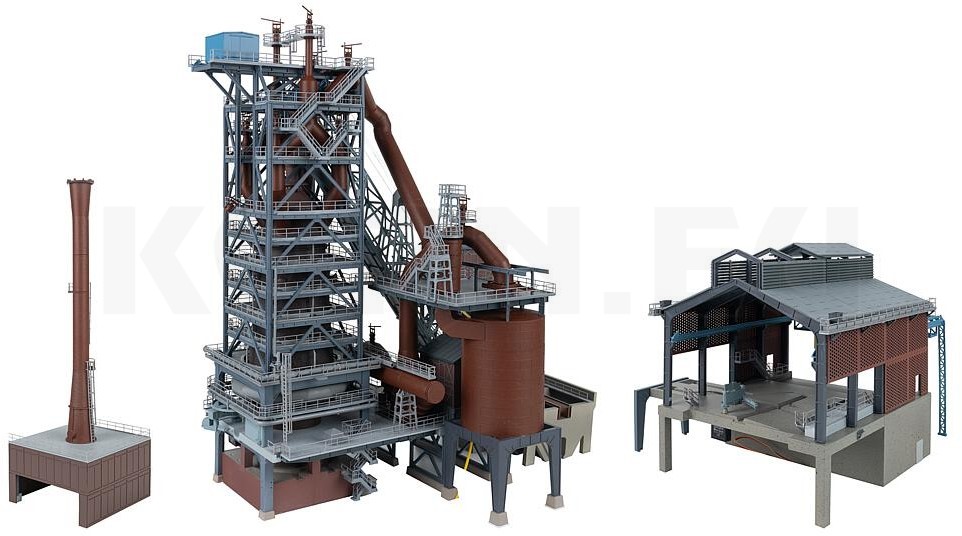
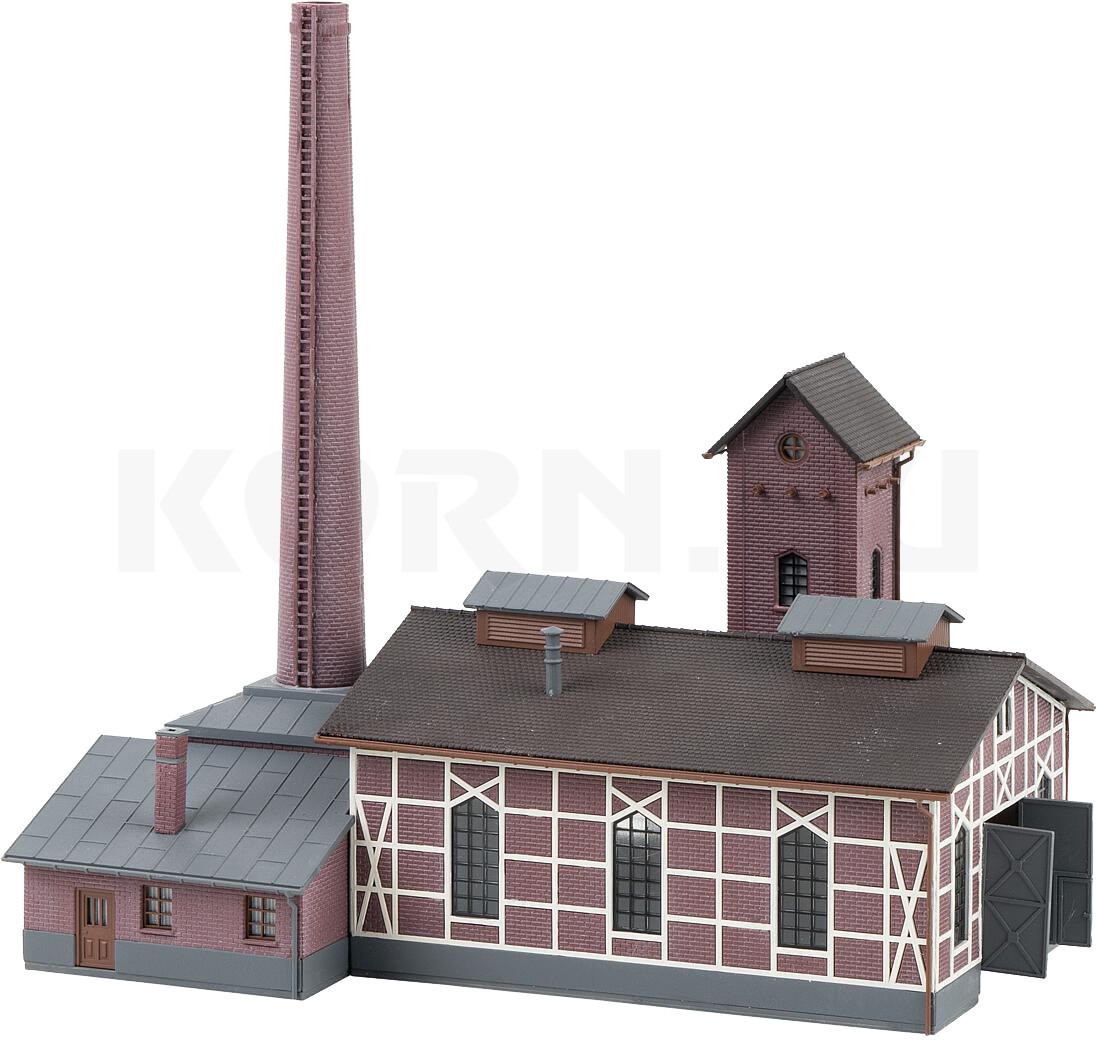
The photographs show a large blast furnace complex, a heating plant and a factory building. They offer inspiration for different scales and spaces and do not form a single set. Discover more industrial halls, workshops and businesses under Production and workshops.
From a kit to a convincing building scene
Test the position before reaching for the glue
Transfer the footprint of your chosen model to paper. Place the template on the layout and add access roads, pavements and open areas. Check the scene from the usual viewing height. This reveals streets that are too narrow and awkward building positions at an early stage, especially against a backdrop.
The material determines the assembly process
With Plastic kits the parts are usually prepared, test-fitted and joined according to the instructions. Laser-cut kits may be made from card, wood or other materials. Choose an adhesive suited to the actual material; the relevant instructions matter more than a general recommendation for glue.
Treat surfaces with care
Subtle weathering can bring the roof, base and masonry together visually. Test paint and adhesive on offcuts first. Work in small steps to keep windows, fine details and finished surfaces clean.
Check details before closing the building
Windows, internal walls, cable openings and future access are easier to work on while the building is still open. A removable roof or accessible base can make maintenance and later additions easier, provided the design allows it.
Mini project: a small station forecourt
- Position the station building and entrance on paper.
- Define the forecourt, pavement and road access.
- Test-fit the building and prepare the lighting.
- Finish the surfaces, position the model and bring it to life with a few figures.
You will need a suitable kit, cutting mat, appropriate tools, adhesive suited to the material and scenic materials for the forecourt. Add lamps only after planning their connections.
Plan lighting and interiors together
Lighting is most convincing when it suits the building’s use. A few illuminated rooms tell a different story from an evenly lit workshop. Partitions or suitable light boxes let you control the effect. The guide to Lighting buildings explains the next steps.
Before assembly, check whether light shines through walls or joints. Plan suitable light shielding and test the result while the model is still open. A small interior behind a clearly visible window can have more impact than numerous hidden details. See the guide to Modelling interiors.
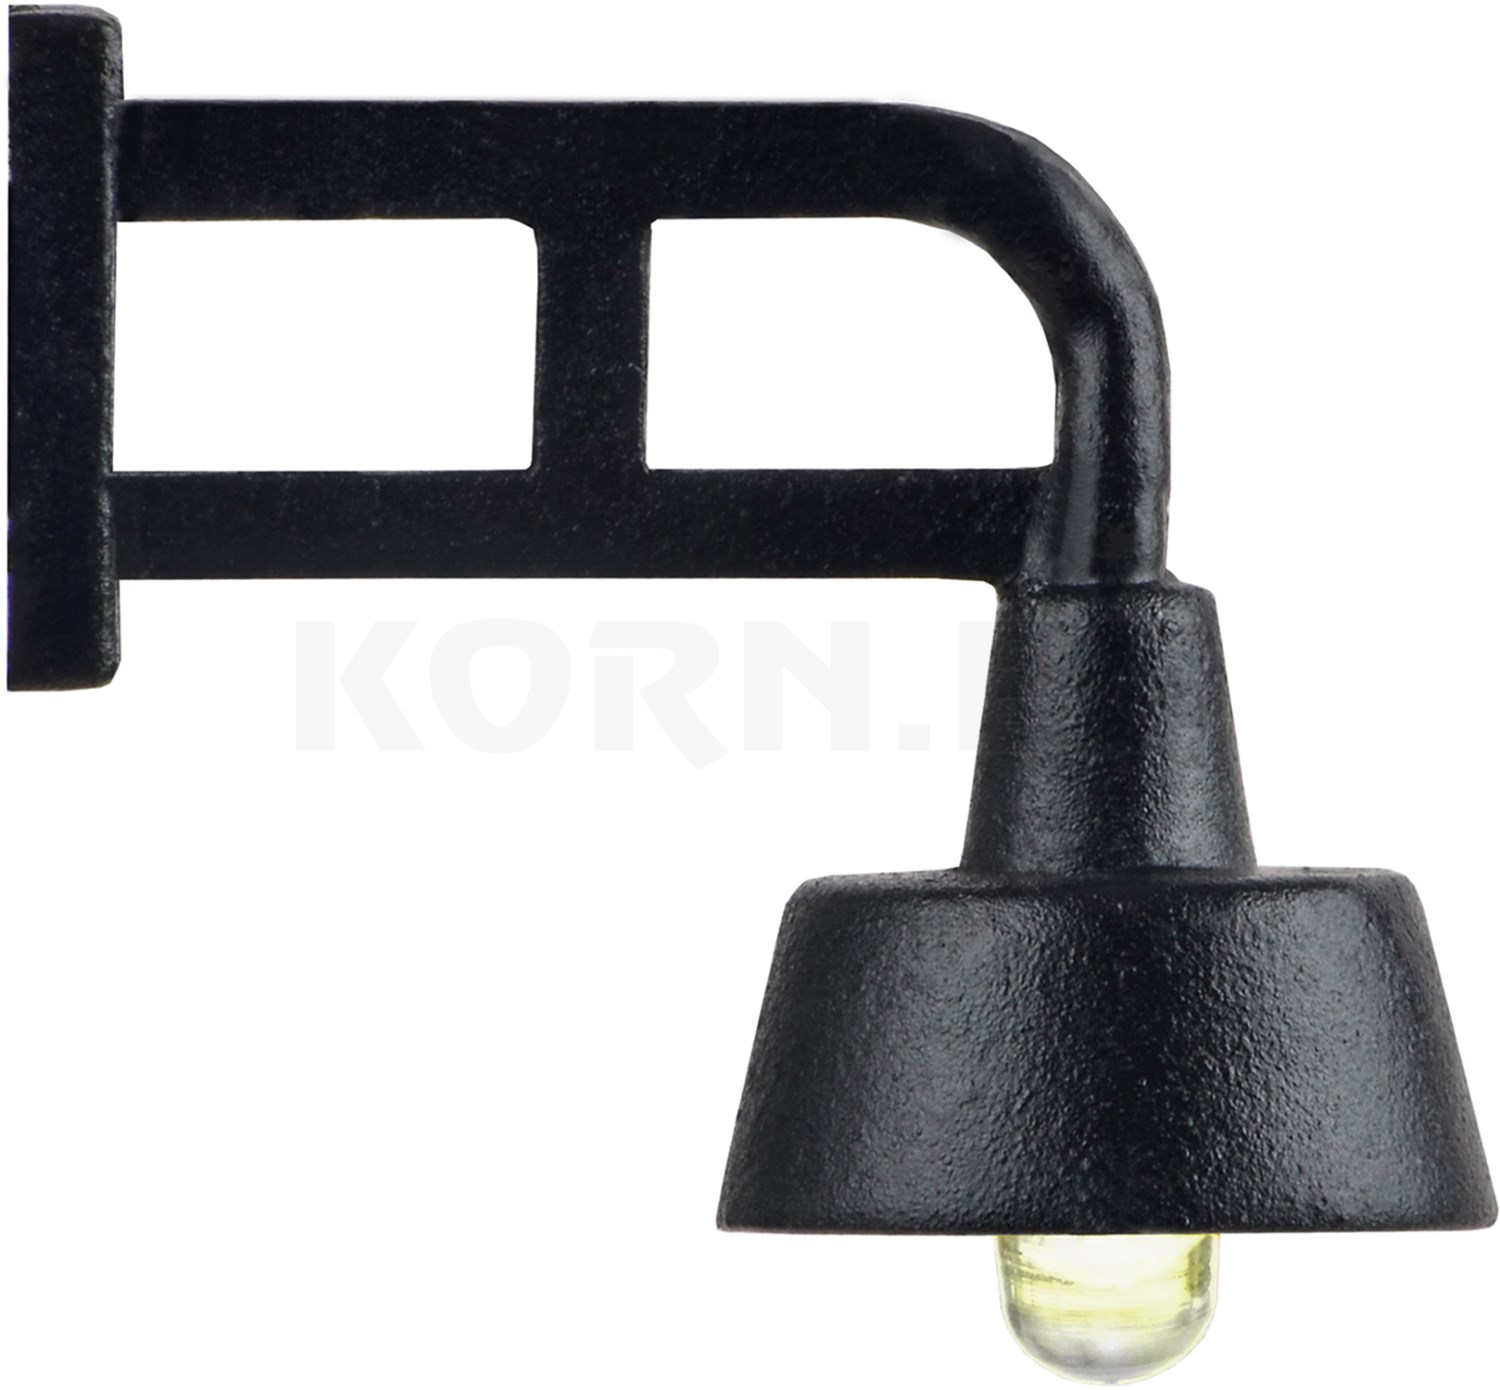
Check the specified power supply and required connection components for each light. Ready-to-connect lighting modules and individual LEDs may have different requirements. Route cables so that they remain accessible. For outdoor scenes, browse Lights; for suitable light sources, visit the LED category.
Find buildings and accessories in the shop
Filter by product category and gauge. The text search checks the product names and MBS product numbers already loaded. You can display more loaded matches or use the second button to retrieve further shop pages. The illustrated examples on this page form the initial selection.
Checked product examples form the initial selection.
Frequently asked questions about model railway buildings
Can I place buildings from different manufacturers next to each other?
Yes, provided the scale, actual dimensions and architecture suit the setting. Compare storey heights, doors and the buildings’ appearance alongside figures. Consistent treatment of paths and terrain helps bring different models together.
Which buildings suit small layouts?
Compact station buildings, individual town houses, outbuildings and low-relief models can take up little space. The actual dimensions, including forecourt and access, are what matter. A paper placement test shows how much space you need before buying.
Are the figures and vehicles shown in product photographs included?
This depends on the individual product. Photographs may show completed scenes with additional decoration. Check the items explicitly listed as included on the product page.
Can I add lighting to a building that is already assembled?
This depends on its construction and accessibility. Check whether the roof or base can be opened and how cables can be routed. With a new kit, lighting is usually easier to plan before final assembly.
Why does my village look cluttered despite having plenty of buildings?
It may lack shared paths, coherent plots or a clear arrangement of buildings. Start by reducing the number of focal points and checking architectural styles, colours and spacing. Open areas are an important part of the scene.
Do all buildings have to date from exactly the same era?
Older buildings can still be present in a scene set in a later period. Match their use, condition, signs and surroundings to your chosen era. Dated prototype photographs are useful when recreating a specific location.
Related topics and shop categories
Develop your building ideas with the existing building pages and related guides. Search for terms such as “station”, “laser-cut”, “roof” or “industry”.
58 distinct topic pages
Buildings & architecture · 21
- Aral petrol station
- Kehl station
- Stations
- Platforms
- Farms
- Castles
- Factories
- Lighting buildings
- Goods sheds
- Industrial buildings
- Churches
- Locomotive sheds
- Locomotive sheds
- Low-relief buildings for layout backdrops
- Roundhouses
- Town houses
- Signal box
- Signal boxes
- Tram depots
- Petrol stations
- Residential houses
Building & detailing · 10
Scenes & surroundings · 16
Gauges & planning · 11
Go straight to the relevant shop categories
- Railway buildings
- Residential buildings
- Factories and workshops
- Agricultural buildings
- Commercial buildings
- Pubs and restaurants
- Other buildings
- Building accessories
- Church buildings
- Infrastructure buildings
- Castles and fortifications
- Police and fire stations
- Public offices and post offices
- Building components
- Wild West buildings
- Buildings
- Lights
- LED
- Adhesives
Links and product selection checked on 4 November 2026.
Your layout grows with every good idea
Explore further guides to planning, scenery, electrics and model railway operation.